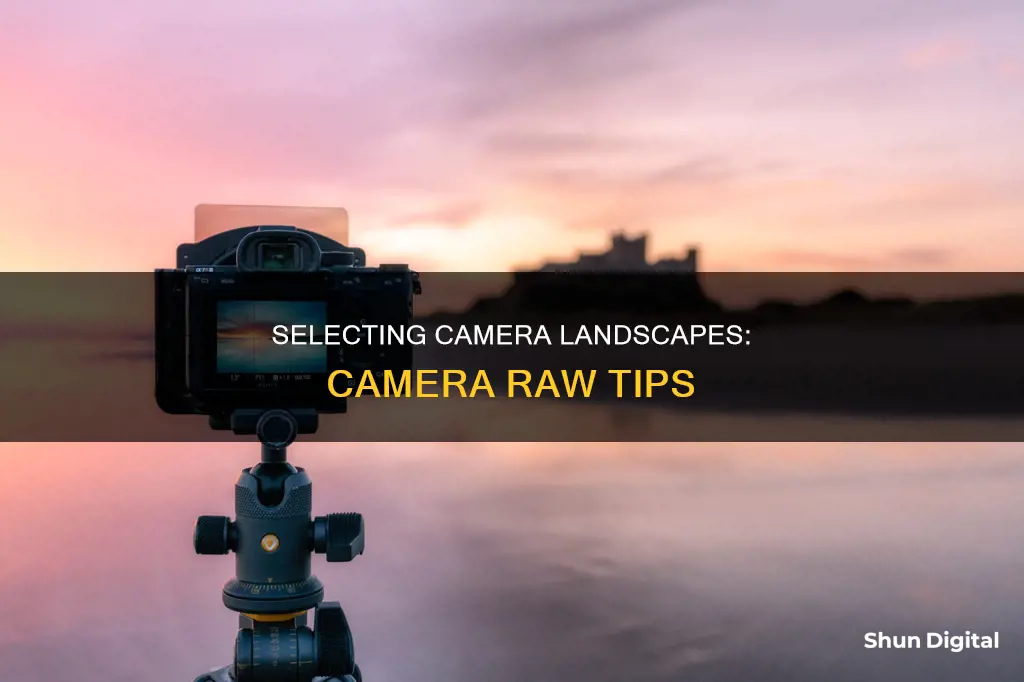
Adobe Camera Raw (ACR) is a powerful tool that allows users to edit RAW image files. It is available in both Photoshop and Lightroom and offers a range of options to enhance images, including adjustments to white balance, exposure, lens corrections, and creative effects. When working with landscape images, it is important to achieve a balanced exposure, ensuring that both bright skies and shadowy ground areas are properly represented. This can be achieved through global and local editing features in ACR, such as the Radial or Graduated Filters and the Adjustment Brush. Additionally, ACR provides tools for correcting lens distortion, enhancing colours, and sharpening images to create vibrant and detailed landscape photographs.
| Characteristics | Values |
|---|---|
| Software | Adobe Camera Raw (ACR) |
| File Types | RAW |
| Image Editing Tools | White Balance, Tint, Exposure, Contrast, Highlights, Shadows, Whites, Blacks, Clarity, Vibrance, Saturation, Hue, Saturation, Luminance, Graduated Filter, Dehaze, Red Eye Removal, Spot Removal, Crop, Straighten |
| Image Editing Techniques | Global Editing, Local Editing |
What You'll Learn
![]()
Adjusting white balance and exposure
Adjusting the white balance and exposure in your photos can be done in Adobe Camera Raw, which you can access by opening your Raw files in Photoshop. If you're working with a JPEG photo, open it in Photoshop, right-click on the layer, and convert it to a Smart Object so you can use the Camera Raw filter.
The first adjustment you should make is the Lens profile, which you can find in the Lens Correction area. Check the "Enable Profile Corrections" option, and it will automatically correct the distortion and vignetting. This will only work if Adobe has the profile for your lens.
Next, adjust the exposure and white balance. For the exposure, adjust the exposure slider. If your photo's white balance is off, fix it before adjusting the exposure. Use the White Balance tool and click on an area that should be a neutral colour. If your image has mixed lighting, you may never get the perfect white balance. In this case, fix the white balance for one side, then selectively adjust the other side.
You can also make local white balance adjustments using the Radial Filter tool. Drag to create an oval, then right-click on the dot in the middle and select "Reset Local Correction Settings". Adjust the white balance for this section of the image.
You can make local exposure adjustments in the same way, by adding radial filters and adjusting the exposure.
When adjusting the white balance and exposure, keep an eye on the histogram, or use the shadow and highlight clipping previews.
Formatting Micro SD Cards: A Step-by-Step Guide
You may want to see also
![]()
Lens corrections
The corrections can be applied using a preset profile or manually. To correct geometric distortion and vignetting via Profile settings:
- Click the Lens Corrections tab. Double-click the Hand tool to fit the image in the preview.
- To access predefined lens profiles, click the Profile tab, then check Enable Lens Profile Corrections.
- Choose Auto to have Camera Raw read the EXIF metadata in the photo and attempt to select the proper lens make, model, and predefined profile.
- If an error message indicates that the Auto option was unable to locate a profile, choose your lens manufacturer from the Make menu. Camera Raw will then locate a matching lens model and list it on the Model menu. If the Model menu lists more than one model, choose the one with which the photo was shot.
- Set the Distortion value to control the amount of correction.
- Set the Vignetting value to correct for under- or overexposure at the edges of the photo.
If Camera Raw does not find a suitable profile automatically, you can select a Make, Model, and Profile. You can also manually correct purple and green color fringes using the defringing controls provided in the nested Manual tab.
To correct geometric distortion or vignetting via the Manual tab:
- Click the Lens Corrections tab, and double-click the Hand tool to fit the image in the preview.
- Click the Manual tab.
- In the Upright area, click a button to apply a preset correction: Auto, Level, Vertical, or Full.
- If further manual correction is needed, you can spread the image out (fix pincushion distortion) by lowering the Distortion value, or pinch the image inward (fix barrel distortion) by increasing the Distortion value.
- To display a grid over the image so you can check the alignment, check Show Grid or press V. Adjust the grid size via the slider.
- To widen the top of the image (correct key-stoning), reduce the Vertical value. To widen the bottom of the image, increase the Vertical value. Readjust the Distortion value, if needed.
- To widen the left edge of the image, reduce the Horizontal value. To widen the right edge of the image, increase the Horizontal value.
- To rotate the image, change the Rotate value.
- To enlarge or shrink the photo, change the Scale value.
- To stretch the image horizontally or vertically, change the Aspect value. This option is useful for correcting strong perspective distortion in photos taken with a wide-angle lens.
- To correct or apply Lens Vignetting (lighten or darken the outer areas of the photo), set the Amount value for the strength of the correction, then set the Midpoint value to expand the vignette inward or outward. Readjust the Amount value, if needed.
Camera Battery Explosions: How Common Are They?
You may want to see also
![]()
Using the Dehaze tool
The Dehaze tool is a powerful feature in Adobe Camera Raw (ACR) that enhances the look of an image by compensating for the scattering of light through the atmosphere, resulting in clearer and more vibrant photos. It is particularly useful for landscape and seascape photography, where haze is often present.
To access the Dehaze tool in ACR, go to the Effects tab on the right-hand side of the interface. Here, you will find the Dehaze slider control. Dragging the slider to the right will remove haze from your image, while dragging it to the left will add haze. It is important to use this tool with moderation, as overdoing it can negatively affect your image.
The Dehaze tool can also be used as a local adjustment with the Radial Filter, Graduated Filter, or Adjustment Brush in ACR. This allows you to apply the effect to specific portions of your image, giving you greater control over the final result.
Additionally, the Dehaze tool is available in Photoshop CC 2015 and later versions. To use it, duplicate your background layer (CTRL+J), then go to Filter > Camera RAW Filter. From there, you can adjust the haze using the slider in the Effects tab. Keep in mind that this tool affects various aspects of your image, including contrast, vibrance, and pigment, so it is important to have a good understanding of post-production work before applying this tool.
Disney's Camera Battery Chargers: A Photographer's Lifeline
You may want to see also
![]()
Applying creative effects
Adobe Camera Raw is a powerful tool for editing and processing raw image files. It offers a range of creative effects and adjustments that can enhance your landscape photographs. Here are some tips for applying creative effects using Camera Raw:
Temperature Adjustment: You can adjust the temperature of your image to make the colours warmer (by sliding towards yellow) or cooler (by sliding towards blue). This can be used to correct colour casts or add drama to your landscape shots.
Exposure Adjustment: The exposure slider allows you to brighten or darken your image. This is particularly useful if your landscape photo is too dark or too bright, as you can easily adjust it to achieve the desired effect.
Contrast Adjustment: The contrast slider ensures that the dark areas of your image are dark enough without losing important details. Adjusting contrast can make your landscape images more dynamic and visually appealing.
Highlights and Shadows: The highlights slider compensates for areas of your image with very little detail. Adjusting the shadows can bring back details hidden in the shadows or darken them further. Be careful not to overdue this adjustment to avoid a noisy look or an "HDR" effect.
Whites and Blacks: These sliders allow you to adjust all pixels that are white or black, respectively, giving you precise control over the tonal range of your image.
Clarity Adjustment: The clarity slider adjusts the contrasts in the midtones of your image, adding structure and definition to your landscape. Use this with caution, as overdoing it can make your photo look unnatural.
Vibrance and Saturation: The vibrance slider adjusts pixels that are not fully saturated, allowing you to add subtle pops of colour to your landscape. The saturation slider, on the other hand, adjusts all pixels by saturating or desaturating them, giving you control over the intensity of colours.
Graduated Filter: The graduated filter tool in Camera Raw allows you to make fine-tuned adjustments to your image by selecting the sky or foreground separately. This is similar to using a graduated filter on your camera lens but offers more precision in Photoshop.
Dehaze Tool: The dehaze tool is excellent for landscape and seascape photography, as it removes haze and improves contrast. Use it with care, as overdoing it can negatively impact your image.
Hue and Saturation: In Photoshop, you can use the Hue and Saturation function to make final colour adjustments to your landscape images. This gives you control over specific colour ranges, allowing you to saturate or desaturate them as needed.
These are just a few examples of the creative effects you can achieve using Adobe Camera Raw. Experiment with the various tools and sliders to enhance your landscape photographs and make them pop!
Smoke Detector Camera Batteries: How Long Do They Really Last?
You may want to see also
![]()
Using the Spot Removal tool
The Spot Removal tool in Adobe Camera Raw (ACR) is a powerful feature that allows you to repair selected areas of your image with ease. Here's a detailed guide on how to use the Spot Removal tool effectively:
Selecting the Spot Removal Tool:
- Open your image in Adobe Camera Raw.
- From the toolbar, select the Spot Removal tool. It's usually denoted by a circle with a dot in the middle.
Understanding the Tool Options:
- Once you've selected the Spot Removal tool, you'll see the Type menu. This menu offers two main options: Heal and Clone.
- "Heal" matches the texture, lighting, and shading of the sampled area to the selected area, blending the source pixels seamlessly.
- "Clone" applies the sampled area of the image to the selected area as-is, without any blending.
- Zoom in on the area of your image that you want to repair or retouch.
- Adjust the size of the brush cursor using the bracket keys on your keyboard. Left bracket ([) makes the brush smaller, while right bracket (]) makes it larger.
- Now, you have two main ways to use the Spot Removal tool:
Method 1:
- Press Ctrl-Alt-drag/Cmd-Option-drag outward from the center of the blemish or imperfection. This creates and scales a target circle.
- Alternatively, simply click on the blemish, and ACR will automatically create a target circle.
- ACR will also create a linked source circle in a similar area, and the blemish will be repaired.
Method 2:
- Drag your cursor across the blemish to create a target region.
- When you release the mouse button, you'll see a red pin and dashed border surrounding the target region, along with a green pin and dashed border surrounding a source region.
Advanced Options:
- To display a black-and-white version of the photo, check the "Visualize Spots" option. This helps you pinpoint dust spots or other irregularities more easily.
- You can adjust the black-to-white threshold using the slider below the "Visualize Spots" checkbox.
- If you want to cycle through alternative source locations that ACR detects, simply press the forward slash (/) key.
- To reposition a target or source region, simply drag inside it.
- The Opacity slider lets you control the opacity of the repair, allowing you to blend it seamlessly with the surrounding area.
- To resize the target and source circles, drag the dashed border.
- To add to an existing region or convert a circle to a region, use the Shift key along with clicking or dragging just outside the existing region.
- To remove a pin or circle, hold down Alt/Option and click on it. Alternatively, you can delete multiple pins and circles by Alt/Option-dragging a marquee across them.
- To remove all pins and circles, click the "Clear All" button.
- To hide all regions and circles temporarily, uncheck the "Show Overlay" option.
- To redisplay the Spot Removal overlays, simply select the Spot Removal tool again or press its keyboard shortcut (usually "B").
With these steps, you'll be able to master the Spot Removal tool in ACR and effectively remove imperfections from your images.
Defringing in Camera Raw: A Step-by-Step Guide
You may want to see also
Frequently asked questions
Adobe Camera Raw is a powerful tool built into both Photoshop and Lightroom that allows users to edit RAW image files. It offers a range of options, from white balance and exposure adjustments to lens corrections and creative effects, giving users full control over their images.
When you open a RAW file with Photoshop, it will automatically open in Adobe Camera Raw. Here, you can make any desired changes before loading the image into Photoshop as a layer.
Shooting in RAW gives you access to the full uncompressed data file, providing greater flexibility during the editing process. It allows you to adjust exposure, correct colors, fix lens distortion, and more, ensuring you always have the highest quality image to work with.
Camera Raw offers a range of tools and sliders to adjust your image, including White Balance, Tint, Exposure, Contrast, Highlights, Shadows, Whites, Blacks, Clarity, Vibrance, and Saturation. You can also make local adjustments using tools like the Radial Filter, Graduated Filter, or Adjustment Brush to apply changes to specific parts of your image.