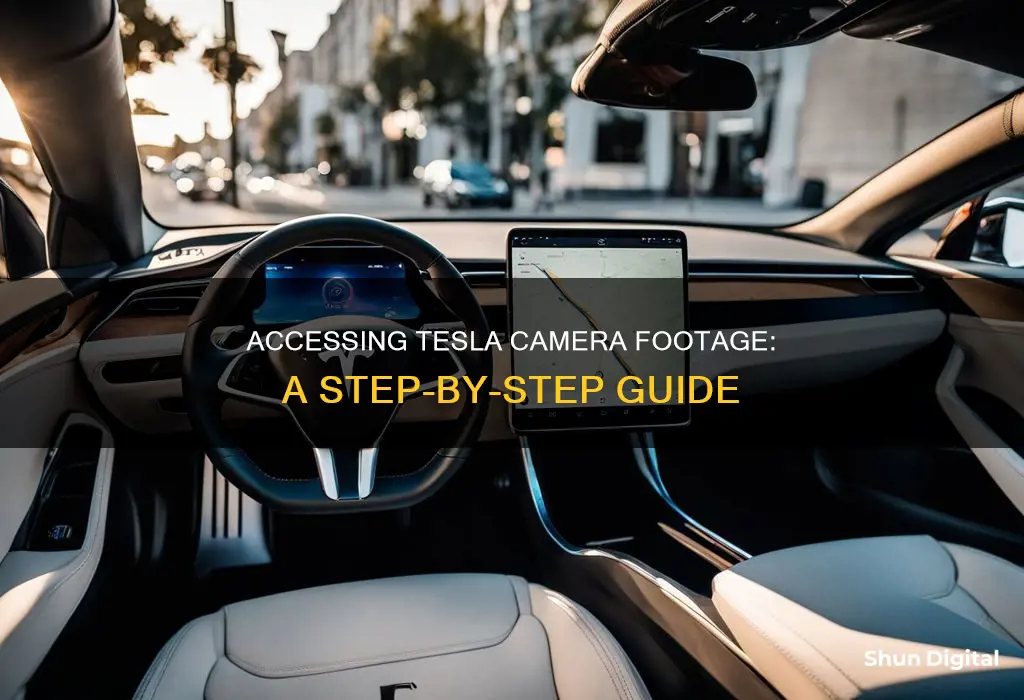
Tesla's camera footage can be viewed in a few different ways. The first is through the touchscreen in the car itself. The second is by inserting the TeslaCam USB drive into a computer and selecting the relevant directories. The third is by using a data recovery software to recover deleted or lost footage.
| Characteristics | Values |
|---|---|
| How to view Tesla camera footage | By updating the software to version 10.2, you can view past dashcam and Sentry mode footage on the car's screen. |
| How to save Tesla camera footage | To save footage, tap the camera icon with a red dot to save the last 10 minutes of recorded footage to the drive. |
| How to access saved Tesla camera footage | Insert the TeslaCam USB drive into your computer and click "Browse" or "Choose Files". Select the TeslaCam directory or one of its subdirectories (SentryClips, SavedClips, or RecentClips) that includes the camera files. |
| How to recover deleted Tesla camera footage | Use data recovery software such as Disk Drill, which can scan all storage devices and recover video files. Alternatively, ask Tesla to send you a backup file from the cloud. |
What You'll Learn

How to view Tesla camera footage on a touchscreen
To view Tesla camera footage on a touchscreen, you will need to ensure that your Tesla model is equipped with the necessary hardware and software. The ability to view Tesla camera footage directly on the car's touchscreen was introduced with software version 10.2 (2020.12.5).
Assuming your Tesla model has the required software, you can follow these steps to view camera footage on the touchscreen:
- Park your vehicle: Make sure your Tesla car is in Park. This is a necessary step to access the camera footage.
- Insert a USB drive: If you haven't already, insert a properly formatted USB drive into your vehicle's USB port. This USB drive will store the camera footage. For Model 3, you can use either of the two ports inside the center console. For Model X, it is recommended to use the USB port in the glove box.
- Enable Dashcam: Before viewing footage, ensure that the Dashcam feature is enabled. You can do this by navigating to "Controls" and then selecting "Dashcam" or "Safety" > "Dashcam," depending on your model.
- Access the viewer: Once Dashcam is enabled, you can access the viewer by touching the Dashcam icon on the touchscreen. The icon is located in the app launcher and can be added to the bottom bar for easy access.
- View recorded clips: After launching the viewer, you will see a list of all saved clips, labelled with the date and time of the recorded footage. You can select the clips you want to view, and the footage will automatically play.
- Toggle camera angles: While viewing the footage, you can switch between different camera angles by toggling the boxes on each corner of the screen. This allows you to view footage from the front, sides, and rear of the vehicle.
- Save or delete clips: From the viewer, you can choose to save or delete clips. Touching the dashcam icon will save the current clip, while touching the trash can icon will delete it.
It is important to note that the availability of certain features, such as Sentry Mode, may vary depending on your market region, vehicle configuration, options purchased, and software version. Always refer to your specific Tesla model's owner's manual for the most accurate and up-to-date instructions.
Toshiba Fire TV: Camera-Equipped or Not?
You may want to see also

How to view Tesla camera footage on a computer
To view Tesla camera footage on a computer, you will need a USB flash drive and a computer. Here is a step-by-step guide:
Format a USB Flash Drive
Insert a USB flash drive into your vehicle's USB port, preferably the one in the glove box. For vehicles manufactured from 2020 onwards, a pre-formatted USB flash drive should be included in the glove box. If not, you can format the flash drive with your Tesla by inserting it into the USB port and navigating to Controls > Format USB Drive. Alternatively, you can format the flash drive on a computer.
Enable Dashcam or Sentry Mode
Dashcam and Sentry Mode are features that allow your Tesla to record video footage of your vehicle's surroundings. To enable Dashcam, navigate to Controls > Dashcam. To enable Sentry Mode, navigate to Controls > Sentry Mode > On. The Sentry Mode icon in Controls will turn red when it is enabled.
Save Footage to the USB Drive
Dashcam offers three settings to choose from: Auto, Manual, and On Honk. In Auto, Dashcam automatically saves footage when your Tesla detects a safety-critical event, such as a collision. In Manual, you must manually touch the Dashcam icon to save the most recent ten minutes of footage. On Honk allows you to save footage when you press the horn, in addition to Auto or Manual.
Sentry Mode is a security feature that alerts you when it detects possible threats to your vehicle. When enabled, it saves footage of any security events to the USB drive.
Insert the USB Drive into Your Computer
Once you have saved the desired footage to the USB drive, remove it from your Tesla and insert it into a computer.
Navigate to the TeslaCam Folder
On your computer, open the TeslaCam folder on the USB drive. The footage is organised by timestamp, making it easy to locate specific clips.
Play the Videos
The video files should play automatically in your browser. Most systems require Safari or Firefox browsers due to the video codec support. You can also use a mobile phone browser if it has access to the video files, but you will need an adapter cable to connect the USB drive to your phone.
Hisense TV: Are There Hidden Cameras?
You may want to see also

How to view Tesla camera footage on a mobile phone
To view Tesla camera footage on your mobile phone, you will need to use the Tesla mobile app, available on iOS and Android. Note that the "Sentry Mode Live Camera Access" feature is currently only available with the iOS app.
First, ensure that your Tesla vehicle is equipped with the necessary camera features. Depending on the market region, vehicle configuration, options purchased, and software version, your Tesla may not be equipped with a dashcam or Sentry Mode.
To enable the dashcam feature, insert a properly formatted USB drive into your vehicle's USB port, preferably the one in the glovebox. You can format the flash drive using your Model X by inserting the flash drive and navigating to Controls > Safety > Format USB Drive, or on a computer.
Once the USB drive is inserted and formatted, enable the dashcam by navigating to Controls > Dashcam. You can choose between Auto, Manual, and On Honk settings to determine how and when footage is saved.
To view the footage, remove the USB drive from your vehicle and insert it into your computer. Open the TeslaCam folder to view the video files, which are organised by timestamp.
Alternatively, if you have enabled Sentry Mode, you can use the Tesla mobile app to remotely view the area surrounding your vehicle. To enable this feature, navigate to Controls > Safety > Sentry Mode > View Live Camera via Mobile App on the touchscreen. Ensure that there are no occupants in the vehicle and that all doors are locked. Then, on the mobile app, go to Safety > Sentry Mode > View Live Camera. Note that this feature is limited to approximately one hour of cumulative usage per day.
Understanding Camera Settings: TV or Shutter Speed Priority
You may want to see also

How to save Tesla camera footage
To save Tesla camera footage, you will need a USB drive with a minimum of 1.8 GB of storage. If your USB is not already formatted to Fat32 or (MS-DOS (FAT) for Mac), you will need to reformat it.
To reformat your USB, plug it into your computer and open up a free partition manager. Select your USB from the list of drives, then select "format partition". Choose the Fat32 format and select "Apply".
Once your USB is formatted, create a new folder and name it TeslaCam. Plug the USB into your Tesla's USB port. You should see a red recording indicator on your display, indicating that the system is running.
To save Dashcam footage, tap the camera icon with the red dot to save the last 10 minutes of recorded footage to the drive. This is saved to your SavedClips folder on the drive. You can also enable the auto-save feature, which will automatically save footage when the horn is honked.
Sentry Mode recordings are automatically saved in the SavedClips folder until you delete them. Sentry Mode alert footage is also saved to the SavedClips folder.
Approximately one hour of the latest driving footage is saved to the RecentClips folder. This footage overwrites itself to maintain only one hour of the most recent footage.
Trail Cameras: How Far Can They See?
You may want to see also

How to recover lost or unsaved Tesla camera footage
If you're looking to recover lost or unsaved Tesla camera footage, there are several methods you can try. It's important to act quickly, as new footage can overwrite old recordings. Here are the steps you can take:
Check your Tesla's USB Drive:
Tesla vehicles record dashcam footage on a USB drive. By default, only one hour of footage is kept in a continuous loop, but you can manually save clips by pressing the record button. Even if footage is no longer visible, it may still be recoverable using data recovery software.
Use Data Recovery Software:
Data recovery software can help you restore lost or deleted footage from your Tesla's USB drive. One recommended option is Disk Drill, which can expertly recognize and recover MP4 files and work with the exFAT file system used by Tesla. Here's how to use it:
- Download and install Disk Drill on your PC or Mac.
- Remove the Tesla USB drive from your vehicle and connect it to the computer with Disk Drill.
- Launch Disk Drill and select the Tesla USB drive. Click the "Search for lost data" button to initiate a scan.
- Once the scan is complete, Disk Drill will display a list of recoverable files. Use filters and preview features to find your desired footage.
- Select the files you want to recover and specify a save location on your computer, different from the Tesla USB drive.
Try Other Methods for Specific Issues:
- Corruption or File System Issues: If you're dealing with corruption or file system issues, you can try using the CHKDSK (Check Disk) utility on Windows. This can help fix logical errors and make your footage accessible again.
- Reinstall Drivers: Reinstalling the drivers of your USB stick can sometimes fix issues. You can do this by opening Device Manager, right-clicking on the USB stick, selecting "Uninstall device," and then reconnecting the USB stick.
- Assign a New Drive Letter: You can also try reassigning the drive letter of the USB stick. Connect the USB stick to your computer, open Disk Management, right-click on the USB stick, and select "Change Drive Letter and Paths."
Contact a Professional Data Recovery Service:
If you're uncomfortable using data recovery software or if your storage device is physically damaged, consider reaching out to a professional data recovery service. These services employ technicians with specialized expertise and tools to perform complex recoveries.
Prevent Future Loss:
To prevent the loss of important footage, remember to manually save recordings, especially after an incident. Additionally, regularly transfer and back up your footage to a separate storage device or cloud service to ensure you have multiple copies.
By following these steps, you can increase your chances of recovering lost or unsaved Tesla camera footage and take proactive measures to avoid future loss.
Cameras: Always Watching, Always Listening?
You may want to see also
Frequently asked questions
Ensure your vehicle is in Park and touch the Dashcam icon in the app launcher. Videos are organised by timestamp.
Select the camera icon in the top-right corner of your touchscreen. Select 'Launch Viewer' and browse through your available footage to find the video you need.
Yes, Dashcam captures video when you're driving. It continuously stores the most recent hour of video and will also save the most recent 10 minutes of video when you press the Dashcam button or honk your horn.
To save Dashcam footage, tap the camera icon with the red dot to save the last 10 minutes of recorded footage to the drive. This is saved to your SavedClips folder on the drive. Approximately one hour of the latest driving footage is saved to the RecentClips folder of the drive.


