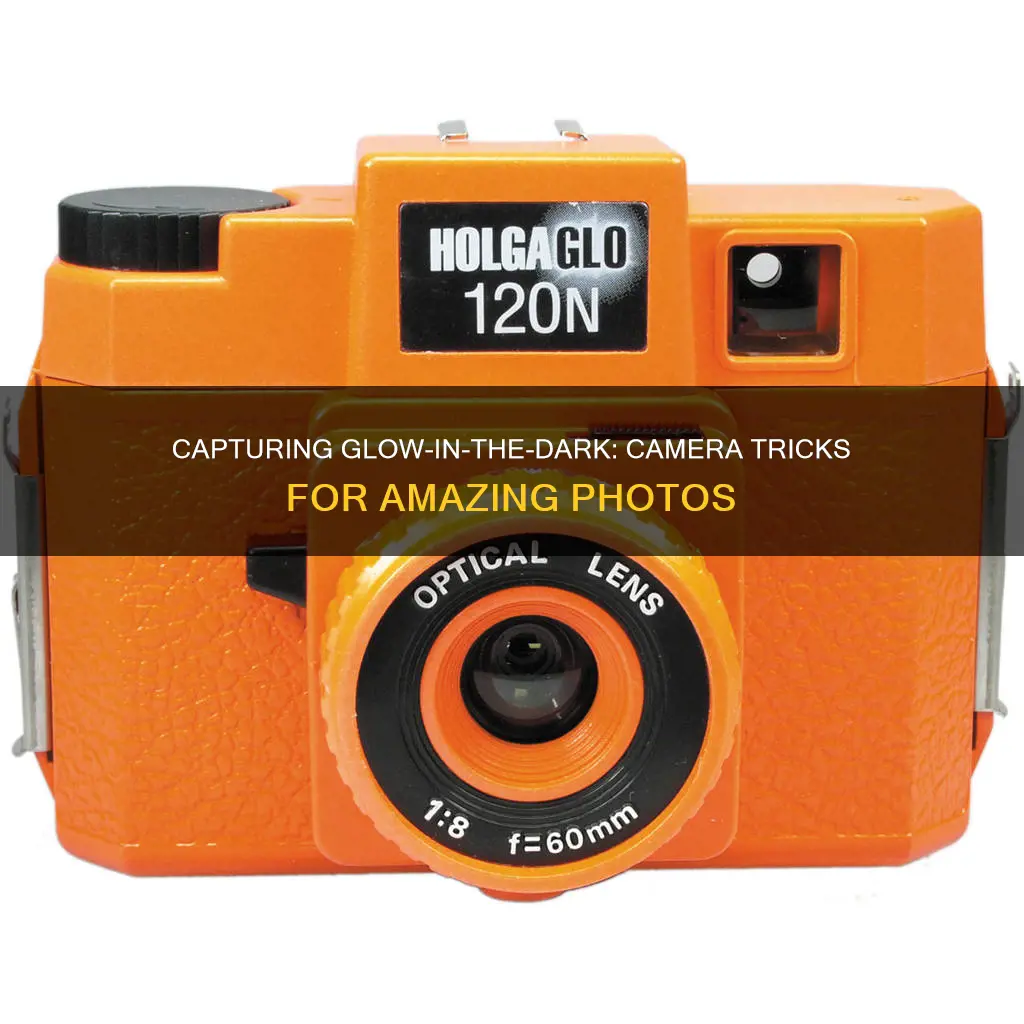
Capturing glow-in-the-dark objects on camera can be tricky, but it's not impossible. The key is to adjust your camera settings and find a dark environment. First, make sure your camera is set up on a tripod or another stable surface to prevent blurriness. Next, adjust your camera settings: increase the ISO to a high number like 800 or 1000, lower the f number to around 2.8 to open up the lens, and slow down the shutter speed to around 2 seconds. You'll also want to turn off the flash and make sure your glow-in-the-dark object is fully charged by placing it in direct natural light. With these tips, you'll be able to capture the glow-in-the-dark effect on camera!
| Characteristics | Values |
|---|---|
| Camera settings | Low lighting, manual settings |
| Flash | Off |
| Camera placement | Steady, on a tripod |
| ISO | 40-1200+ |
| Aperture | Low f-stop, F2.8 or F5.6 |
| Shutter speed | Slow, 10-30 seconds |
| Lighting | Dark room, natural light |
What You'll Learn

Use a tripod to stabilise your camera
Using a tripod to stabilise your camera is essential when taking glow-in-the-dark photos. This is because even a little shakiness can affect the photo quality in low-light, long-exposure shots. By using a tripod, you can keep your camera steady and prevent blurry pictures.
When choosing a tripod, look for one that is sturdy and can support the weight of your camera. It should also be easy to adjust so that you can quickly change the height and position of your camera as needed. If you don't have a tripod, you can try placing your camera on a flat surface to stabilise it.
Once you have your tripod set up, be sure to use your camera's timer function if it has one. This will help to reduce any potential camera shake when you press the shutter button. If your camera doesn't have a timer function, you can try using a remote shutter release or a cable release to minimise camera shake.
Another benefit of using a tripod is that it allows you to carefully compose your shot and make precise adjustments to your camera's settings without worrying about holding the camera. Take the time to frame your photo, focus on your subject, and adjust your camera's settings while the camera is stabilised on the tripod.
Additionally, when using a tripod, be mindful of your surroundings and avoid placing the tripod in a location where people might bump into it, causing the camera to shake or move. Also, be cautious when extending the tripod legs to ensure that it remains stable and balanced, especially when using heavier camera equipment.
Galaxy Watch 3: Camera Expectations and Realities
You may want to see also

Adjust the aperture and shutter speed settings
Capturing glow-in-the-dark objects in a camera requires you to adjust the aperture and shutter speed settings. Here are some detailed instructions to help you with this:
Understanding Aperture and Shutter Speed:
- Aperture refers to the size of the opening in your camera's lens that allows light to pass through. It is measured in f-stops, where a lower f-number indicates a larger aperture. For glow-in-the-dark photography, you generally want a low f-stop to allow more light to reach the camera sensor.
- Shutter speed refers to the length of time the camera shutter remains open, exposing light onto the camera sensor. It is typically measured in fractions of a second or whole seconds. A longer shutter speed, also known as a "slow" shutter speed, results in a brighter image, while a faster shutter speed freezes motion and creates a darker image.
Adjusting the Settings:
- Set your camera to Manual mode, which allows you to adjust both the aperture and shutter speed manually.
- Start by adjusting your aperture to a low f-stop, such as f/1.8 or f/2.8. This will open up your lens to let in as much light as possible, which is crucial for capturing the glow-in-the-dark effect.
- Next, adjust your shutter speed. For glow-in-the-dark photography, a longer shutter speed is generally recommended to allow more light to reach the sensor. Try starting with a shutter speed of 1/15th of a second or 1/8th of a second. You may need to experiment with different shutter speeds to find the ideal setting for your lighting conditions.
- It's important to note that a longer shutter speed can result in motion blur if your camera or the subject moves during the exposure. To avoid this, use a tripod to keep your camera steady, and make sure there is no movement in the frame while the shutter is open.
- Additionally, a very long shutter speed may result in overexposure, so be sure to monitor your images and adjust accordingly.
- If you're using a DSLR or mirrorless camera, you may also need to increase your ISO setting to a higher value, such as 1200 or above. This will increase the camera's sensitivity to light, making it more suitable for low-light conditions. However, be cautious as very high ISO values can introduce graininess to your images.
- Finally, remember to turn off your flash, as it can interfere with the glow-in-the-dark effect you're trying to capture.
By carefully adjusting your aperture, shutter speed, and ISO settings, you should be able to capture impressive photos of glow-in-the-dark objects. Experiment with different settings and lighting conditions to refine your technique and achieve the desired results.
Mounting Cameras to Sky-Watcher: A Comprehensive Guide
You may want to see also

Charge your glow-in-the-dark object
To charge your glow-in-the-dark object, you need to expose it to a light source. The object's photoluminescent material contains inorganic phosphors that absorb light, particularly in the visible and ultraviolet wavelengths, and then re-emit visible light, resulting in a "glow".
The sun is an ideal source of light to charge your glow-in-the-dark object, and it will charge it to its full potential. However, it is important to note that the brightness of the glow will depend on the amount of ambient light present. For the best results, allow your glow-in-the-dark object to charge in the sun and then view it in a dark environment, as the glow will appear brighter when your eyes are adjusted to the darkness.
If you are charging your object outdoors, be aware that the transition from sunset to complete darkness can take a while, and streetlights can also affect the visibility of the glow. During this transition period, you may need to recharge your object with an ultraviolet flashlight to see the glow. Alternatively, wait until your eyes have adjusted to the darkness, and you will likely be able to see the glow without needing to recharge.
The volume of photoluminescent material also matters. A thicker layer of glow powder or paint will result in a brighter and longer-lasting glow. Additionally, some colours, such as aqua and green, are brighter than others.
If you wish to accelerate the charging process, you can use an ultraviolet (UV) light source. The approximate charge times for glow-in-the-dark products using UV light are 3-4 minutes. Direct sunlight takes 7-8 minutes to charge, while fluorescent light takes 21-23 minutes, and incandescent light takes 24-26 minutes.
Connecting Your Camera to a TV: Easy Steps to Follow
You may want to see also

Find a dark room
To capture the glow-in-the-dark effect on camera, you'll need to find a dark room with no light seeping in. Bathrooms without windows are a good option. If you can't find a room that's completely dark, try to minimise the amount of ambient light. The darker the room, the better, as this will help your camera to pick up the glow.
Before you set up your camera, "charge" your glow-in-the-dark object by placing it in direct natural light or using your camera flash. This will ensure that it's glowing brightly when you're ready to take the photo.
Once your object is charged and you've found a suitably dark room, it's time to set up your camera. Place it on a tripod or another stable surface to avoid blurry photos. If you're using a DSLR camera, you'll need to switch to manual mode and adjust your settings. Make sure your flash is turned off, and adjust the ISO to a high number, such as 800 or 1000. Set the "f" number to a low number, like 2.8 or 5.6, to open up the lens and allow more light to enter. Finally, adjust the shutter speed to a slow setting, such as 2.5 or 10-15 seconds.
Now, you're ready to capture the glow! Set up your object in the dark room with the lights still on, and focus your camera on it. Then, turn off the lights and snap your photo. With the right settings and a dark environment, your camera should be able to capture the glow-in-the-dark effect.
TV Cameras at NFL Games: How Many Are There?
You may want to see also

Adjust the ISO settings
Adjusting the ISO settings on your camera is crucial when trying to capture glow-in-the-dark objects. ISO measures your camera's sensitivity to light, and adjusting this setting can help you achieve the desired brightness for your photos. Here's a detailed guide on how to adjust your ISO settings for capturing glow-in-the-dark images:
Firstly, it's important to understand the impact of ISO on your images. A lower ISO value will result in darker pictures, while a higher ISO value will make your photos brighter. However, be cautious not to increase the ISO too much, as extremely high values can introduce graininess to your images. Play around with the settings to find the right balance between brightness and image quality.
When photographing glow-in-the-dark objects, it is recommended to use a high ISO setting. Start with an ISO of 1200 or higher, as this will increase the camera's sensitivity to the ambient light emitted by the glow-in-the-dark objects. Keep in mind that the specific ISO value you choose will depend on the lighting conditions and the intensity of the glow.
If you're using a DSLR camera, navigate to the settings menu and look for the ISO option. You may find it in the main control LCD monitor display, where you can toggle through various menu options. Select the ISO setting and adjust it according to your preferences.
For those using a smartphone, such as a Note 8, you can access Pro mode in your camera settings. This will allow you to adjust the ISO, which typically ranges from 40 to 800 on smartphones. Experiment with different ISO values to find the sweet spot that captures the glow effectively without sacrificing image quality.
It's worth noting that while a higher ISO will brighten the glow-in-the-dark object, it will also brighten the surrounding area. Therefore, consider the overall effect you want to achieve in your photograph. If you're aiming for a darker, more mysterious ambiance, stick to lower ISO settings. On the other hand, if you want to ensure the glow is visible and bright, opt for a higher ISO.
Remember, the key to capturing glow-in-the-dark objects effectively is to strike a balance between ISO, shutter speed, and aperture settings. Don't be afraid to experiment with different combinations of settings to find the perfect configuration for your specific scenario. With some trial and error, you'll be able to create captivating photographs that showcase the unique glow-in-the-dark effect.
The Crucial Role of TV Camera Operators
You may want to see also
Frequently asked questions
You can see glow in the dark on camera by using a long exposure. Set your camera on something steady like a tripod, and adjust the settings to a high ISO (800-1200), a low "f" number (2.8-5.6), and a slow shutter speed (10-30 seconds).
To see glow in the dark on camera, you should use a high ISO (800-1200), a low "f" number or F number (2.8-5.6), and a slow shutter speed (10-30 seconds). You should also turn off your flash and "charge" your glow in the dark object by keeping it in a bright place or using direct natural light.
Eyes and cameras operate differently. Eyes have retinas and different types of detectors, and the brain fills in the details of what you're looking at. Cameras just need to detect light levels, colour, and brightness, so they won't pick up everything unless you adjust the settings.


