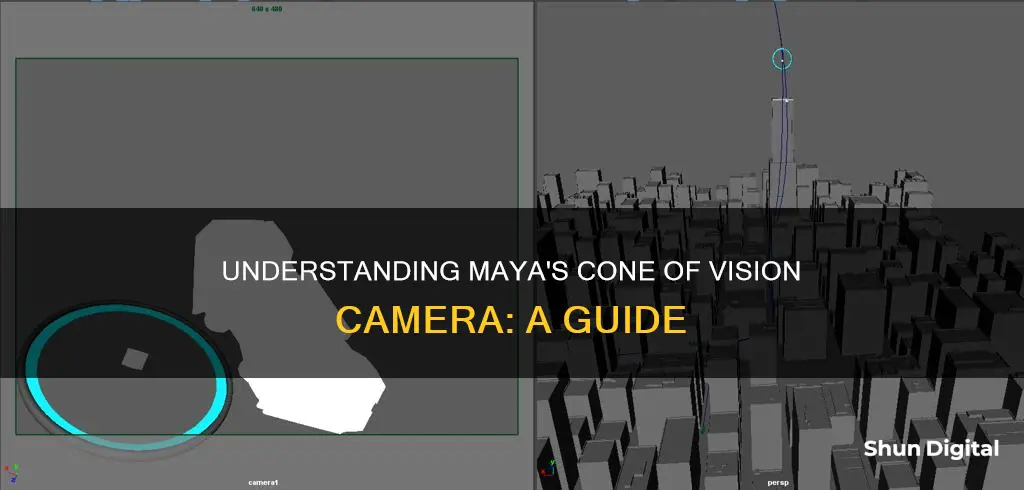
Maya is the world's leading 3D software, which has been used to create imagery and visual effects for films and video games. The Maya Camera Model is a virtual camera that mimics the basic principles of a real-world camera, including focal length, depth of field, f-stop and focus distance. One of the key characteristics of cameras, including the Maya Camera, is perspective foreshortening, which is crucial to creating the illusion of 3D on a 2D image. To see the cone of vision in Maya, users can access the Camera Attribute Editor by selecting View > Camera Attribute Editor, which displays camera attributes such as the near and far clipping planes, frustum display controls, and stereoscopic camera settings.
What You'll Learn

Camera's focal length
The focal length of a camera in Maya refers to the distance from the centre of the lens to the film plane. This is usually measured in millimetres or, less commonly, in inches (with 1 inch being approximately 25mm). The focal length of a lens determines how big an object appears in the frame. The shorter the focal length, the closer the focal plane is to the back of the lens.
There are two ways to make an object appear larger in the frame: by moving the camera closer to the object, or by increasing the focal length of the lens. The object's size in the frame is directly proportional to the focal length. For example, if you double the focal length while keeping the distance from the camera to the object the same, the object will appear twice as large in the frame.
The size of the object in the frame is also affected by its distance from the camera. If you double the distance between the object and the camera, the object will appear half as big in the frame. As you adjust the camera's focal length, the angle of view will narrow or expand, making objects seem closer or farther away. When you increase the focal length, the angle of view narrows, causing objects to appear closer and larger in the frame. Conversely, shortening the focal length widens the angle of view, making objects seem farther away and smaller.
In Maya, you can adjust the focal length and angle of view by selecting "View > Camera Attribute Editor". You can also set the focal length when creating a new camera.
Sony XBR-65X850D TV: Is There a Built-in Camera?
You may want to see also

Perspective projection
The Maya software constructs a projection matrix, using 6 parameters that define the viewing frustum of the camera. These parameters include the left, right, top, bottom, near and far parts, which make up the entire perspective viewing area of the camera, known as the camera frustum.
To achieve perspective projection in Maya, follow these steps:
- Open a new scene in Maya and create a new camera by going to Cameras > Camera under the Create menu.
- Rename the camera to Proj_cam and move it towards the end of the grid on the Z-axis.
- Go to Panels > Look Through Selected.
- Adjust the camera settings by going to View > Camera Settings > Resolution Gate. Change the resolution size by clicking on the render settings button under the Image Size tab.
- Import the image you want to project by going to View > Image Plane > Import Image.
- Check the 'looking through camera' radio button and select 'Fill' under the Fit dropdown menu. Click 'Fit to Resolution Gate'.
- Create a cube by going to Create > Polygon > Cube. Translate, scale and rotate the cube to align it with your image.
- Duplicate the cube and scale the new cubes to resemble the shapes in your image.
- Create a plain surface to receive the projection of the background by going to Create > Polygon Primitives > Plain. Rotate and scale it accordingly.
- Add a shader by navigating to Window > Rendering Editors > Hypershade.
- In the Hypershade window, click on the Lambert icon under the Create Maya Nodes > Surface tab. Rename the shader to Projection and open the material Attributes editor.
- Select 'As projection' and then click on the Perspective option under the Projection Attributes window.
- Under the Camera Projection Attributes tab, select Proj_camshape under Link To Camera and set Fit Type to Match Camera Resolution.
- Load your chosen projected image and duplicate the Proj_cam camera. Rename the new camera to Render_cam.
- Render the current frame and press the Keep Image button.
- Set a key frame for the Render_cam camera and rotate it to a different angle. Render again to see if the projection is working.
By following these steps, you can achieve perspective projection in Maya, allowing you to project images onto simple geometry and create the illusion of detail and movement.
Accessing Geeni Cameras on PC: A Step-by-Step Guide
You may want to see also

Camera frustum
The Maya Camera Model is a virtual camera that mimics the basic principles of real-world cameras. It is an essential aspect of creating the imagery and bringing the director's vision to life. While virtual cameras are not bound by the same constraints as their real-world counterparts, they are defined by every aspect of a camera, including the focal length, depth of field, f-stop, and focus distance.
The camera frustum is a crucial concept in understanding the camera's field of view. It refers to the entire perspective viewing area of the camera, composed of the left, right, top, bottom, near, and far parts. In other words, it defines the boundaries of what the camera can see.
To visualise the camera frustum in Maya, a tool called "focus-plane" can be used. This is a Python script that creates a visualisation frame of the camera frustum and the focus distance plane. It allows users to see a physical representation of the camera's focus and manually adjust it to set the desired focus distance for the shot. The tool is designed to provide a simple way for Maya users to manipulate and understand the focus of their virtual camera. By using this script, users can easily determine which objects are in focus and which are not, as well as what is currently within the camera's field of view.
To utilise the "focus-plane" tool, users must first copy the script from the "focus-plane.py" file and paste it into Maya's Python console. It is then recommended to drag the highlighted code from the console to the custom tool shelf to create a custom button for repeated use. After selecting the desired camera to apply the script to, users can switch between viewing the frustum and focus plane on or off. Additionally, moving the focus distance under the camera will adjust the plane accordingly.
Is Your TV Spying on You? Built-In Cameras and Your Privacy
You may want to see also

Focal length and f-stop
Focal length refers to the distance from the film or sensor to the optical centre of the lens. It is typically measured in millimetres and directly influences the field of view (FOV) or the angle of view of the camera. Longer focal lengths result in narrower fields of view, making objects appear larger in the frame, while shorter focal lengths yield wider fields of view, making objects appear smaller. Common focal lengths for 35mm film or "full-frame" digital cameras are 18-28mm for wide-angle shots, 35-55mm for "natural"-looking perspectives, 80-200mm for long shots and portraits, and 200-1200mm for extremely long shots in wildlife or sports photography.
The f-stop setting, also known as the aperture setting, controls the amount of light that passes through the lens and reaches the film or sensor. It directly influences the depth of field (DOF), which is a technique used to convey scale and draw attention to specific areas of the composition. Lower f-stop values increase the amount of light entering the camera, resulting in a shallower depth of field and a softer, more blurred background. This technique is often used to isolate the subject and create a creamy bokeh effect. On the other hand, higher f-stop values reduce the amount of light, resulting in a deeper depth of field and a sharper, more focused background.
The relationship between focal length and f-stop is essential to understand. Adjusting the focal length affects the field of view and the size of objects within the frame, while changing the f-stop influences the depth of field and the amount of background blur. These two settings work together to determine the overall look and feel of an image.
Maya's virtual cameras offer unparalleled creative control by allowing users to adjust these settings independently and to extreme levels that may not be physically possible with real-world cameras. This freedom enables artists and filmmakers to push the boundaries of visual storytelling and create stunning, hyper-realistic imagery.
On-Camera Sex: Reality or Fiction?
You may want to see also

Camera placement
To place a camera, you can go to the Outliner, select the camera, and adjust its position from a top view. You can also use the viewport control by holding the Alt or Option key and using the middle mouse buttons to navigate the scene. The angle of view and focal length are crucial in camera placement. Adjusting the focal length alters the perspective and field of view, allowing for a wider or flatter image.
Another technique for camera placement is to use hotkeys. In Maya, you can set up specific hotkeys to control the camera angle. For example, "4" for the left view, "5" for the front view, "6" for the right view, "8" for the top view, "2" for the bottom view, and "3" for the perspective view.
Additionally, you can create a Camera and Aim to gain more control over how the camera is pointed. This brings in two objects: the camera and the camera aim. The camera aim determines where the camera is pointed, allowing you to position it towards the centre of the scene.
By understanding these camera placement techniques and utilising the camera functions and attributes, you can effectively frame and compose your scenes in Maya.
TCL 4K Roku TV: Camera and Microphone Features Explored
You may want to see also
Frequently asked questions
In the Attribute Editor, select View > Camera Attribute Editor.
Troubleshooting:
Check that Auto Render Clip Plane is on. When off, the near and far clipping planes are set to the Near Clip Plane and Far Clip Plane attribute values.
Turn off Auto Render Clip Plane and manually set the Near Clip Plane and Far Clip Plane to limit which objects render based on their distance from the camera.
Customisation:
Yes, go to the Camera Attribute Editor and select the Background Colour attribute.
Yes, in the Camera Attribute Editor, click the Create button under the Image Plane section.


