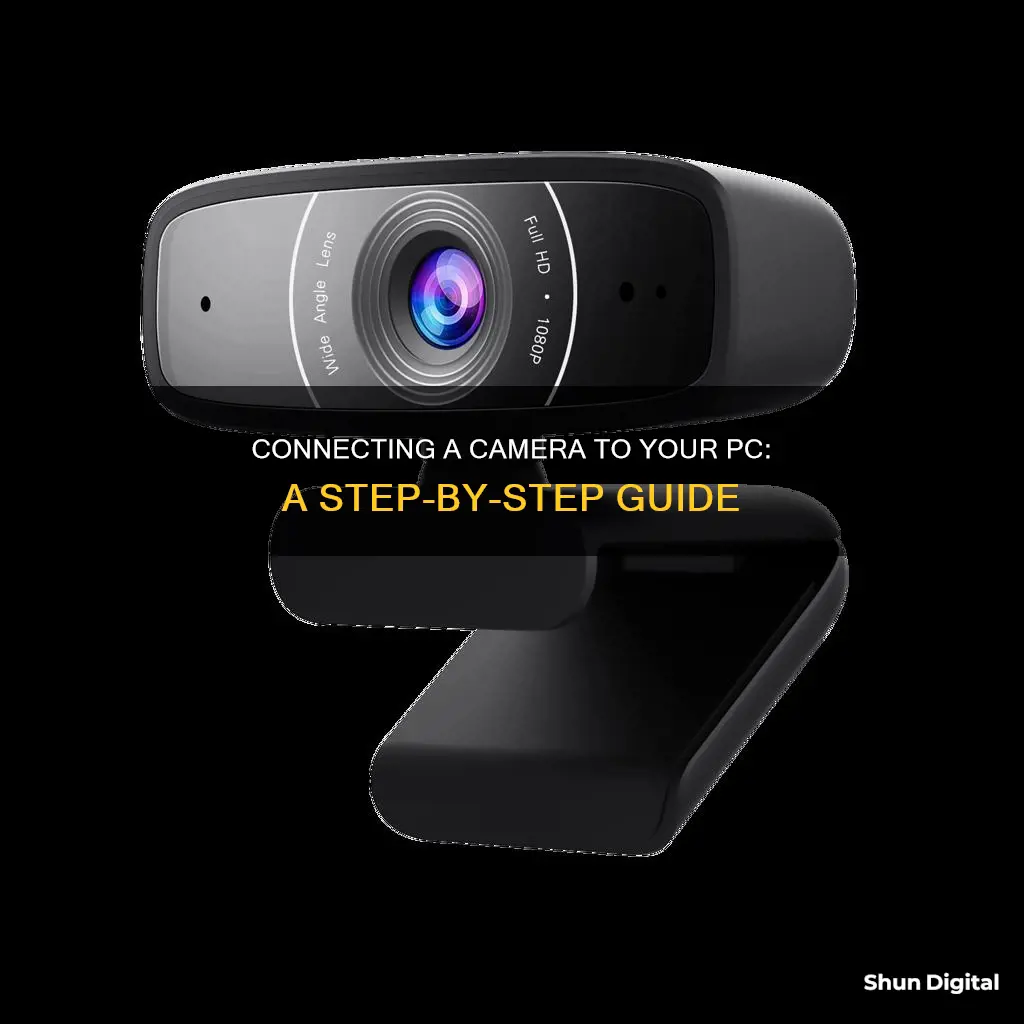
If you're looking to use your PC's built-in camera or an external webcam, you can do so by using the Camera app, which is available on Windows 10 and 11. To open the Camera app, you can either select the Start button and choose the Camera app from the list of apps or simply search for Camera in the search bar and open the app. Once the Camera app is open, you can use it to take photos and videos, as well as adjust settings such as the aspect ratio, video quality, and microphone settings. If you have multiple cameras, you can switch between them by selecting Change Camera within the app. It's important to ensure that your camera is enabled and that you have the necessary drivers installed, especially if you're using an external webcam.
What You'll Learn

How to see your camera on a Windows PC
If you want to see your camera on a Windows PC, you can do so by opening the Camera app.
How to open the Camera app:
- If you're using Windows 11, click the Start button, go to the All apps list, and click on the Camera shortcut.
- If you're using Windows 10, open the Start Menu and scroll down the app list until you find the Camera app.
- Alternatively, you can use the search function: click on the search bar or magnifying glass icon in the bottom-left corner of the screen, and search for "Camera". Then, click on the Camera app when it appears in the results.
Using the Camera app:
Once you've opened the Camera app, you can use it to take photos and videos. The app also has different modes, such as "Take Photo", "Take Video", "Scan Barcode", "Take Document", "Take Whiteboard", and "Take Panorama".
Troubleshooting:
If your camera isn't working, make sure it is enabled and turned on. If you're using an external webcam, check that it is plugged in and set up correctly. You may also need to install software or updates for it. If you're still having issues, try restarting your computer, checking your antivirus software, or updating your camera's drivers.
Viewing VRChat and Your Camera Simultaneously: A Guide
You may want to see also

How to see your camera on a Mac
Many Mac computers have a built-in FaceTime or FaceTime HD camera located near the top edge of the display. The camera automatically turns on when you open an app that uses the camera, such as FaceTime, Photo Booth, or QuickTime. A small green light beside the camera will glow to indicate that the camera is on.
To manually enable the camera on your Mac, you can follow these steps:
- Open Finder.
- Go to the Menu bar in the top left corner.
- Click 'Go' and then 'Applications'.
- Locate and double-click on either Photo Booth or FaceTime.
- The green light next to the camera lens will turn on, indicating that the camera is active, and your camera view should appear in the app window.
You can also use the Hand Mirror app, which provides one-click access to your Mac's camera directly from the menu bar.
To control which apps have access to your camera, follow these steps:
- Go to the Apple menu.
- Click 'System Preferences'.
- Click 'Privacy & Security' to see which apps are allowed to use the camera.
- Click 'Camera' to see a list of all the apps that have requested access to your camera.
- From here, you can choose to allow or block each app from accessing the camera.
Vizio TV Camera Speculation: Is Your Privacy at Risk?
You may want to see also

How to connect a camera to a computer without internet
There are several ways to connect a camera to a computer without the internet. The method you choose will depend on the type of camera you have.
Using a USB Cable
If your camera has a USB port, you can connect it to your computer using a USB cable. First, turn on your camera and computer. Then, connect the smaller end of the USB cable to the camera, and the rectangular end to the computer. Once connected, you may need to wait for your camera's drivers to install. You can then open the camera's storage folder on your computer and view your photos.
Using a Network Cable
If your camera has a network port, you can connect it directly to your computer using a network cable. You will also need a power supply to power up the camera. First, connect the network cable to the camera and the computer. Then, configure your computer's network IP address to be in the same range as the camera. You can then test your camera by opening a web browser and inputting the camera's IP address.
Using a PoE Injector
If your camera is a PoE (Power over Ethernet) camera, you can connect it to your computer using a PoE injector. First, connect the camera, PoE injector, and computer using network cables. Make sure that your PoE injector is compatible with your camera model. Then, configure your computer's network IP address to be in the same range as the camera. You can then test your camera by opening a web browser and inputting the camera's IP address.
Using a CCTV Camera System
If you are using a CCTV camera system, connect all the cameras to the NVR (Network Video Recorder) using power adapters and network cables. Then, connect the NVR to your computer's monitor and mouse. The startup and setup wizard should then guide you through the rest of the process.
Viewing Multiple Cameras in Teams: A Guide
You may want to see also

How to connect a camera to a computer wirelessly
There are several ways to connect a camera to a computer wirelessly. Here is a step-by-step guide:
Using a Wireless Network
If you have a wireless network and want to access your camera remotely, you can connect your wireless or Wi-Fi camera to your computer via a router. Here's what you need to do:
- Ensure you have at least a power adapter for the camera, a network cable, and a router.
- Plug the camera into the power adapter and turn it on.
- Connect the camera to the router using the network cable.
- Configure the correct Wi-Fi settings on the camera.
- Disconnect the camera from the router.
- Launch surveillance software on your computer, such as Reolink Client.
- Set up configurations for camera functions in the software.
- Configure the camera's Wi-Fi settings by selecting the network and entering the password.
- If accessing the camera from another computer on a different network, input the camera's UID into the software for remote access.
Using a Wireless Transmitter
Some cameras, such as compatible Nikon models, can connect to computers wirelessly using optional wireless transmitters like the WT-7 or WT-6. Here's how to do it:
- Ensure your camera is compatible with the wireless transmitter.
- Connect the camera to the computer using the wireless transmitter and a host profile configured for camera control.
- Follow the instructions in the camera's reference guide or manual for the specific wireless transmitter you are using.
Using the Camera's Built-in Wireless LAN
Cameras with a network menu and a built-in wireless LAN transceiver can connect directly to a computer wirelessly. Here's how:
- Go to the network menu on your camera.
- Select the "Connect to computer" option.
- Follow the instructions in the camera's reference guide or manual for setting up a wireless connection.
Using Third-Party Software
You can also use third-party software to connect your camera to your computer wirelessly. Here's a general overview of the process:
- Download and install the third-party software on your computer.
- Launch the software and set up an account if required.
- Connect your camera to the same wireless network as your computer.
- Log in to the software and add your camera's details, such as its IP address.
- Follow the software's instructions to configure and access your camera feed.
Note: Specific steps may vary depending on the software and camera model you are using. Always refer to the user manuals and instructions provided by the manufacturers for detailed instructions.
Ranged Attack Camera in Medieval Total War: Ultimate Viewing Guide
You may want to see also

How to test if your camera is working
If you want to test whether your camera is working, there are several methods you can use.
Firstly, you can use a free online webcam test site. These include WebCamMicTest, WebcamTests, and OnlineMicTest. To do this, simply open your web browser, type the site address into the browser's address bar, and click the relevant button to start the test. You will then be asked to allow access to your camera. Once you have granted permission, you should see yourself or whatever the camera is pointed at.
If you are using Windows, you can also test your camera by opening the Camera app. To do this, select the Start button, then select All Apps, and then select Camera in the list of apps. If you have multiple cameras, you can switch between them by selecting Change Camera in the top right once the Camera app is opened.
If you are using a Mac, you can test your camera by opening the Photo Booth app. To do this, click on the Finder icon on the Dock bar, click on Applications, and then double-click on the Photo Booth app. Your webcam should automatically turn on, and you should see the live feed.
You can also test your camera by using an app such as Skype, Google Chat, or Facebook Messenger. If you are using Skype, launch the app, click on the Skype button in the menu bar, and then click on Audio/Video (on a Mac) or Video Settings (on Windows).
Finally, you can test your camera by recording a short video clip. To do this, open your webinar platform's website in your browser, start a new meeting, and click the "Record" button. Once you have finished recording, play the video back to check for any issues with the audio or video quality.
Mastering the Art of Spy Camera Wristwatches
You may want to see also
Frequently asked questions
To see the camera on a Windows PC, open the Camera app. You can do this by selecting the Start button, then selecting All Apps, and then selecting Camera from the list of apps. If you're using Windows 10, you can also type "camera" in the search box and select the Camera app from the results.
You can test your webcam by using an online webcam test site, such as WebCamMicTest or WebcamTests. You can also test your webcam offline by opening the Camera app and checking if you can see any video from the webcam.
If you have multiple cameras connected to your PC, you can switch between them by opening the Camera app and selecting "Change Camera" in the top-right corner of the window.
To connect a CCTV camera to your PC, you will need a power adapter for the camera, a network cable, and a router. First, plug the camera into the power adapter to charge it. Then, connect the camera to the router using the network cable. Once the correct Wi-Fi settings are configured, you can disconnect the cable from the camera and the router. Finally, launch surveillance software on your computer, such as Reolink Client, to view the camera feed.


