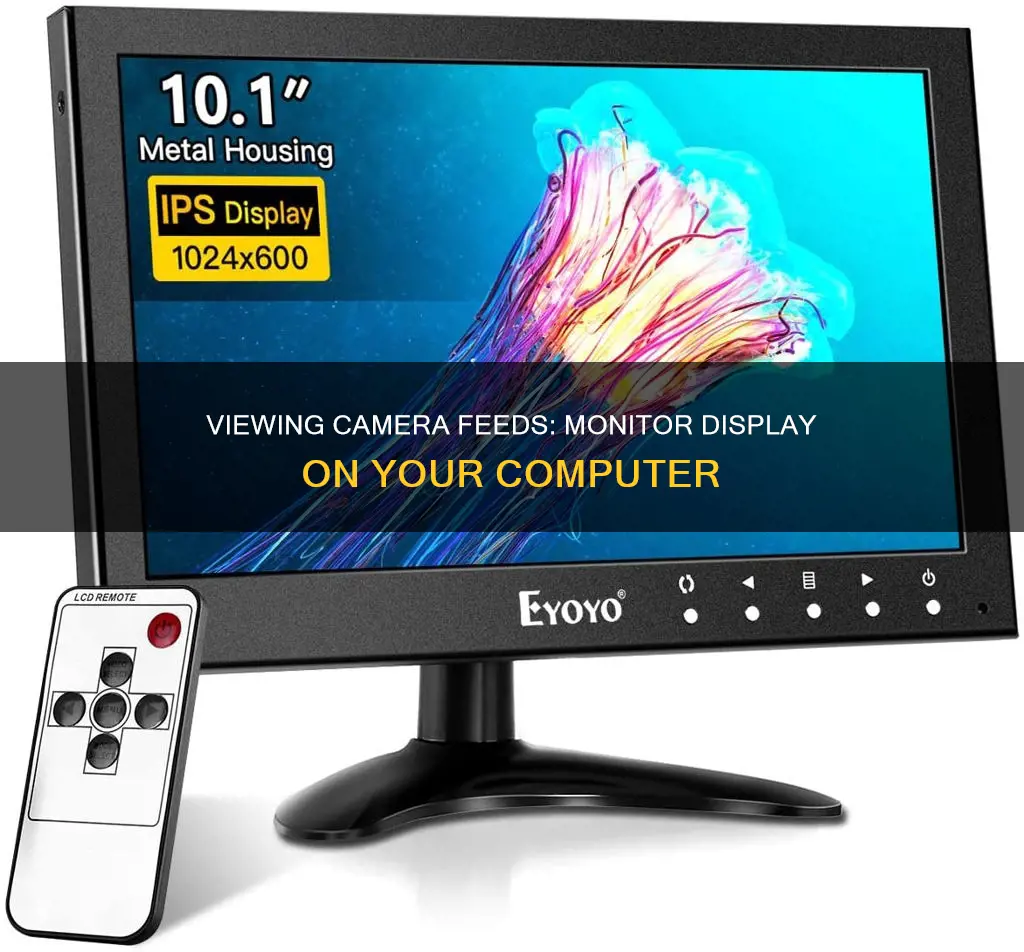
If you want to see what your camera sees on your computer monitor, you have a few options. You can either use a USB cable to connect your camera to your computer, or you can use a webcam that is built into your computer or monitor. If you are using a USB cable, simply plug the cable into the USB port on your camera and then into any available USB port on your computer. Power on the camera and set it to record mode. Launch any video-editing software on your computer and click the Capture option. Select your camera from the list of options, and you should now be able to see what your camera sees on your computer monitor. If you are using a built-in webcam, you may need to download and install software to use it, such as Yawcam, which is a free Java webcam app that allows you to capture and stream live video from your webcam.
| Characteristics | Values |
|---|---|
| Camera Type | Webcam, Digital Camera |
| Connection Type | USB, Built-in |
| Software | Yawcam, Video-editing software |
| Display | LCD viewfinder, Computer screen |
| Functionality | Motion detection, Email alerts, Image capture |
What You'll Learn

Use a USB-connected or built-in PC webcam
Using a USB-Connected or Built-In PC Webcam
Step 1: Install the Webcam Software
If your webcam came with a disk, insert it before plugging in the device. If not, you can download the necessary drivers from the manufacturer's website. Windows 10 will usually automatically set up your webcam.
Step 2: Connect the Webcam
Locate a USB port on your computer. It's typically found on the front or back of a computer and looks like a tiny rectangle with a USB icon. Plug the USB cable into the port.
Step 3: Position the Webcam
Place the webcam on a flat surface, preferably at the same height as your face, and pointed towards you. Most webcams have an adjustable clamp that attaches to the back of your monitor. If your monitor is thin, you may need to get creative with securing the webcam.
Step 4: Test the Webcam
Once connected, open your webcam software from the Start menu. You can also use the Camera app on Windows to test the webcam. It will turn on the webcam and display a live video feed.
Step 5: Set the Webcam as Default (Optional)
If you have multiple cameras, you can set your new webcam as the default device. On Windows 10, go to the Control Panel, click "View devices and printers," right-click on your webcam, and select "Set as Default Device."
Troubleshooting Tips:
- Try a different USB port if the webcam isn't working with a specific port.
- Check if other applications are using your webcam, as most can only work with one application at a time.
- Uninstall and reinstall the webcam drivers if issues persist.
Now you should be all set to use your USB-connected or built-in PC webcam for video conferencing, streaming, or home monitoring!
The Keystone K7 Camera: A Rare Vintage Find
You may want to see also

Download and install Yawcam
To download and install Yawcam, follow these steps:
First, download the Yawcam installer from the official Yawcam website or another trusted source. The file size is around 5 MB. Make sure you have the required specifications, including a Runtime Environment (JRE) 6 or later, and Windows Media Player 9 or later.
Once the download is complete, locate the downloaded file on your computer and double-click on it to begin the installation process. Follow the installation wizard, accepting any necessary terms and conditions, and choose your preferred installation settings.
After the installation is complete, open the Yawcam application. If you cannot find it, try searching for it in your computer's search bar or look in the folder where you specified the application's files to be installed.
Now, you need to configure Yawcam to use the correct webcam. Click on the Settings menu and select 'Device'. Here, choose your webcam from the list of available devices. If you are using a built-in webcam, select the 'Integrated Camera' option. For external webcams, select 'Change' and choose your USB camera from the list. If your camera is not listed, click on 'Detect Webcam' to let Yawcam find and add your camera to the list.
Once Yawcam has detected your camera, it will open a Preview window displaying your camera's video feed. You can now adjust the settings to fine-tune your camera's performance and add additional features.
With Yawcam, you can enhance your webcam's capabilities by adding features like broadcasting, password protection, and motion detection. The application is easy to use and can improve your overall webcam experience.
Zumimall Camera Charging: How to Know It's Charging?
You may want to see also

Configure your webcam in Yawcam
To configure your webcam in Yawcam, follow these steps:
Firstly, it is important to note that Yawcam is a free, Windows-based webcam software written in Java, with a focus on simplicity and ease of use. It has been around for over 20 years and has a new generation called Yawcam Ai, which is more focused on video surveillance and has improved object detection capabilities.
Now, to configure your webcam, you will need to add it as a device in Yawcam. Here is a step-by-step guide:
- Access the Device Wizard: You can do this by clicking on the "Devices" page and then the "ADD DEVICE" button, or by going to the "Device Selector" and clicking on the "+ ADD DEVICE" card.
- Select the Device Name and Type: Choose a name for your webcam device and select "Webcam" as the device type.
- Enter Device Connection Details: This includes the username and password for connecting to your webcam. Additionally, you can choose to "Force TCP," which is usually recommended and enabled by default.
- Select Webcam Settings: From the dropdown menus, select the webcam you want to use. Then, specify the format, resolution, FPS (frames per second), and audio source. The available options depend on your webcam's capabilities.
- Test the Device Settings: Click on the "TEST DEVICE SETTINGS" button to ensure that the connection to your webcam is working correctly.
- Save the Device: Once the test is successful, click "SAVE" to add your webcam device to Yawcam.
By following these steps, you will be able to configure your webcam in Yawcam and utilize its various features, such as motion detection, streaming, and image capture.
Converting to Camera Raw: A Step-by-Step Guide
You may want to see also

Turn on motion detection
Motion detection software can be used to turn your webcam into a surveillance system, allowing you to monitor your home or office and record only when there is activity. Here is a step-by-step guide on how to turn on motion detection for your camera monitoring on a computer:
Step 1: Install a Motion Detection Application
First, you need to download and install a motion detection application. There are several options available, including free and paid software. Some popular choices include:
- Dorgem (free)
- ICam ($5)
- WebcamXP (free or $60 for single-camera use)
- Yawcam (free)
- ISpy (free)
- Zone Trigger (free)
- Webcam Surveyor (free)
- Logitech Webcam Software (free, works exclusively with Logitech cameras)
- Security Eye (free)
- ContaCam (free)
- Rear View Mirror (free)
Step 2: Configure Motion Detection Settings
Once you have installed your chosen application, you will need to configure the motion detection settings. The specific steps will vary depending on the software you are using, but here are some general steps:
- Open the application and go to the settings or options menu.
- Look for the motion detection or motion capture settings.
- Enable the motion detection feature.
- Adjust the motion sensitivity as needed. If you are using the camera in low light, you may need to increase the sensitivity.
- Set up any alerts or notifications you want to receive when motion is detected, such as email or SMS notifications.
- Specify the interval for recording or taking snapshots when motion is detected.
- If available, use a ""Mask" feature to specify particular areas to be monitored for motion, preventing false detector alarms.
Step 3: Start Motion Detection
After configuring your settings, you can start the motion detection monitoring. Depending on your software, there may be a "Start Motion Detection" or similar button. Once started, the application will monitor for motion and take the specified actions, such as recording video or capturing snapshots, when motion is detected.
Step 4: Review Footage
With motion detection software, you don't need to constantly watch your video feed. The software will only record when motion is detected, saving you time when reviewing the footage. You can then access the recorded files, typically through a file browser or similar feature within the application, to review any activity that triggered the motion detection.
How to Find Out If Your Computer Has a Webcam
You may want to see also

Set up Yawcam's email function
To set up Yawcam's email function, follow these steps:
- Go to "Yawcam -> Motion detection -> Actions -> Send E-mail".
- In the "To" field, enter the email address you want to send the message to.
- In the "From" field, enter the email address you want the message to come from. If the recipient replies to the email, the reply will go to this address.
- Fill in the "Subject" field with an appropriate subject for your email.
- Write the content of your email in the "Message" field.
- If you want to attach an image to the email, check the "Attach Image" box. If you want to attach multiple images, use the image array feature.
- Specify the SMTP server you want to use. If you have a Gmail account, you can use Gmail's SMTP server.
- Enter the port number where your SMTP server is running. The default port is usually 25.
- If your SMTP server requires an encrypted connection, check the "Encrypted connection (SSL)" box.
- If your SMTP server requires authentication, check the "Password required" box and enter your username and password.
- Adjust the image quality and specify whether you want to add an overlay to the saved image.
- If you have activated the image array, specify the number of images you want to attach and the delay between each image in milliseconds.
- Optionally, you can enable flood control to set a limit on the number of emails sent within a specified interval.
Note: Make sure your firewall and router settings are correctly configured to allow SMTP traffic. You do not need to open port 25 on your computer unless you are hosting your own SMTP server.
Disputing NYC Camera Tickets: Your Comprehensive Guide
You may want to see also
Frequently asked questions
You can use a USB cable to connect your camera to your computer. Open your video-editing software and select the "Capture" option. Choose your camera from the list of devices, and you'll be able to see the camera's feed on your computer screen.
Yes, you can use a free Java webcam app like Yawcam. This software allows you to use any camera attached to your PC to capture a live feed and publish it to your Web-connected PC.
There are several webcams available in the market that can be used for streaming on your computer. Some popular options include:
- Logitech C920 HD Pro Webcam
- Razer Kiyo X
- NexiGo N60
- ToLuLu 1080P Webcam
- GUSGU G940 2K Quad HD Webcam
- Logitech C270 HD Webcam


