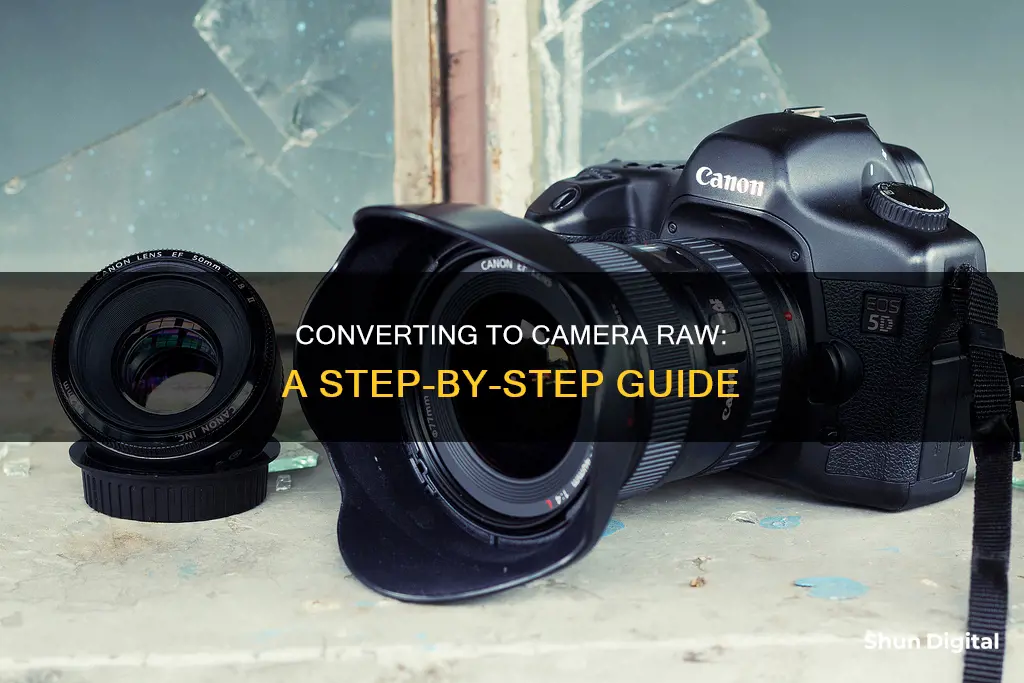
Camera raw files contain unprocessed or minimally processed data from a camera's image sensor. They are named as such because they are not yet processed and contain large amounts of potentially redundant data. Raw files are superior to other image file types because they capture absolutely all of the data received by the camera's sensor. However, they need to be processed and saved in a common image format if you want to print or share them online.
There are several ways to convert raw files. Some cameras offer a built-in converter, but these only allow you to control a few picture attributes. You can also download raw files to your computer and process them using a photo program that offers a converter, such as Adobe Photoshop's Adobe Camera Raw (ACR) tool.
| Characteristics | Values |
|---|---|
| File types that can be converted to camera raw | CR2, RW2, NEF, ARW, SR2, ORF, PEF, RAF, RAW |
| File types that camera raw can be converted to | JPEG, TIFF, PNG, PSD, DNG |
| Camera manufacturers that support raw files | Canon, Nikon, Sony, Pentax, Panasonic, Olympus, Leica, Hasselblad, Epson, Mamiya, Leaf, Phase One, Fujifilm |
| Software that supports raw files | Adobe Photoshop, Adobe Camera Raw, Adobe Lightroom, Adobe Bridge, Adobe After Effects, IrfanView, DigiKam, UFRaw, RawTherapee, FastRawViewer, DxO PhotoLab, Corel AfterShot Pro, Silkypix Developer Studio, Raw Power, ACDSee Pro, Picasa, Silver B&W Photo Converter, SilverFast, Shotwell, ImageMagick, LightZone, Rawstudio, XnView, Konvertor, Paint Shop Pro, PhotoLine, Affinity Photo, Helicon Filter, Blackmagic Design DaVinci Resolve, Darktable, LibRaw, ExifTool, Jrawio, FastPictureViewer Professional, Microsoft Raw Image Extension, Windows Imaging Component (WIC), Windows Camera Codec Pack |
What You'll Learn
![]()
Use a built-in converter on your camera
Some cameras offer a built-in converter. For example, some Nikon cameras have a built-in converter. While these tools are convenient, they only allow you to control a few picture attributes. You will also have to make judgments about colour, exposure, and sharpness on the camera monitor, which is much smaller than a computer monitor. However, this option is great for when you need to process a raw file on location or when you're in a hurry.
Here's a look at the built-in raw converter found on some Nikon cameras:
! [Built-in raw converter on a Nikon camera](https://www.dummies.com/wp-content/uploads/raw-converter.jpg)
If your camera does not have a built-in converter, you can download the raw files to your computer and process them using a photo program that offers a converter. The software provided by your camera manufacturer may include a raw converter, and many photo-editing programs also offer this tool. For example, Adobe Photoshop offers a raw converter, which professionals in the photo industry refer to as ACR (Adobe Camera Raw).
How many picture characteristics you can tweak depends on the software, so if you're shopping for a program to handle this task, investigate this feature carefully. Some entry-level programs simply change the file format from raw to a standard format, applying the same picture-characteristic choices that the camera would have used had you taken the photo in the JPEG format originally.
Camera B500 Charging: Cable or No Cable?
You may want to see also
![]()
Download raw files to your computer and process them using a photo program
Downloading raw files to your computer and processing them using a photo program is a great way to convert your raw files.
First, you need to download the raw files from your camera to your computer. You can do this by connecting your camera to your computer using a USB cable or by inserting your camera's memory card into your computer's card reader, if it has one. Once your camera is connected, you can use your computer's file explorer to locate and copy the raw files to a folder on your computer.
Next, you need to open the raw files in a photo program that supports raw file editing. Some popular options include Adobe Photoshop, Adobe Lightroom, and Canon's Digital Photo Professional. These programs allow you to view and edit your raw files, applying various adjustments to improve their appearance.
When choosing a photo program, consider the level of control you want over the conversion process. Some entry-level programs simply change the file format from raw to a standard format like JPEG, applying basic picture settings. More advanced programs like Adobe Photoshop and Lightroom offer multiple panels of image-tweaking options, giving you greater flexibility to fine-tune your images.
Once you've opened your raw files in your chosen photo program, you can begin the conversion process. This typically involves adjusting various picture characteristics such as exposure, contrast, highlights, shadows, white balance, and sharpness. These adjustments will vary depending on the specific photo and your desired outcome.
It's important to note that different camera manufacturers use their own proprietary raw formats, so you may need to use the software provided by your camera manufacturer or ensure that your chosen photo program supports your camera's raw format. Additionally, raw files are typically much larger than JPEG or other standard image formats, so ensure you have sufficient storage space on your computer.
After you've made your adjustments and are happy with the results, you can save your converted files in a standard image format like JPEG or TIFF. Saving in TIFF format will retain the highest image quality, but JPEG is more suitable for online use as TIFF files are not supported by web browsers or email programs.
Remember to keep your original raw files as they provide a pristine copy that you can return to if you want to apply different settings or make further adjustments. By following these steps, you'll be able to effectively convert your raw files and take advantage of the superior image quality they offer.
Lightroom Presets: Importing into Camera Raw
You may want to see also
![]()
Convert raw files to a standard format like JPEG or PNG
Converting RAW image files to a standard format like JPEG or PNG is a straightforward process. RAW files are unprocessed image data, often used by professional photographers for their high quality and flexibility in post-processing. However, they are large in size and not supported by all devices and software. Therefore, converting them to a standard format like JPEG or PNG can make them more accessible, easier to store and share.
There are multiple ways to convert RAW files to JPEG or PNG, depending on the device and software you have access to. Here are some common methods:
Using Online Converters
Websites like iLoveIMG, CloudConvert, Picflow, FreeConvert, and ZAMZAR offer free online RAW to JPEG or PNG conversion services. The process is usually simple: you upload your RAW images, select the desired output format, and then download the converted files. These websites often support batch conversion, allowing you to process multiple files simultaneously. Additionally, they ensure file security and privacy, with some even processing the conversion directly in your browser without requiring uploads to their servers.
Using Built-in Apps
If you use a Mac, you can use the built-in editing tool, Preview, to convert RAW files to JPEG. Simply open the RAW image in Preview, go to the File menu, select Export, and then choose to save the file as a JPEG format. Similarly, Windows users can utilize the free Photo app, which comes with the operating system, to open the RAW file and save it as a JPEG.
Using Mobile Devices
IPhone users can take advantage of Apple's ProRAW format, which allows shooting RAW files. To convert these to JPEG, open the image in the Photos app, click the Share button, scroll down, and select "Save to Files." Then, choose a folder under iCloud Drive or On My iPhone, and the RAW file will be saved as a JPEG.
Using Photo Editing Software
Popular photo editing software like Photoshop and Lightroom can also be used for RAW to JPEG conversion. After opening the RAW file in Photoshop, go to the top menu bar, select File > Export > Export As, and choose JPEG as the file format. In Lightroom, open the RAW image, select the files you want to convert in the library, click File, and then choose Export from the dropdown menu. In the Export pop-up window, set JPEG as the image format.
It's important to note that while converting RAW files to JPEG or PNG makes them more convenient for storage and sharing, it also results in some loss of image data and a downgrade in quality. Therefore, photographers often keep the original RAW files to have the option to re-edit them with all the original image information intact.
Charging Your Lumix Camera Battery: No Charger Required
You may want to see also
![]()
Convert raw files to TIFF for the highest image quality
When converting raw files, you have a couple of options. Some cameras offer a built-in converter, which is a convenient option when you need to process a raw file on location or in a hurry. However, these tools enable you to control only a few picture attributes, and you have to make judgments about colour, exposure, and sharpness on a small camera monitor.
Another option is to download the raw files to your computer and process them using a photo program that offers a converter. The software provided by your camera manufacturer may include a raw converter, and many photo-editing programs also offer this tool.
If you want to retain the highest image quality in the converted file, save it in the TIFF format. Tagged Image File Format, or TIFF, is a non-destructive format that preserves as much of the raw file's original image data as possible, resulting in the best image quality. TIFF is the standard format used for professional publishing, and most photo editing, word processing, and publishing programs can work with TIFF files. Most retail labs can also print TIFF files.
Other non-destructive formats include Portable Network Graphics (PNG) and the Photoshop native format (PSD), but these are less widely compatible than TIFF. Pictures stored in the TIFF format are much larger than JPEG files, but that's the trade-off for retaining the highest image quality.
Charging the WASP 4K Camera: A Step-by-Step Guide
You may want to see also
![]()
Use a third-party software to batch convert and compress files
When it comes to converting and compressing files, a third-party software solution can be a convenient and efficient option. These tools often offer batch processing capabilities, allowing you to convert and compress multiple files simultaneously, saving time and effort. Here are some recommended third-party software options for batch conversion and compression:
SoftOrbits Batch Picture Resizer
SoftOrbits offers a user-friendly and intuitive interface, making it accessible even for beginners. It supports various RAW formats, including Canon CRW and CR2, Nikon NEF, Fuji RAF, and the universal DNG format. In addition to conversion, it provides basic editing features such as adding watermarks, adjusting image quality, and resizing images. The software is available for Windows and macOS.
BatchPhoto
BatchPhoto is a versatile and fast software solution, optimised for multi-core CPUs, that can read RAW images from most DSLR cameras, including Canon, Sony, Nikon, Olympus, Fuji, Kodak, and Pentax. It offers custom development settings, such as Demosaicing, White Balance, and Highlights adjustments. Additionally, it provides features like watermarking, resizing, cropping, renaming, and more. BatchPhoto is available for both Windows and macOS.
Adobe Photoshop
Adobe Photoshop is a well-known and powerful image editing software that also offers batch processing capabilities. While it may be more expensive and have a steeper learning curve, it provides extensive editing features and precise control over image resolution, quality, and size. Photoshop is suitable for advanced users or professionals who require a comprehensive tool for their workflow.
Lightroom
Lightroom is another popular image editing software that can handle batch conversion efficiently. It allows you to import all your RAW images and then export them as full-resolution JPEGs in just a few steps. Lightroom may not perfectly match the in-camera processing results, but it offers a wide range of editing and adjustment tools for customising your images.
Wondershare UniConverter
Wondershare UniConverter is an all-in-one media conversion suite that supports various camera RAW formats. It offers features such as batch conversion, compression, and editing, including cropping, rotating, and adding subtitles. The software is available for both Windows and macOS.
These third-party software solutions provide convenient and efficient ways to batch convert and compress camera RAW files, each with its unique features and capabilities. It's important to consider your specific needs, such as supported camera brands, desired output formats, and the level of editing control required, when choosing the most suitable software for your workflow.
Charging the Polaroid IE826: A Quick Guide
You may want to see also
Frequently asked questions
A camera raw image file contains unprocessed or minimally processed data from the image sensor of a digital camera. Raw files are so named because they are not yet processed and contain large amounts of potentially redundant data.
You can use a photo program that offers a converter, such as Adobe Photoshop, or the software provided by your camera manufacturer.
Camera raw files offer a number of benefits, including capturing absolutely all of the data received by your camera's sensor, giving you greater control over the final image, and allowing for non-destructive editing.