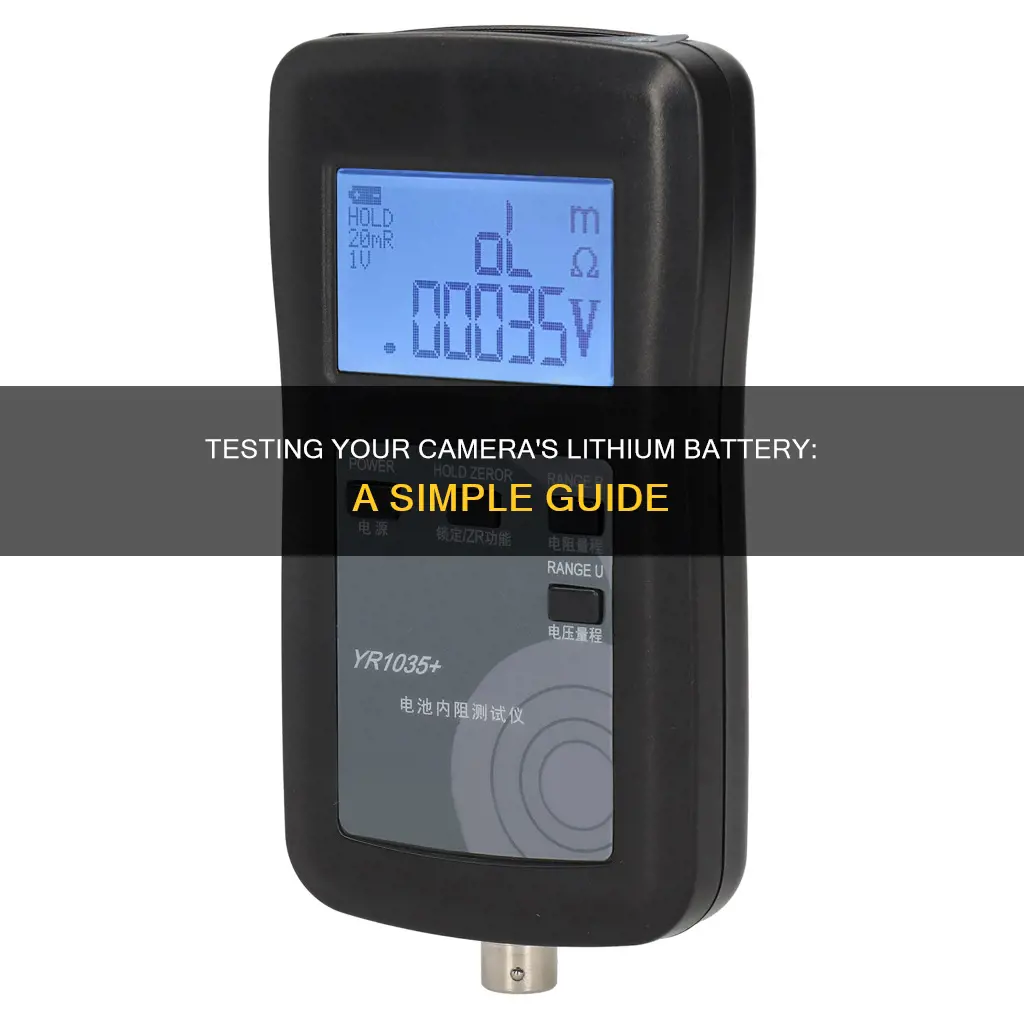
There are several ways to test a lithium camera battery. One way is to use a voltmeter to test the open-circuit voltage, but this method is not accurate because the batteries are not doing anything when tested. Another way is to use a cheap, do-everything model tester, but these often yield inaccurate results and require different resistors for each battery. More advanced testers, such as the ZTS MBT-1, can quickly test the battery by measuring the percentage of life left while the battery is actually doing something. This method is simple, efficient, and yields accurate and repeatable results. Additionally, lithium-ion battery testers can be purchased online and at various electronic stores.
| Characteristics | Values |
|---|---|
| Tester name | PRO Lithium Battery Tester |
| Use | Check the remaining power in your digital camera, camcorder or cell phone battery |
| Battery type | Lithium-ion |
| Battery voltage | 3.6 to 7.4 volts |
| Battery capacity | 1246mAh |
| Battery charge indicator | 4-stage LED fuel gauge |
| Battery connection | Dual adjustable contacts |
| Battery life indicator | 25, 50, 75 and 100% by LED lights |
| Customer ratings | 3.6 out of 5 stars |
| Availability | Currently unavailable |
What You'll Learn

How to test a lithium-ion battery with a multimeter
Testing a lithium-ion battery with a multimeter is a straightforward process. Here is a detailed guide on how to do it:
Prepare the Battery and Multimeter:
Before you begin, ensure that the lithium-ion battery is unplugged and disconnected from any circuits or devices. This step is crucial for safety and to obtain accurate measurements.
Inspect the Battery:
Visually inspect the battery for any signs of damage, such as leaks, overheating, or broken terminals. If you notice any issues, address them accordingly, either by fixing them or replacing the battery with a new one.
Set Up the Multimeter:
Turn on the multimeter and set it to the appropriate voltage setting. Lithium-ion batteries typically operate in the range of 3.4 to 4.2 volts. Set the multimeter to a slightly higher range, such as 15-20V DC voltage. This ensures that you can accurately measure the voltage of the lithium-ion battery.
Identify the Battery Terminals:
Lithium-ion batteries have positive and negative terminals. Identify these terminals on the battery. The positive terminal is usually marked with a "+" sign or coloured red, while the negative terminal is marked with a "-" sign or coloured black.
Connect the Multimeter Probes:
Multimeters have two probes: a red probe and a black probe. Connect the red probe to the positive terminal of the battery and the black probe to the negative terminal. Ensure that the connections are secure and correct.
Take Voltage Measurements:
With the probes connected, monitor the multimeter's display. A fully charged lithium-ion battery should have a voltage slightly above the rated voltage. For example, a 4-volt lithium-ion battery should measure between 3.5 to 4.2 volts when fully charged. If the voltage is significantly lower than expected, the battery may need recharging or replacement.
Interpret the Results:
Compare the voltage reading on the multimeter with the manufacturer's specifications. If the reading matches or is close to the labelled voltage, the battery is in good condition. If the voltage reading is consistently low, it may be an indication that the battery needs to be replaced.
Additional Testing:
You can also use the multimeter to check the current and resistance of the lithium-ion battery. To measure current, disconnect the battery from its load and circuits, set the multimeter to the current setting (e.g., 200mA), and connect the probes accordingly. To measure resistance, set the multimeter to measure resistance, and touch the probes to the battery terminals, ensuring proper polarity.
By following these steps, you can effectively test a lithium-ion battery using a multimeter. Remember to take safety precautions when handling batteries, and always refer to the manufacturer's guidelines for specific battery requirements and limitations.
Charging Lorex Cameras: Quick and Easy Guide
You may want to see also

How to test a lithium-ion battery without a multimeter
Testing a lithium-ion battery is important to ensure it is functioning correctly and to prevent unexpected failures. While a multimeter is a useful tool for this, there are other ways to test your lithium-ion battery.
Physical Inspection
Firstly, you can perform a physical inspection of the battery. Look for any signs of leaking, overheating, broken terminals, or bulging. If you find any leaks or damage, try fixing them, or you may need to replace the battery.
Charging Test
Another simple test is to fully charge the battery and observe its performance. If the battery is heating up, or if a cell is dissipating heat, then it is faulty and should be discarded.
Voltage Test
You can also test the voltage of the battery. A normal charge for a lithium-ion battery is around 3.7 volts, but this can vary, so check with the manufacturer. A voltmeter can be used for this test, but you can also use a battery tester, which is easier to use, although not as versatile as a multimeter.
To test a lithium-ion battery with a voltmeter, first locate the positive and negative terminals on the battery. These will be marked. Then, set the voltmeter level to the DC setting, as all batteries use direct current. Touch the positive and negative leads to the corresponding battery terminals, and the meter will produce a reading. If the charge is more than 1 volt below the manufacturer's specified level, then the battery should be replaced.
Load Test
A load test can also be performed to measure the battery's power when in use. This test cannot be performed with a multimeter, as they do not have load test settings for lithium-ion batteries. However, a voltmeter can be used to perform this test.
Car Battery Test
If you are testing a car battery, you can look for signs that the battery is dead when you start the car. If the car doesn't start, the engine won't crank, and the headlights will be weak or non-existent. You can then test the battery with a voltmeter or car battery tester.
Game Camera Battery Life: How Long Do They Last?
You may want to see also

How to test a 3V lithium battery with a multimeter
Testing a 3V lithium battery with a multimeter is a straightforward process and a great way to check the battery's condition and diagnose any issues. Here's a step-by-step guide on how to do it:
Step 1: Prepare the Battery
Before testing, ensure that the 3V lithium battery is disconnected from any circuits or devices. This step is crucial as it prevents external factors from influencing the test results.
Step 2: Inspect the Battery
Visually inspect the battery for any signs of damage or leaks. If you notice any issues, try to fix them, or consider replacing the battery with a new one.
Step 3: Set Up the Multimeter
Set the multimeter to the correct settings for testing a 3V battery. Rotate the dial to a voltage setting of 15-20V DC. This range is suitable for testing batteries with voltages up to 20V.
Step 4: Connect the Multimeter Probes
Identify the two probes attached to the multimeter. The red probe is typically connected to the positive terminal, while the black probe connects to the negative terminal. Ensure the probes are securely attached to the correct ports on the multimeter. The red probe should go into the port labelled "Voltage Ohm Milli Ampere" or "VΩmA", while the black probe goes into the "COM" port.
Step 5: Connect the Multimeter to the Battery
Connect the multimeter probes to the battery terminals. The red probe connects to the positive terminal, and the black probe to the negative terminal. Ensure a secure connection between the probes and the terminals.
Step 6: Read the Multimeter Display
Once the multimeter is connected to the battery, observe the reading on the multimeter's display. A fully charged 3V lithium battery should have a voltage slightly above 3V. For example, a reading of 3.2V to 3.3V indicates a fresh battery. If the multimeter displays a lower voltage, it may be a sign that the battery needs replacement.
It is important to note that lithium batteries have a limited number of charge cycles and can be damaged if discharged below a certain voltage. Always refer to the manufacturer's guidelines before performing a multimeter test on lithium batteries to avoid any potential issues.
Step 7: Test the Current (Optional)
If you want to test the current output of the 3V lithium battery, you can follow these additional steps:
- Disconnect the battery from any circuits or loads.
- Set the multimeter to measure DC current. Choose an appropriate range based on the expected current draw. For example, if you anticipate a small current draw, set the multimeter to a lower range, such as 200mA.
- Connect the multimeter probes correctly: connect the red probe to the port designated for current measurement ("A" or "mA") and the black probe to the "COM" port.
- Create a circuit by connecting one multimeter probe to the battery's terminal and the other probe to a load (such as a resistor or bulb). Ensure the load is then connected back to the remaining battery terminal to complete the circuit.
- Turn on the battery power or complete the circuit connection.
- Read the current measurement on the multimeter, which will be displayed in amperes (A) or milliamperes (mA). Compare this value to the expected current draw of the battery to determine if it is functioning correctly.
By following these steps, you can effectively test a 3V lithium battery with a multimeter and gain insights into its voltage and current output. Remember to adhere to safety precautions and refer to manufacturer guidelines when working with lithium batteries.
Charging the Wyze Outdoor Camera: How Long Does It Take?
You may want to see also

How to test lithium battery capacity
To test a lithium battery's capacity, you will need to fully charge the battery and then discharge it down to its cut-off voltage. Typically, tests are done at a *.2C discharge rate, or 20% of the capacity of the battery. So, for a 100Ah battery, you would discharge it at 20 Amps per hour (20Ah).
There are several methods you can use to test a lithium battery's capacity:
The Real-World Test
This method is cost-free and can be done with any known load source. It is fairly reliable, as long as you have an accurate amp rating from the load. The steps are as follows:
- Fully charge the battery.
- Put the load on the battery.
- Wait for the battery to be expended.
- Use the formula Amps x Time (hours) = Amp Hours to calculate the capacity. For example, if you pulled 20 amps for 5 hours, you would get 100 Amp hours (Ah).
Keep in mind that there are many environmental factors that can affect the results of this test, such as temperature, wire size, and wire length.
The Metered Bench Test
This method uses a device such as a Hall Effect meter or a dummy load capacity tester to measure the amp-hours of your battery. These devices typically provide readings for Amp hours and Watts. The steps are similar to the real-world test:
- Fully charge the battery.
- Reset your test device.
- Put a load on the battery.
- Wait for the battery to hit the low voltage cut-off.
Using a Resistor and Voltmeter
If you don't want to buy a general-purpose battery capacity tester, you can use a resistor and voltmeter to test the battery at a fixed load. First, fully charge the battery and let it cool for an hour. Then, connect the resistor and voltmeter and monitor the voltage drop across the resistor, noting how long it takes for the battery to discharge. Finally, calculate the actual capacity and compare it to the rated capacity.
Using a Battery Capacity Tester
You can also use a battery capacity tester, such as the Neware BTS4000, to test the capacity of your lithium battery. Make sure your battery is fully charged, then connect the tester according to the instructions. Set the cut-off voltage (for a lithium battery, this is usually 3V) and start the test. The test can take 2-3 hours, depending on the battery.
Keep Your Camera Charged: Tips to Conserve Battery Power
You may want to see also

How to test a lithium-ion battery pack
Testing a lithium-ion battery pack is a complex but necessary process to ensure safety and functionality. Here is a step-by-step guide on how to test a lithium-ion battery pack:
Step 1: Salvaging
First, remove the battery pack from its casing. This can be done using tools like pliers or wire cutters. Once the cells are exposed, you can proceed to the next step.
Step 2: Visual Inspection
Inspect the cells for any physical damage, such as cracks, dents, leaks, or signs of dried liquids. If there are any visible issues, the cells should be discarded immediately as they may pose a safety risk.
Step 3: Cleaning
Clean the cells of any residue, such as glue, paper, or tape, that was used to hold the battery pack together. This will ensure that the cells are free of any contaminants that could affect their performance.
Step 4: Charging
Fully charge the cells while monitoring their temperatures. This step is crucial as it helps determine the health of the cells and their ability to hold a charge. If a cell becomes abnormally warm or fails to hold a charge, it should be discarded.
Step 5: Self-Discharge Test
Let the charged cells sit for a week to observe their ability to retain a charge over time. A voltage drop above 0.1v after one week indicates that the cell should be discarded.
Step 6: Capacity Testing
Test the cells' capacity and label them accordingly to ensure they can store the correct amount of energy. Cells that fall below 90% of the original manufacturer capacity may not be suitable for practical use.
Step 7: IR Testing (Internal Series Resistance)
IR Testing is a critical indicator of a battery cell's State of Health (SoH). Compare the internal resistance of the cells to the manufacturer's specifications. Deviations from the specified range may indicate that the cell needs to be discarded.
Additional Tests:
Other tests that can be performed on lithium-ion battery packs include:
- Hipot Test and Insulation Test: These electrical tests are commonly performed on electric vehicle (EV) batteries to ensure their safety and proper operation.
- Automated Battery Module Welding Test: This test ensures the quality of welding in EV battery packs, which may contain over 40,000 welding points.
- Battery Quality and Internal Resistance (AC-IR) Test: This test evaluates the internal resistance of the battery, which can be measured using either the AC or DC method.
It is important to note that rapid-testing methods for lithium-ion batteries are still being developed, and a combination of different tests may be required to ensure the safety and functionality of the battery pack.
Moultrie Camera: Understanding C Battery Requirements
You may want to see also
Frequently asked questions
Set the multimeter to the “DC Voltage” setting. Then, touch the red lead of the multimeter to the positive terminal of the battery, and touch the black lead of the multimeter to the negative terminal of the battery. You should see a reading on the display of your multimeter. If it reads 3 volts or higher, then your battery is good to go!
You can use a voltmeter to measure the voltage of the battery. If your battery is below 2 volts, it’s considered dead and needs to be replaced.
One of the most common methods is called a “discharge test.” This involves draining the battery completely and then measuring how much power it can deliver over time. Another popular method is called a “pulse test,” which involves applying short bursts of high current to the battery and measuring how much power it can deliver during these pulses.


