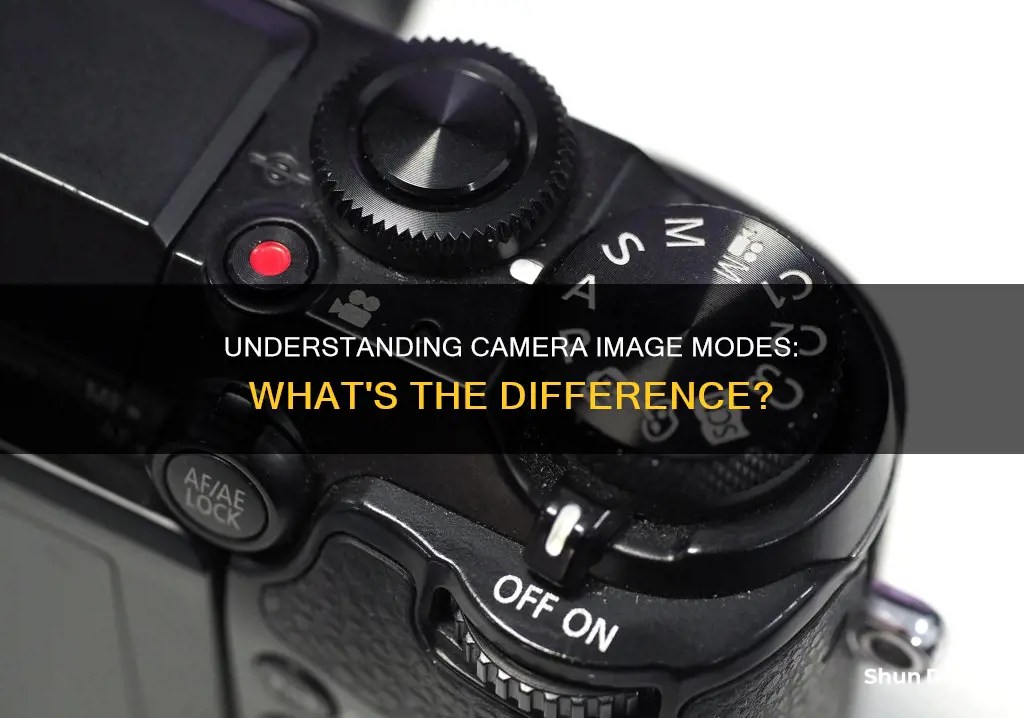
Digital cameras come with a range of image modes, or camera modes, that allow photographers to control the parameters of an exposure, including shutter speed, aperture and ISO. These modes can be fully automatic, or allow the photographer to manually control some or all of the parameters. The four main types of camera modes are: Shutter Priority, Aperture Priority, Program, and Manual.
What You'll Learn
![]()
Manual mode
In Manual mode, the photographer can make their photos appear exactly as dark or light as they want. They can also ensure perfect sharpness, create different depth-of-field effects, and maintain high-quality images in low-light conditions.
While Manual mode offers a lot of flexibility, it is not the best option for every scenario. It is good when working in unchanging lighting conditions or when the photographer wants complete control over the exposure variables. However, it is best avoided when the lighting is changing rapidly or when the subject is moving between sun and shade, as it can be challenging to adjust the settings quickly enough to capture the desired image.
In such cases, semi-automatic modes like Aperture Priority and Shutter Priority can be useful. These modes allow the photographer to control one aspect of the exposure while the camera determines the rest.
Troubleshooting Guide: Camera Won't Charge?
You may want to see also
![]()
Shutter speed
When choosing a shutter speed, consider the lighting conditions and the speed of your subject. For example, a fast-moving subject like a bird in flight or a sports game would require a fast shutter speed of 1/500 or higher to freeze the motion. In low-light conditions, you'll need a slower shutter speed to allow more light to reach the sensor, but this may require the use of a tripod to avoid camera shake.
You can set your camera to "Shutter Priority" mode, where you choose the shutter speed, and the camera automatically selects the aperture. Alternatively, "Manual" mode gives you full control over both shutter speed and aperture settings.
Updating Camera Raw: Elements 14 Edition
You may want to see also
![]()
Aperture
There are two modes in photography that allow you to select the aperture manually: aperture-priority mode and manual mode. Aperture-priority mode is usually abbreviated to "A" or "Av" on camera mode dials. In aperture-priority mode, you select the desired aperture and the camera automatically selects the shutter speed. In manual mode, you select both the aperture and shutter speed manually.
Cleaning Camera Battery Contacts: A Step-by-Step Guide
You may want to see also
![]()
ISO
The acronym ISO stands for "International Organization for Standardization", which sets the standard for ISO sensitivity. A higher ISO number indicates a higher sensitivity and a greater ability to capture light. As you increase your ISO number, your photos will grow progressively brighter. This is especially useful in low-light conditions, such as when shooting indoors, as it can help to brighten your photo.
However, raising your ISO has consequences. A photo taken at too high an ISO will show a lot of grain, also known as noise, and might not be usable. Therefore, it is recommended to keep the ISO setting as low as possible to minimize graininess and noise. The lowest native ISO on your camera is your "base ISO", which is usually ISO 100 or 200, and this gives you the potential to produce the highest image quality.
In addition, when you double your ISO speed, you are also doubling the shutter speed. So, if you increase your ISO from 100 to 200, you can shoot with a shutter speed that is one stop faster. This is useful for increasing the shutter speed to freeze subjects in motion or to deepen the depth of field by narrowing the aperture.
In conclusion, ISO is an important setting to understand and experiment with to achieve the desired exposure and image quality in your photography.
Bridge and Camera Raw: The Perfect Pairing
You may want to see also
![]()
Automatic mode
In Automatic mode, the camera will adjust all settings, including focus, aperture, shutter speed, and flash, to best suit the scene being captured. While this mode offers no manual control over these settings, it allows photographers to capture a wide variety of situations without having to worry about making manual adjustments. This makes it ideal for candid shots, inexperienced photographers, or professionals who need to capture a shot in a hurry.
One of the benefits of Automatic mode is that it usually just works. It allows photographers to capture images without having to worry about making manual adjustments. This is especially useful for capturing decisive moments, as described by street photographer Henri Cartier-Bresson, where all the elements within the frame come together to form the perfect photographic opportunity.
Another advantage of Automatic mode is that it lets photographers focus on the scene rather than technical settings. This is especially helpful when there is a lot going on around the photographer, such as people, kids, animals, or other elements. By letting the camera handle the settings, photographers can focus on capturing the moment.
Additionally, Automatic mode can help prevent photographers from missing critical shots. It eliminates the need to fiddle with aperture controls or determine the right metering mode, reducing the risk of missing a great picture due to incorrect settings. This is especially useful for beginners who are still learning about the different camera settings.
While some advanced photographers criticise Automatic mode for taking away creative control, it is important to recognise that it has its place and can be very useful in certain situations. It is a valuable tool for beginners to learn and experiment with photography without feeling overwhelmed by manual settings.
Wildgame Cameras: Capturing Nature with Burst Mode
You may want to see also