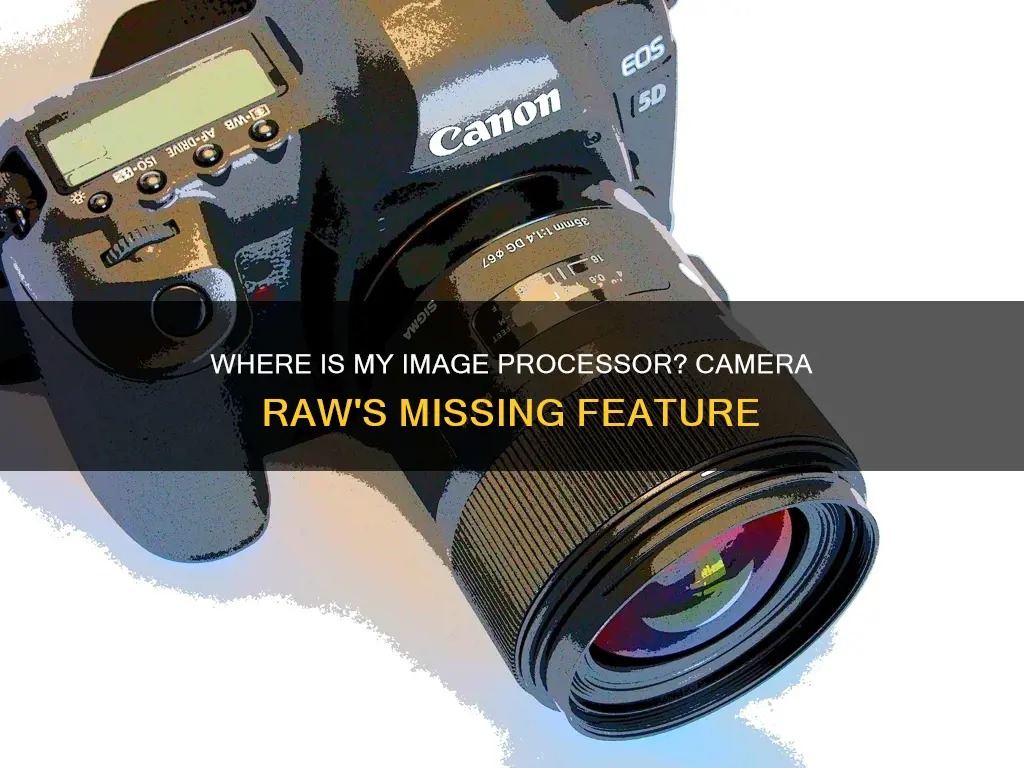
When shooting in RAW, the image is taken directly from the sensor, and the processing happens off-camera on the computer. However, the in-camera image processor is still used to generate a preview, add EXIF data to the file, and perform other tasks.
The image processor in a camera is responsible for making decisions on white balance, contrast, colour space, and sharpening. These settings limit the ability to modify the image after the fact, and a RAW image file contains all the data for the image, allowing for adjustments to be made during post-processing.
Adobe Camera Raw is a popular program used to process RAW image files, and it offers a range of editing options, including exposure, white balance, and sharpening.
| Characteristics | Values |
|---|---|
| Image processor | Part of the camera's CPU |
| Purpose | To speed up several operations |
| File type | JPEG, RAW |
| Pros of JPEG | More images on memory card; photos look good |
| Cons of JPEG | Limited ability to modify the image after |
| Pros of RAW | More data saved; more adjustments in post |
| Cons of RAW | Larger file size; slower to record |
What You'll Learn
![]()
Differences between RAW and JPEG
RAW and JPEG are two image file formats that differ in several ways. Here are the key differences between the two:
- Data Retention: RAW files contain all the information recorded by the camera's sensor during exposure, without any compression or processing. On the other hand, JPEG files are compressed and don't retain all the sensor data. The camera chooses what information to discard.
- Image Processing: JPEG files are processed within the camera, and the specific processing method varies across camera models. The camera adjusts colour temperature, exposure, and adds blacks, contrast, brightness, noise reduction, and sharpening. RAW files are unprocessed and uncompressed, appearing flat and dark straight out of the camera. They require post-processing software like Adobe Photoshop or Lightroom to be ready for display or print.
- Exposure Correction: RAW files offer greater flexibility in correcting exposure issues. Most exposure problems can be easily fixed without a significant loss in quality. With JPEG files, information in the brightest and darkest areas is often lost, making it difficult to recover details in cases of under or overexposure.
- White Balance: White balance in RAW files can be easily adjusted, providing creative options in post-processing. JPEG files have a set white balance that is challenging to change, resulting in less control over the final image's colours.
- Brightness Levels: JPEG files record fewer than 300 levels of brightness, while RAW files can capture anywhere from 4000 to over 16,000 levels. This gives photographers more artistic freedom and control during post-processing.
- Contrast and Saturation: RAW files typically have less contrast and saturation than what is seen on the camera's view screen. JPEG files come out with the same saturation and contrast as viewed on the camera.
- Sharpness: JPEG files appear sharper due to the camera's processing system. However, RAW files, when processed using advanced computer software, can achieve a higher level of detail and sharpness.
- Editing Flexibility: RAW files allow for non-destructive editing, meaning the original file remains unchanged. JPEG files, when edited, experience a loss in quality each time they are opened, edited, or saved.
- File Size: RAW files are significantly larger than JPEG files due to the amount of sensor information they contain. This results in more storage space required and slower writing speeds, impacting the number of consecutive shots that can be taken.
- Immediate Use: JPEG files are ready for immediate use, display, or printing. RAW files require additional processing and conversion before they can be used for these purposes.
Charging Spy Button Cameras: A Step-by-Step Guide
You may want to see also
![]()
Pros and cons of shooting in RAW
Pros
- Better image quality: RAW image files record all information from the camera sensor without performing any compression, resulting in the highest quality image your digital camera can produce.
- Flexible editing options: Shooting in RAW gives you more freedom in post-production to correct mistakes made during shooting, such as exposure, white balance, and lighting issues.
- Sharper images, less noise: RAW photos allow for easier adjustments to sharpness and noise reduction in post-processing.
- Ability to make additional edits: You can go back and readjust changes made to a RAW image, whereas JPEG images lose quality each time they are edited and saved.
- Future-proof: RAW files can be re-visited and re-processed using future image processing software and technologies, such as AI/ML.
Cons
- Larger file sizes: RAW files are much larger than JPEGs, taking up more space on your memory card or storage device.
- Slower camera: The larger file size of RAW images can slow down your camera, particularly during continuous shooting, as it takes longer to write the information to the memory card.
Charging the Canon Powershot A620: A Quick Guide
You may want to see also
![]()
How to shoot in RAW
Shooting in RAW gives you better files and more flexibility with your post-processing. RAW is a file type that contains minimally processed data from the image sensor of a camera. This means that what a RAW file captures is exactly what the sensor on the camera sees, with no compression applied. This is why RAW files are much larger than JPEG files.
When shooting in RAW, the image is taken directly from the sensor, and the processing happens off-camera on a computer. This means that the on-camera image processor does not process the RAW image. However, the processor is still used to generate a preview, add EXIF data to the file, and perform other functions.
- Equipment: You will need a digital camera that is capable of shooting in RAW. Many modern cameras, such as the Canon Rebel t5i (EOS 700D), support RAW shooting.
- Set up your camera to shoot in RAW: On your camera, navigate to the Menu button, then go to the Image Quality settings. Select the option that says RAW or RAW + L (Raw + JPEG).
- Take pictures: Now you're ready to start shooting! Find interesting subjects and take your time to frame your shots.
- Transfer files to a computer: After taking your photos, transfer the RAW files from your camera to your computer.
- Open files in a photo-editing software: You will need a photo-editing software that supports RAW files, such as Adobe Photoshop (which includes Adobe Camera Raw) or Adobe Lightroom.
- Edit your photos: Make adjustments to your RAW files in the photo-editing software to enhance the images according to your preferences. This may include changing the temperature, exposure, contrast, highlights, shadows, and other settings.
- Save and export your edited photos: Once you're happy with your edits, save your work. You can save the files in a format such as .psd to retain all the editing information. If you want to share your photos online or on social media, you may need to export them as JPEG files, as RAW files are typically not supported for web viewing.
Remember that RAW files offer greater control over the final image but also require additional processing time and storage space compared to JPEGs.
Camera Battery Leak: What You Need to Know
You may want to see also
![]()
Editing RAW files
RAW files are a type of image file that contains minimally processed data from a camera's image sensor. They offer more flexibility than JPEGs as they capture exactly what the camera's sensor sees, without any compression. However, they require additional processing using software such as Adobe Camera Raw or Adobe Lightroom before they can be used.
Step 1: Understand RAW Files
RAW files are larger than JPEGs because they contain all the data captured by the camera's sensor. This gives you more control over the final image as you can adjust various settings during post-processing.
Step 2: Equipment Needed
To shoot and edit RAW files, you will need a digital camera that supports RAW format and software such as Adobe Photoshop (which includes Adobe Camera Raw) or Adobe Lightroom.
Step 3: Set Up Your Camera
Find the Menu button on your camera and navigate to the Image Quality settings. Select the option that says "RAW" or "RAW + L" (Raw + JPEG). Now your camera is ready to shoot RAW files.
Step 4: Take Pictures
Go out and find subjects to photograph. Remember to take your time and don't rush when framing your shot.
Step 5: Import into Adobe Camera Raw
Open Adobe Camera Raw and go to File > Open to navigate to your RAW file. If you encounter an error, it may be because your version of Adobe Camera Raw does not support the RAW files from your camera. In that case, download and install an upgrade package.
Step 6: Edit the Picture
This is the most creative and flexible part of the process. You can adjust various settings such as temperature, tint, exposure, highlights, shadows, whites, blacks, clarity, vibrance, and saturation to achieve the desired look. Play around with the sliders and see how they affect your image. Remember that you can always revert to the original settings if needed.
Step 7: Make Local Adjustments
Use the Adjustment Brush to make local changes to specific areas of your image. This allows you to adjust exposure, sharpness, or other settings in targeted parts of the photo without affecting the entire image.
Step 8: Finalize and Save
Once you are happy with your edits, open the image in Photoshop for further adjustments or save your work. You can save the processed image in various formats such as PSD, JPEG, TIFF, or PNG. Remember to save your work frequently to avoid losing progress.
Step 9: Explore Advanced Techniques
As you become more familiar with editing RAW files, you can explore more advanced techniques such as using the histogram, adjusting the aspect ratio and angle, retouching specific areas, and creating different versions of your image. Additionally, you can experiment with different software tools and settings to refine your editing process.
Discovering Your Camera Raw Version: A Guide
You may want to see also
![]()
RAW file compatibility
RAW files are uncompressed and unprocessed image data captured by a digital camera or scanner's sensors. They are often described as "digital negatives", as they are akin to exposed but undeveloped film. RAW files are not yet processed and contain large amounts of potentially redundant data. They are typically processed by a raw converter, which makes precise adjustments before conversion to a viewable file format such as JPEG or PNG.
RAW files are not standardised, and there are dozens of raw formats used by different manufacturers of digital image capture equipment. This can lead to compatibility issues, as some software cannot read files from certain cameras. Adobe's DNG Converter enables users to convert camera-specific raw files to a more universal DNG raw file, which is backward compatible with older versions of Photoshop, Lightroom, Bridge, After Effects, and Photoshop Elements.
The Adobe Camera Raw graphics processor (GPU) can be used to speed up several operations, including opening and saving, and image processing. However, Camera Raw will still support opening and converting photos without GPU support, but all image and metadata editing tools will be disabled.
RAW files contain more data than JPEG files, including a wider range of colours and increased RGB tonal values. This gives photographers greater control when editing photos, as they can make adjustments without changing the original RAW image itself.
Charging Your Subnautica Drone: A Step-by-Step Guide
You may want to see also
Frequently asked questions
A RAW image file is a file from the image sensor of a camera that contains minimally processed data. It captures exactly what the sensor on the camera sees, with no compression applied, which is why RAW files are so much larger than JPEG files.
You can open a RAW image file in Adobe Photoshop or Adobe Lightroom.
With a RAW image, all of the data for the image is saved so you can make all of the adjustments in post. Correcting the white balance on a RAW file doesn't harm the integrity of the shot, and exposure errors can be corrected with more accuracy than using a JPEG file.