Running surveillance camera cables is a complex process that requires careful planning and execution. The first step is to determine the type of camera system being used, such as IP or Ethernet cable, or coaxial cable and analog cameras. The cable type will dictate the specific steps and considerations for installation. For example, Ethernet cables can be used for IP camera wiring, connecting cameras to the internet and powering them, while coaxial cables are typically used for analog camera systems, transmitting raw video signals and supplying power.
Regardless of the system, there are some general best practices to follow. It is crucial to keep cables away from heat, high voltage, and power lines to avoid interference and potential damage. Cables should also be protected from the elements, either by running them through conduit or raceways or by using outdoor-rated cables. When drilling holes for cables, it is important to measure twice and drill once, ensuring you don't drill through a stud or make the hole bigger than necessary. Filling holes with silicone caulking is essential to maintain water resistance. Additionally, it is recommended to use Plenum-rated cables in areas with airflow to meet safety standards.
Overall, installing surveillance camera cables requires attention to detail and adherence to safety guidelines to ensure optimal performance and longevity of the camera system.
| Characteristics | Values |
|---|---|
| Cable Types | Ethernet, Coaxial, Siamese, Plug-and-Play, VGA, HDMI, Cat5, Cat5e, Cat6, Cat6a |
| Cable Functions | Transmit video data, power certain camera types, transmit unprocessed video signals |
| Cable Flexibility | Thin, flexible cables are easier to install |
| Cable Length | Maximum distance of 300 feet for Cat5 and Cat6 cables |
| Cable Protection | Use conduits, drip loops, and weatherproof measures to protect cables outdoors |
| Cable Routing | Plan the route to be as short and easy as possible when burying conduits |
| Cable Connections | Use appropriate connectors like F-type, BNC, TNC, N-type, RCA, DC, and RJ45 |
| Cable Management | Gather cables to a common spot, use bushings, and avoid running near power lines |
| Cable Installation | Drill holes, measure distances, use pre-made cables, and secure cables |
| Cable Safety | Turn off power, wear safety gear, and maintain distance from electrical lines and high voltage devices |
What You'll Learn
![]()
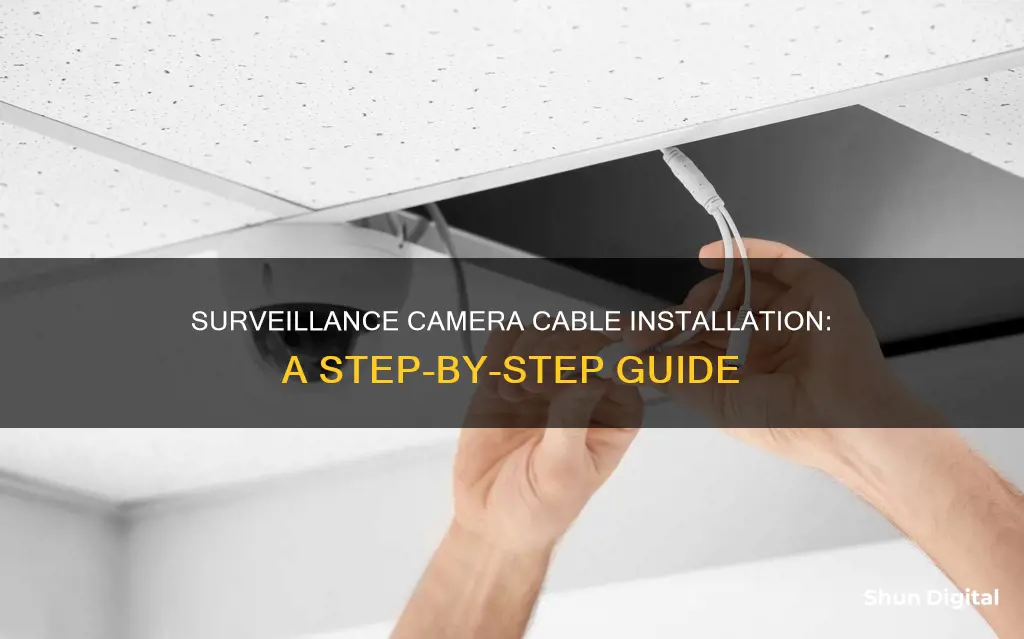
How to run cables through walls
Running security camera cables through walls can be a tricky process, but with the right tools and a helping hand, you can successfully install your security cameras. Here is a step-by-step guide on how to run cables through walls:
Planning and Preparation:
Firstly, decide on the spots where you want to install the cameras. Consider the area of coverage and choose spots that are easy to install. It is recommended to avoid mounting cameras in upper corners as it may be difficult to route wires to the DVR box. Instead, consider mounting them on the porch ceiling or similar areas. Outline the path of the cables and identify where the wires will converge.
Gathering the Right Tools:
You will need a power drill with spade bits and drive bits, extra camera wires or compatible Ethernet cables, and steel fish tape. If you are mounting on concrete or brick walls, use a hammer drill with masonry drill bits.
Marking and Drilling:
Mark the points to drill holes, including the holes for the camera's mounting screws. Check if your camera comes with mounting stickers to help with this step. Ensure you leave enough space to run multiple wires.
Running the Cables:
Get your cables ready and think about the order of each camera and the wire that needs to extend through each point. Ask your helper to feed the fish tape through the hole drilled for the camera. Tape the end of the cable to the fish tape and pull it through, then remove the tape. Repeat this process for each camera.
Routing Cables to the DVR Box:
Use the power drill and fish tape to create a path for the cables to meet up with the DVR box. This may involve making new holes or using existing ones. Ensure you leave a few extra feet of cable for termination and future reorganisation.
Installing the Cameras:
Connect the cables and wires to the necessary ports on the camera, following the instructions provided with the device. Wrap the cables with electrical tape to secure the connection. Use the drill and mounting screws to fix the camera in place, and adjust it to get the desired view.
Additional Tips:
When running cables through walls, it is important to turn off the power for your safety and to avoid damaging devices. If you are using a stucco wall, consider the type of drill bits needed. It is also recommended to use security camera wire protectors, such as tubes or conduits, to protect the cables and ensure a neat and professional installation.
By following these steps, you will successfully run security camera cables through walls, ensuring a safe and functional surveillance system.
Activating Camera Mode in Kingdom Hearts 3 on Xbox
You may want to see also
![]()
How to wire an outdoor camera
To wire an outdoor camera, you will need to plan the installation, purchase the camera, mount the camera, and connect it to the network.
Planning the Installation
Decide where to install the camera. Identify priority areas and possible camera angles. Consider mounting the camera higher than 10 feet off the ground to avoid tampering and, if possible, ensure it has access to a power source. If you plan to use a wired system, map out the location of the components and how you will run the wires to connect the camera to the DVR box.
Purchasing the Camera
Decide on a wired or wireless setup and choose a camera with the features you want. Wireless cameras are usually easier to install but may have reduced image quality over long distances. Wired cameras are better for large properties but require more steps to install.
Mounting the Camera
Drill pilot holes for the mounting screws and any mounting pins. If you are installing a wired camera, drill a larger hole for the cables to exit. Run the cables through the camera mount point and behind the wall until you reach the point where the DVR box will be mounted. Use fish tape to help feed the cables through tight spots.
Connecting the Camera to the Network
Connect the input cable of your wired camera to the DVR box, noting which input port each camera is connected to. Connect the DVR output port to the input slot of a monitor. Ensure all components are connected to a power source and that all cables are securely connected. If your system is wireless, install the necessary software and follow the instructions to complete the setup.
Lithium Batteries: Powering Your Camera, What You Need to Know
You may want to see also
![]()
How to hide cables inside your house
Hiding security camera cables inside your house is essential to avoid intruders from spotting and cutting the wires, thereby disabling your security system. Here are some detailed, direct, and instructive methods to help you achieve this:
Paint the Security Camera Wires
The most straightforward method to conceal security camera wires is to paint them to match the colour of the walls or the mounting surface. This technique blends the cables into their surroundings, making them less noticeable. It is recommended to use colour-detecting mobile apps to find the exact paint colour match. After mounting the camera, secure the wires with staples or clips and paint over them.
Use a Cord Cover or Raceway
A cord cover or cable guard is an adhesive fixture that protects all wire types. Purchase a cable cover that matches the wall colour and is long enough to shield the wire from the outlet to the device. Fasten the cover to the wall, remove its top, and place the wires inside. Alternatively, if the cover doesn't come off, slip the cables through the hole.
Hide Wires Within the Baseboards
Baseboards are narrow wooden boards running along the lowest part of the wall. This method is ideal if you have enough doorways in your home. Remove the baseboards, feed the cables through the gap between the wall and the floor, and then put the baseboards back. This technique effectively hides the wires while keeping them accessible for future adjustments.
Use Large Furniture to Conceal Wires
Identify decorative elements in the room, such as porch lights, hanging plants, paintings, cabinets, tall potted plants, mantels, or carpets, and use them to your advantage. Position the security camera wires behind or under these items and secure them with zip ties or clips. This method is inexpensive and effective, especially if you already have suitable furniture in the room.
Run Wires Through the Walls or False Ceilings
This method requires a bit more effort but is highly effective in concealing security camera wires. First, unplug the camera and mark a section on the wall where you will drill a hole. Use a straightened metal coat hanger to check for any obstructions inside the wall. Then, drill the hole, insert the wires, and restore power to the unit. If you have a false ceiling, you can insert the wires through the gaps or channels and secure them with glue or cable wires.
Install Wireless Security Cameras
If you don't want to deal with wires at all, consider investing in wireless security cameras. These cameras are powered by batteries or solar panels, eliminating the need for messy cables and complicated installation processes. Wireless cameras provide a neat and flexible solution, although they may cost more than their wired counterparts.
By following these methods, you can effectively hide security camera cables inside your house, ensuring that your security system remains discreet and functional.
Don't Drain Your Camera Battery: Here's Why
You may want to see also
![]()
How to choose the right cables
When choosing the right cables for your surveillance camera setup, there are several factors to consider. The type of camera, the distance between the camera and the recording unit, the connector type, outdoor vs indoor installation, shielding, and cable thickness are all important variables that will determine the best cables for your needs.
Firstly, the type of camera you are using will dictate the type of cable. For instance, IP security cameras and analog security cameras have different cable requirements. IP cameras are digital and require no local recording device, only a local area network. They are often used with Ethernet cables, which can also provide power through Power over Ethernet (PoE). Analog cameras, on the other hand, record images and send the signal over a coaxial cable to a DVR (Digital Video Recorder). Coaxial cables, such as RG59 and RG6, are designed to carry analog data and are commonly used with analog CCTV cameras.
The distance between the camera and the recording or monitoring unit is another critical factor when selecting cables. If you require longer distances, thicker cables with lower gauge numbers are more suitable, as they have higher power-carrying capacity and better signal transmission capabilities.
The connector type is also essential to ensure compatibility and secure connections. Different cables use different connectors, such as BNC, RJ45, F-type, or DC connectors. Choosing the appropriate connector type based on your camera and recording equipment is vital for seamless integration.
If you are installing cameras outdoors, it is essential to use weather-resistant and weatherproof cables to withstand harsh environmental conditions. These cables will ensure long-term durability and reliable performance by protecting the cables from rain, UV exposure, and extreme temperatures.
Shielding is another important consideration, especially in environments with high levels of electrical noise. Shielded cables significantly minimize electromagnetic interference (EMI) and radio frequency interference (RFI), which can degrade signal quality.
Lastly, when choosing Ethernet cables for IP-based cameras, considering the bandwidth capacity is crucial. Higher bandwidth cables, such as Cat6 or Cat6a, can support higher data transfer rates, which is essential for transmitting high-definition video and other data-intensive tasks.
In summary, by taking into account the type of camera, distance, connector type, outdoor vs indoor installation, shielding, and bandwidth requirements, you can choose the right cables for your surveillance camera setup.
Mastering Camera Lock Modes in League of Legends
You may want to see also
![]()
How to avoid common mistakes
- Do not run cables near or above lighting fixtures, especially fluorescent ones. The power created by these lights can cause your video or network cables to become an antenna for the noise and will cause issues.
- Avoid running camera video cables or power cables in the same conduit as power lines. This is against building codes and can completely destroy video signals.
- Do not run cables so that they are directly exposed to the elements. Prolonged exposure to direct sunlight will cause the UV rays to break down the cable and degrade camera performance.
- Do not leave cable connections and fittings exposed to the elements. Moisture will erode the connections and the cable will fail.
- Do not pull cables tight around a 90-degree corner, as this can short the wires inside the cable and cause poor video quality.
- Do not make the hole any bigger than it needs to be, as this will be harder to fill and keep waterproof.
- Do not forget to use outdoor-rated cables if your cables are going outside.
- Do not forget to measure twice and drill once. Ensure you are drilling into a hollow space in the wall and not into a stud.
- If you are drilling through stucco walls, be mindful of the type of drill bits you are using.
- Do not forget to fill the hole with silicone caulking (made for outdoor use) after installing the cables. Make sure the cables are anchored securely before filling.
- Avoid running cables within 2 inches of Class I electrical lines, lighting, fire alarm, or power lines or devices.
- Do not run cables within 6 feet of a conductor or fuse box. Maintain a minimum distance of 5 inches from any fluorescent lighting fixture or power line over 2 kVA and 24 inches from any power line over 5 kVA.
- Do not forget to turn off the power when running security camera wires to protect your safety and avoid damaging your devices.
Hyperlapse Camera Mode: Capturing Time in a Creative Way
You may want to see also
Frequently asked questions
Here are some of the best practices to follow when running wires from the outside to the inside:
- Use outdoor-rated cables.
- Measure twice, drill once, and avoid drilling through studs.
- Fill the hole with outdoor-rated silicone caulking.
- Keep cables away from heat, high voltage, and power lines.
- Use pre-made cables if possible, as they tend to have higher-quality factory fittings.
- Avoid exposing cables directly to the elements; use conduit or outdoor raceways instead.
- Run cables through attics or crawl spaces and penetrate the wall with a small hole to connect to the camera.
The two overarching categories of security camera cables are IP cameras with ethernet cables and coaxial cables with analog cameras. Ethernet cables transmit video data over an internet connection and can also power "power over ethernet" (PoE) cameras. Coaxial cables transmit unprocessed video signals and are typically used with analog cameras, although they can be adapted for IP cameras with a connector known as a video balun.
Here are some tips for installing security camera wiring:
- Turn off the power to avoid damaging your devices and protect your personal safety.
- Design the central surveillance hub before running cables to determine the wiring route and placement of the NVR/DVR.
- Drill a hole for the outlet and check for any obstructions inside the wall.
- Ensure the hole is larger than the expected number of wires and leave some extra wire for future reorganisation.
- Use a metal coat hanger or fish tape to run the wires through the wall.
- Protect the cables with a security camera wire protection cover or conduit.
- Bury electrical wires or use conduits to protect outdoor cables from tampering and damage.