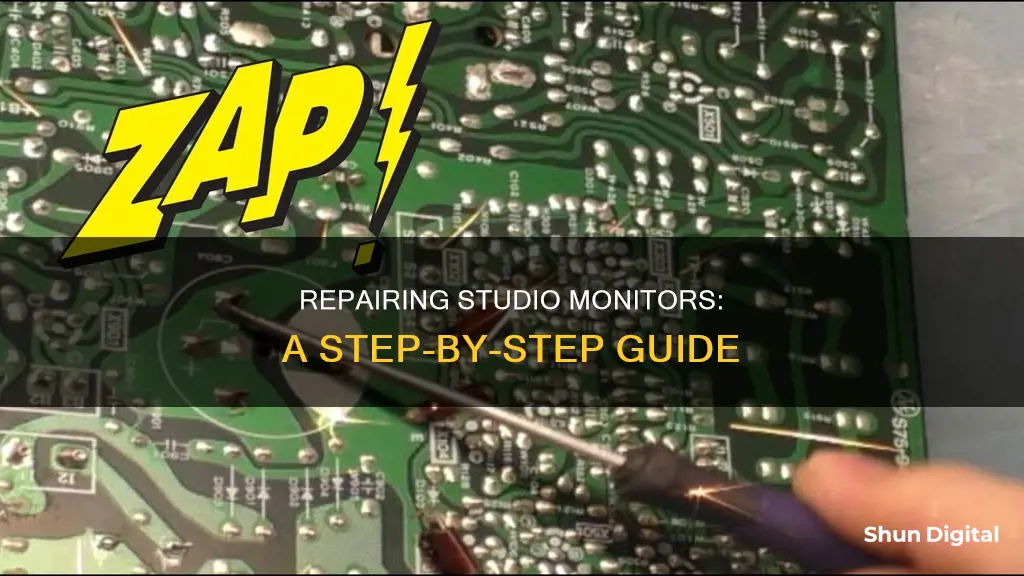
Studio monitors can develop issues over time, including speaker, amplifier, and mixer problems. While DIY repairs can be cost-effective for simple issues like replacing blown fuses and damaged parts, professional repairs are recommended for complex or technical problems. For example, if your studio monitor is making a popping sound and has no bass, the problem could be due to an amplifier issue or a broken wire. In this case, you can either attempt to fix it yourself or seek professional assistance.
| Characteristics | Values |
|---|---|
| Cost of repair | If out of warranty, a dealer may charge $80 or more to inspect the monitor, then $80 or more per hour for labor, plus the cost of any parts. |
| DIY repairs | Can be a good option for simple issues like replacing blown fuses and damaged parts. Online tutorials can guide you through the process. |
| Professional repairs | Recommended for complex or technical problems. Choose a reputable repair service that offers a warranty and get a quote before agreeing to repairs. |
| Common issues | Speaker, amplifier, and mixer problems. |
| Troubleshooting | Check for damage and loose wiring on speakers, which can cause distortion or no sound. Low volume or no sound may indicate an amplifier issue, so check the volume pot and PCB for damage. Mixer issues can affect the routing of audio signals, so check the settings and wiring. |
What You'll Learn

DIY repairs for simple issues
Before attempting any DIY repairs on your studio monitors, it's important to familiarise yourself with the components and identify the potential issue. Online resources such as video tutorials and forums can be extremely helpful in guiding you through the repair process. Here are some common simple issues that you may be able to fix yourself:
- No sound or low volume: This could indicate an amplifier issue. Check the volume pot and PCB for any signs of damage or loose wiring.
- Distortion or no sound: Inspect the speakers for any damage or loose wiring, as this could be the cause of the problem.
- Buzzing monitor: Monitor buzzing can be caused by several factors, such as power supply issues, faulty cables, or interference from other devices. Try checking the power supply, using different cables, or moving the monitor away from other electronic equipment to identify the issue.
- Blown fuses: Replacing blown fuses is a simple DIY repair that can be easily done by purchasing the correct replacement fuse and installing it according to the manufacturer's instructions.
- Damaged parts: If you have identified a damaged part, you can often repair it yourself by purchasing a replacement and following online tutorials or manufacturer instructions for installation.
It's important to note that for more complex or technical problems, it is recommended to seek professional assistance. Additionally, always prioritize your safety when working with electronic equipment, and if you are unsure about any aspect of the repair process, it is best to consult a qualified technician.
Troubleshooting LCD Monitor Issues: What Could Be Wrong?
You may want to see also

Professional repairs for complex issues
While DIY repairs can be a cost-effective solution for simple issues, complex technical problems with your studio monitors should be addressed by professionals. Reputable repair services have the expertise and tools to diagnose and fix intricate issues.
When selecting a professional repair service, it is essential to choose a trustworthy provider that offers a warranty. Reviews and recommendations from fellow professionals can be invaluable in making an informed decision.
Before agreeing to any repairs, be sure to obtain a quote from the service provider. The cost of professional repairs can quickly add up, with inspection and labour charges, as well as the cost of replacement parts. For example, the inspection charge for loudspeaker repairs at Studiocare is £90 (excluding VAT), and their labour charge is £90 (excluding VAT) per hour. Most repairs are completed within one to two hours, but for more complex issues, they will provide an estimated cost and turnaround time.
It is also worth considering the location of the repair service, especially if you need to drop off and pick up your monitors.
If you are unsure whether to attempt a repair yourself or seek professional assistance, you can refer to online resources for guidance. Websites such as Gearspace feature threads where professionals and enthusiasts discuss common issues and repairs for studio monitors.
Overclocking the ASUS ROG Monitor: Is It Worth It?
You may want to see also

Troubleshooting common problems
Speaker Problems:
- Check for any tears in the speaker cone, as this can cause audio distortion or a complete lack of sound. A small tear can often be repaired with a re-cone, but if the tear is significant or the speaker has been overdriven, you may need to replace the entire speaker.
- Inspect the voice coil for any signs of damage or burning. Overdriving the speaker can cause the voice coil to burn out, requiring a replacement.
Amplifier Issues:
- Low volume or no sound coming from the studio monitor could indicate a problem with the amplifier. Inspect the volume pot and PCB for any signs of damage or loose connections.
- If your amplifier is brand new and you're experiencing issues, check for high-frequency signals entering the amplifier. Use an oscilloscope to check for oscillations when there's no input signal.
- In some cases, the problem may lie in the feedback circuit. Check for an open-circuit capacitor, as this can cause the amplifier to fail.
Mixer Problems:
Mixer issues can disrupt the routing of audio signals. Check the settings and wiring of your mixer to ensure everything is configured correctly.
General Maintenance and Repairs:
- Regular maintenance is crucial to keeping your studio monitors in good condition. This includes checking connections, inspecting for damage, and cleaning the exterior with a soft, lint-free cloth and a mild, non-abrasive cleaner.
- For simple issues, such as replacing blown fuses or damaged parts, DIY repairs can be a cost-effective option. Online tutorials and forums can guide you through the process.
- For more complex or technical problems, it's recommended to seek professional assistance. Choose a reputable repair service that offers a warranty and provides responsive customer service.
Easy Ways to Identify Your Monitor's Panel Model Number
You may want to see also

Identifying necessary tools
Before attempting to repair your studio monitors, it is important to identify the necessary tools and parts required for the job. Here is a list of tools and equipment that may be needed when repairing studio monitors:
- Soldering materials: Soldering is often required when repairing electronic devices. Soldering guns, solder wire, and other soldering tools may be necessary for repairing connections, wires, and terminals.
- Multimeter: A multimeter is a crucial tool for testing electrical circuits and components. It allows you to measure voltage, current, and continuity, helping to identify faulty or broken parts.
- Screwdrivers: Having a set of screwdrivers with different head types and sizes is essential for opening and disassembling studio monitors. Both Philips and flat-head screwdrivers may be needed.
- Cleaning supplies: Cleanliness is important when working with electronics. Soft, lint-free cloths and mild, non-abrasive cleaners can be used to wipe down surfaces and remove dust or grime.
- Protective gear: When working with electronics, it is important to wear protective gear such as safety goggles and gloves to safeguard against electrical hazards and sharp components.
- Replacement parts: Depending on the issue, you may need to source replacement parts such as capacitors, fuses, amplifiers, or drivers (woofers and tweeters). These can often be purchased from the manufacturer or authorised dealers.
- Online resources: Online forums, communities, and video tutorials can provide valuable guidance and troubleshooting tips for specific studio monitor models.
It is important to note that repairing studio monitors requires technical knowledge and skills. If you are uncomfortable with electronics repair or unsure about the necessary tools and parts, it is advisable to seek professional assistance from a qualified technician.
Monitoring Internet Usage: Netgear Router Settings Guide
You may want to see also

Selecting a repair service
When selecting a repair service for your studio monitors, there are several factors to consider to ensure quality repairs and peace of mind. Here are some detailed guidelines to help you make an informed decision:
- Research and Reputation: Conduct thorough research to find reputable and trustworthy repair services. Look for companies that specialise in studio monitor repairs and have a solid understanding of the equipment. Check online reviews and seek recommendations from other professionals in the industry.
- Warranty: Choose a repair service that offers a warranty on their work. A warranty provides added protection and peace of mind in case any issues arise after the repair. It ensures that the repair service stands behind their work and will address any problems that may occur.
- Customer Service: Select a repair service with responsive and approachable customer service. Effective communication is essential when dealing with repairs. Ensure they are easy to reach, transparent about their processes, and willing to address any concerns or queries you may have.
- Location: Consider the location of the repair service, especially if you need to drop off or pick up the monitors. Selecting a service that is conveniently located can save you time and transportation costs.
- Quotes and Pricing: Obtain a quote from the repair service before agreeing to any repairs. This will help you understand the cost of the repairs upfront and make an informed decision. Ask about their pricing structure, including any inspection, labour, or parts fees.
- Technical Expertise: Opt for a repair service with qualified technicians who have experience repairing studio monitors. Ensure they have the necessary skills and knowledge to handle complex or technical issues effectively.
- Brand Specialisation: If your studio monitors are from a specific brand, check if there are authorised service centres or exclusive repair partners for that brand. These specialised repair services may have deeper expertise in handling that particular brand's equipment.
By considering these factors and doing your due diligence, you can select a repair service that best suits your needs and ensures the highest quality of work for your studio monitor repairs.
Easy Ways to Remove Glucose Monitors from Your Arm
You may want to see also
Frequently asked questions
If your studio monitor is making a popping sound and has no bass, it could be due to a problem with the amplifier or a blown fuse. You can try to fix it yourself by checking for loose wiring or replacing fuses. If you're unsure about what the issue is, it's best to consult a professional repair service.
The cost of repairing studio monitors can vary depending on the issue and whether you choose to repair them yourself or seek professional help. If you take it to a dealer, they may charge an inspection fee of around $80 or more, followed by an hourly labour charge and the cost of any replacement parts.
Yes, you can repair studio monitors yourself for simple issues like replacing blown fuses or damaged parts. However, for more complex or technical problems, it is recommended to seek professional assistance to ensure quality repairs.
When choosing a repair service, look for a company that offers a warranty, has responsive customer service, and is conveniently located for drop-offs. Reading reviews and getting a quote before agreeing to any repairs are also important steps to ensure you're making a quality choice.


