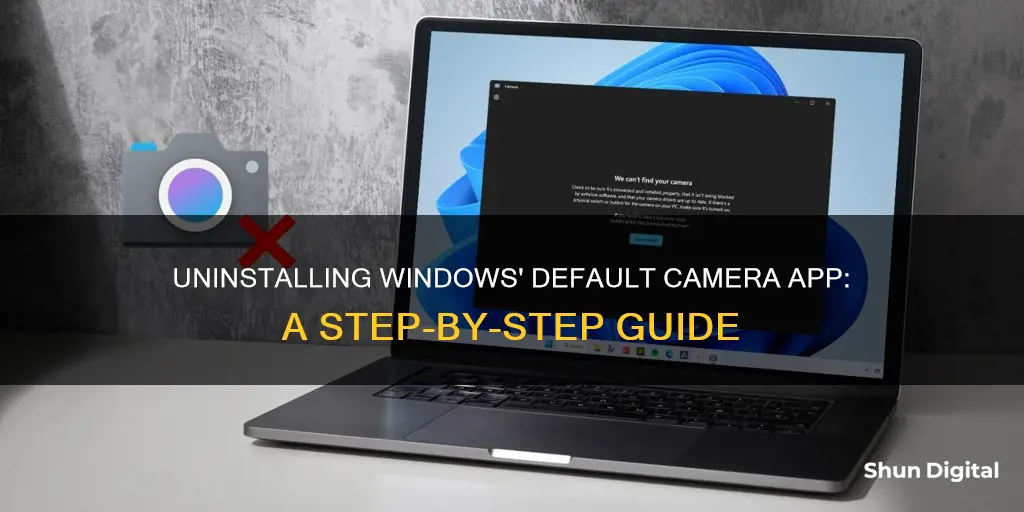
The Windows Camera app is a default application that comes with Windows 10 and 11. While it supports high-quality video recording and photo capturing, some users may prefer to use an external camera instead of their device's built-in camera. Unfortunately, certain applications may ignore the external camera and utilize the internal one. This article will outline the steps to remove the Windows default camera app and set an external camera as the default option.
| Characteristics | Values | |
|---|---|---|
| Reset the Camera App | Go to Settings > Apps > Apps & features, click on the Camera app, then click Advanced options and Reset | |
| Reinstall the Camera App | Run Windows PowerShell as administrator, copy and paste the command: Get-AppxPackage windowscamera | Remove-AppxPackage, press Enter, then open the Microsoft Store app and reinstall the Camera app |
| Change Default Camera | Disable other internal webcams, set the desired camera as default in Devices and Printers, remove other cameras from Devices and Printers, change the default in the browser, or unplug extra cameras | |
| Uninstall Camera App | Press Windows + X, select Windows PowerShell (Admin), type Get-AppxPackage command and press Enter, right-click on the title bar, select Edit > Find, type "camera", copy the PackageFullName text, type the command: Remove-AppxPackage PackageFullName, press Enter |
What You'll Learn

Reset the Camera App
If you are facing issues with the Camera app on your Windows 10/11 device, you can reset the app to its default settings. Here is a step-by-step guide on how to do this:
Step 1: Open the Power User Menu
Right-click on the Windows icon or simultaneously press the Win and X keys to open the Power User Menu.
Step 2: Navigate to Apps and Features
From the menu that appears, select the "Apps and Features" option. This will open the Apps & Features page.
Step 3: Locate and Select the Camera App
On the right pane of the Apps & Features page, locate and select the Camera app. This will open the Camera app settings.
Step 4: Click on Advanced Options
Under the Camera app settings, you will find the "Advanced options" link. Click on it to access the storage usage and app reset options.
Step 5: Click on the Reset Button
In the Advanced Options page, you will see the storage details of the app and a message that says, "If this app isn't working right, reset it." Click on the "Reset" button to initiate the reset process.
Step 6: Confirm the Reset
A small confirmation dialog will appear, stating that this action will permanently remove the app's data from your device. Click "Reset" to confirm.
Step 7: Verify the Reset
Once the reset process is complete, you will see a tick mark next to the Reset button. This indicates that you have successfully reset the Camera app. You can now launch the app and use it smoothly.
Resetting the Camera app will delete all its stored data and return it to its default state. This is an effective way to fix any issues you may be experiencing with the app. If the problem persists, you may need to consider reinstalling the Camera app or updating the camera driver.
Exploring Event Cameras with Raspberry Pi: A Beginner's Guide
You may want to see also

Reinstall the Camera App
If you are having issues with your Camera app, it is recommended to update the camera's device driver or reinstall the driver before trying to reset or reinstall the Camera app. If the built-in camera is not working, check if you have disabled the camera in Windows 10.
If you want to reinstall the Camera app, you first need to uninstall it. Unlike some other default apps, the Camera app cannot be uninstalled via the Settings app. Instead, you need to use the Windows PowerShell or CCleaner to uninstall it. Here is how to do it:
- Run Windows PowerShell as administrator. You can do this by searching for "PowerShell" in the Start/taskbar search field, right-clicking on the Windows PowerShell entry, and then clicking the "Run as administrator" option.
- In the PowerShell window, type and enter the following command to uninstall the Camera app:
Get-AppxPackage *windowscamera* | Remove-AppxPackage
Close the PowerShell window.
Alternatively, you can use CCleaner to uninstall the Camera app. Open CCleaner, click on "Tools", then "Apps". Right-click on the Camera app and select the "Uninstall" option. Click "OK" to confirm.
Once the Camera app has been uninstalled, you can install a fresh copy from the Microsoft Store or Windows Store:
- Open the Microsoft Store or Windows Store app.
- Search for the Windows Camera app.
- Install the app.
Unlocking Your Camera: Removing It from a Tripod
You may want to see also

Disable the Internal Camera
Disabling the internal camera on your Windows device can be done in a few simple steps. This is a useful workaround if you want to force your applications to use an external camera as the default.
To disable the internal camera:
- Press the "Windows" key and "X" simultaneously, and select "Device Manager" from the list.
- Double-click on "Imaging Devices" to expand the dropdown menu.
- Right-click on the internal camera, which usually has the manufacturer's name.
- Select "Disable Device" from the menu.
You can easily re-enable the camera at any time by following the same steps and choosing "Enable Device" instead.
Disabling the internal camera will make it unavailable to your system and applications. This will force your device to recognize and utilize your preferred external camera as the default for video input.
Removing Head-Mounted Camera in Phasmophobia: A Step-by-Step Guide
You may want to see also

Set an External Camera as Default
Setting an external camera as the default on Windows can be done in a few ways. Firstly, you can disable the internal camera, forcing the system to use your preferred external camera. To do this:
- Press the "Windows" key and "X" simultaneously, then select "Device Manager" from the list.
- Double-click on "Imaging Devices" to expand the dropdown list.
- Right-click on the internal camera, which usually has the manufacturer's name, and select "Disable Device".
You can also set your external camera as the default in the "Devices and Printers" section of the Control Panel. This is a good option if you have multiple cameras attached to your device and want to avoid physically removing or disabling them individually. Here's how:
- Open the Control Panel from the Start Menu.
- Click on "Device and Printers" under the "Hardware and Sound" category.
- Locate your external camera in the list of devices, right-click on it, and select "Set this device as Default".
It's worth noting that some external cameras may require additional software or drivers to be installed for them to function properly as the default camera.
Accessing Tesla's Cameras: A Step-by-Step Guide
You may want to see also

Use a Samsung Galaxy Phone as a Webcam
If you want to use your Samsung Galaxy phone as a wireless webcam, your phone must be running One UI 6.1. This feature is compatible with the Galaxy tablet, Galaxy Book 5 Pro 360, or Galaxy Book4.
To set up your Samsung Galaxy phone as a webcam, first, make sure that both devices have Wi-Fi, Bluetooth, and Camera sharing enabled. Then, follow these steps:
- On your phone, go to Settings > Connected devices > Camera sharing, and enable the feature.
- On your tablet or PC, start a video call using Google Meet or another video calling app.
- Tap "Share invite" and send the invitation to your phone using a sharing option like Quick Share or Nearby Share.
- On your phone, select the Google Meet link to join the video call.
- You can now use your phone as a wireless webcam, and a thumbnail of your phone's screen will appear on your tablet or PC.
Alternatively, you can use third-party apps like Iriun Cam to achieve the same result. If you're using a Mac, you can also try a service called Reincubate Camo, which is compatible with over 40 video-calling apps and works with both iPhone and Android phones.
Mastering Camera Perspective in Maya: A Guide
You may want to see also
Frequently asked questions
You can remove the Windows Camera app by using the Windows PowerShell or CCleaner. First, run Windows PowerShell as an administrator and enter the command: Get-AppxPackage *windowscamera* | Remove-AppxPackage. Then, press Enter to execute the command and uninstall the Camera app. Finally, install a fresh copy of the Camera app from the Microsoft Store.
No, unlike some other default apps, the Camera app cannot be uninstalled via the Settings app. You need to use Windows PowerShell or CCleaner to uninstall it.
Before uninstalling the Camera app, you can try resetting it by going to Settings > Apps > Apps & features, clicking on the Camera app, and then selecting the Reset button. If the issue persists, you can also try reinstalling the Camera app by uninstalling it and then installing a new copy from the Microsoft Store.
Yes, you can set an external webcam as the default camera on Windows. To do this, you can disable the internal camera or set the external camera as the default device in the Control Panel.
To change the default camera on Windows, you can try disabling other internal webcams, setting the preferred camera as the default in Devices and Printers, removing other cameras from Devices and Printers, changing the default camera in your browser settings, or unplugging extra cameras.


