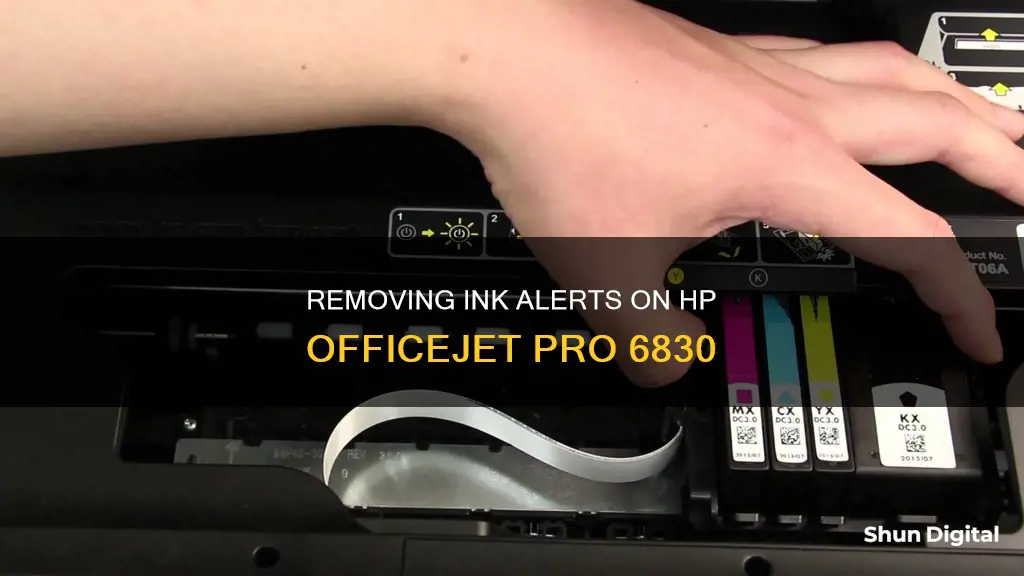
HP printer users often face the issue of frequent pop-up notifications about their ink levels. These alerts can be incredibly annoying, especially when the printer is shared with multiple people. While essential printer messages, such as those indicating a lack of ink or paper jams, are built into the firmware of the printer and cannot be disabled, there are ways to reduce the number of pop-up alerts. This includes disabling specific notifications in the printer's settings or uninstalling the HP Product Assistant utility, which is bundled with HP printer drivers and is the source of many of the pop-up alerts.
| Characteristics | Values |
|---|---|
| Printer model | HP Officejet Pro 6830 |
| Problem | Printer stopped printing black ink |
| Solution | Check ink cartridge vents and seating, clean printhead, align printer |
| Alert type | Low ink warning |
| Alert disable | Uncheck "Show informational notifications" boxes in Printer Server Properties |
What You'll Learn

Disabling ink level alerts on HP OfficeJet Pro 6830
Via Printer Settings:
- Go to Devices and Printers on your computer.
- Highlight your HP OfficeJet Pro 6830 printer by clicking on it.
- Click on the Print Server Properties tab at the top of the "Devices and Printers" box.
- Once in the "Print Server Properties," click on the Advanced tab.
- Uncheck all the boxes in this section.
Please note that this method will not disable essential printer messages, such as those notifying you of a lack of ink or paper jams. These messages are built into the firmware of the printer and cannot be disabled.
Via HP Product Assistant:
- Log in to your computer with an administrator account.
- Click Start | All Programs | HP | Product Assistant. If you can't find it in "All Programs," you can manually launch it by typing "C:\Program Files\Hp\Digital Imaging\Product Assistant\Bin\Hprbupdate.exe" in the Search box and pressing "Enter."
- Click Preferences on the left and select the Basic Settings tab.
- Click Disable Solution Updates under Update Interval Preferences and click "Save." This will stop advertisement pop-ups.
- Click the Advanced Settings tab, select "Disable Event Logging" under Logging Preferences, and then click "Save." This will turn off maintenance alerts.
If you want to completely remove the HP Product Assistant, you can uninstall it by following these steps:
- Log in with an administrator account.
- Click "Start," type "appwiz.cpl" in the Search box, and press "Enter."
- Right-click on "HP Product Assistant" and select "Uninstall."
- Follow the on-screen instructions to complete the removal. You may need to reboot your system afterward.
Using Steam on Multiple Monitors: Customization Tips
You may want to see also

Turning off HP printer pop-ups
If you're tired of constant pop-up notifications from your HP printer, you're not alone. These alerts, which often contain advertisements and information about ink or toner levels, paper jams, and software updates, can be bothersome and distracting. The good news is that you can turn off or disable these HP Product Assistant pop-ups. Here's how to do it:
Disable Product Assistant Alerts:
- First, log in to your computer with an administrator account.
- Next, click on "Start | All Programs | HP | Product Assistant." If you can't find the utility in "All Programs," you can launch it manually by typing "C:\Program Files\Hp\Digital Imaging\Product Assistant\Bin\Hprbupdate.exe" into the Search box and pressing "Enter."
- Once the HP Product Assistant window is open, click on "Preferences" and select the "Basic Settings" tab.
- Under Update Interval Preferences, click on "Disable Solution Updates" and then click "Save." This will stop those annoying advertisement pop-ups.
- Now, click on the "Advanced Settings" tab and select "Disable Event Logging" under Logging Preferences. Click "Save," and you'll no longer receive maintenance alerts.
Uninstall Product Assistant:
- If you'd like to remove the HP Product Assistant utility altogether, you'll need to log in with an administrator account and click on "Start."
- Type "appwiz.cpl" in the Search box and press "Enter."
- Right-click on "HP Product Assistant" and select "Uninstall." Follow the on-screen instructions to complete the removal, and restart your system if prompted.
- Keep in mind that the HP Product Assistant is included with the "fully featured" versions of HP printer drivers. If you don't want it, you can opt for the "basic" driver instead. And if you're installing from a CD, simply pay attention to the install wizard and deselect the HP Product Assistant before proceeding.
It's important to note that disabling or uninstalling the HP Product Assistant will not affect essential printer messages. These built-in firmware notifications will continue to alert you about problems such as a lack of ink or paper jams.
Monitoring Power Usage: Breakers in Your Home
You may want to see also

Troubleshooting black ink issues
- Check Ink Levels and Cartridge Installation: Ensure that your black ink cartridge is installed correctly and has sufficient ink. Sometimes, simply reinstalling the cartridge can fix the issue.
- Clean the Printhead: Over time, printheads can become clogged with dried ink. Try cleaning the printhead manually or using the automated tool in your printer's settings. Go to "Set up," then "Tools," and select "Clean Printhead." You may need to run this process several times to clear the clog.
- Reset Your Printer: Power reset your printer by disconnecting the power cable while the printer is on, waiting 15 seconds, and then reconnecting the cable. This can help resolve minor software glitches that may be causing the issue.
- Update Your Printer Driver: Outdated or corrupt printer drivers can sometimes cause printing problems. Visit the HP website or your printer's settings to check for and install any available updates.
- Contact HP Support: If none of the above solutions work, reach out to HP's customer support for further assistance. They may be able to provide additional troubleshooting steps or help you determine if there is an issue with your printer hardware.
Remember to refer to your printer's manual for detailed instructions on performing these troubleshooting steps, as well as safety precautions to follow during the process.
Removing Delta Monitor Shower Handle: A Step-by-Step Guide
You may want to see also

Maintaining the printhead and ink cartridges
To maintain the printhead and ink cartridges of your HP Officejet Pro 6830, you should first ensure that you only perform the procedures outlined in this section when directed to do so for resolving print quality issues.
If your printed output is streaked or has any incorrect or missing colours, you should clean the printhead. There are three stages of cleaning, each lasting about two minutes, using one sheet of paper, and an increasing amount of ink. After each stage, review the quality of the printed page. Only initiate the next phase of cleaning if the print quality is poor. If the print quality is still poor after all stages, try aligning the printer. If problems persist, contact HP support.
You should align the printer when the printer status page shows streaking or white lines through any of the blocks of colour, or if you are having print quality issues with your printouts. The printer automatically aligns the printhead during the initial setup.
If your printed output has smearing on the back, you should clean the ink smears. Ink may have built up in some areas of the printer and needs to be removed.
To clean or align the printheads, or clean ink smears:
- Load Letter or A4 unused plain white paper into the input tray.
- From the printer control panel display, touch 'Setup'.
- Touch 'Printer Maintenance', select the desired option, and then follow the on-screen instructions.
You can also perform the above steps from the HP printer software or embedded web server (EWS).
To replace the ink cartridges:
- Ensure that the printer is turned on.
- Open the ink cartridge access door. Wait until the print carriage stops moving before proceeding.
- Press the front of the ink cartridge to release it, and then remove it from the slot.
- Remove the new ink cartridge from its packaging.
- Using the colour-coded letters for help, slide the ink cartridge into the empty slot until it clicks securely into the slot. Ensure that you insert the ink cartridge into the slot that has the same coloured letter as the colour you are installing.
- Repeat steps 3 through 5 for each ink cartridge you are replacing.
- Close the ink cartridge access door.
Note: HP recommends that you replace any missing cartridges as soon as possible to avoid print quality issues and possible extra ink usage or damage to the ink system. Never turn off the printer when ink cartridges are missing.
Monitor Setup for Camera-Equipped Trailers: A Comprehensive Guide
You may want to see also

Disabling HP Product Assistant alerts
Disabling HP Support Assistant Updates
Firstly, you can prevent the HP Support Assistant from installing updates, which may be interrupting your critical functions. To do this, follow these steps:
- Launch the HP Support Assistant by tapping on it.
- Go to 'Settings' in the bottom left corner of the window.
- Head to the 'Health Analysis' tab and select 'Frequency' on the drop-down menu.
- From the next drop-down menu, select 'Never check for updates or messages (not recommended)'.
- Go to 'Change tune-up schedule' and choose 'Never'.
- Finally, click 'Save'.
Disabling HP Product Status
If you wish to turn off HP Product Status, follow these steps:
- Open the HP product folder.
- Right-click on 'HP UPD' and select 'Properties'.
- Choose the 'Device Settings' tab.
- Under the 'Installable Options' section, set device status notification as 'Disable'.
Disabling HP Support Assistant Quick Access
To disable HP Support Assistant Quick Access:
- Launch the HP Support Assistant by tapping on it.
- Go to 'Settings'.
- Select 'Updates and Tune-ups'.
- Click on 'Other settings' on the bottom left.
- Uncheck the taskbar options in the 'How would you like to be notified?' section.
Uninstalling HP Support Assistant
If you want to get rid of the HP Support Assistant entirely, you can do so by following these steps:
- Go to the Control Panel and then select 'Uninstall a program'.
- On 'Programs and Features', select 'HP Support Assistant' and then click 'Uninstall'.
- Tap 'Yes' to confirm the uninstallation.
- Finally, reboot your system to complete the process.
DDC CI Option: What Does ASUS Monitor Feature Offer?
You may want to see also


