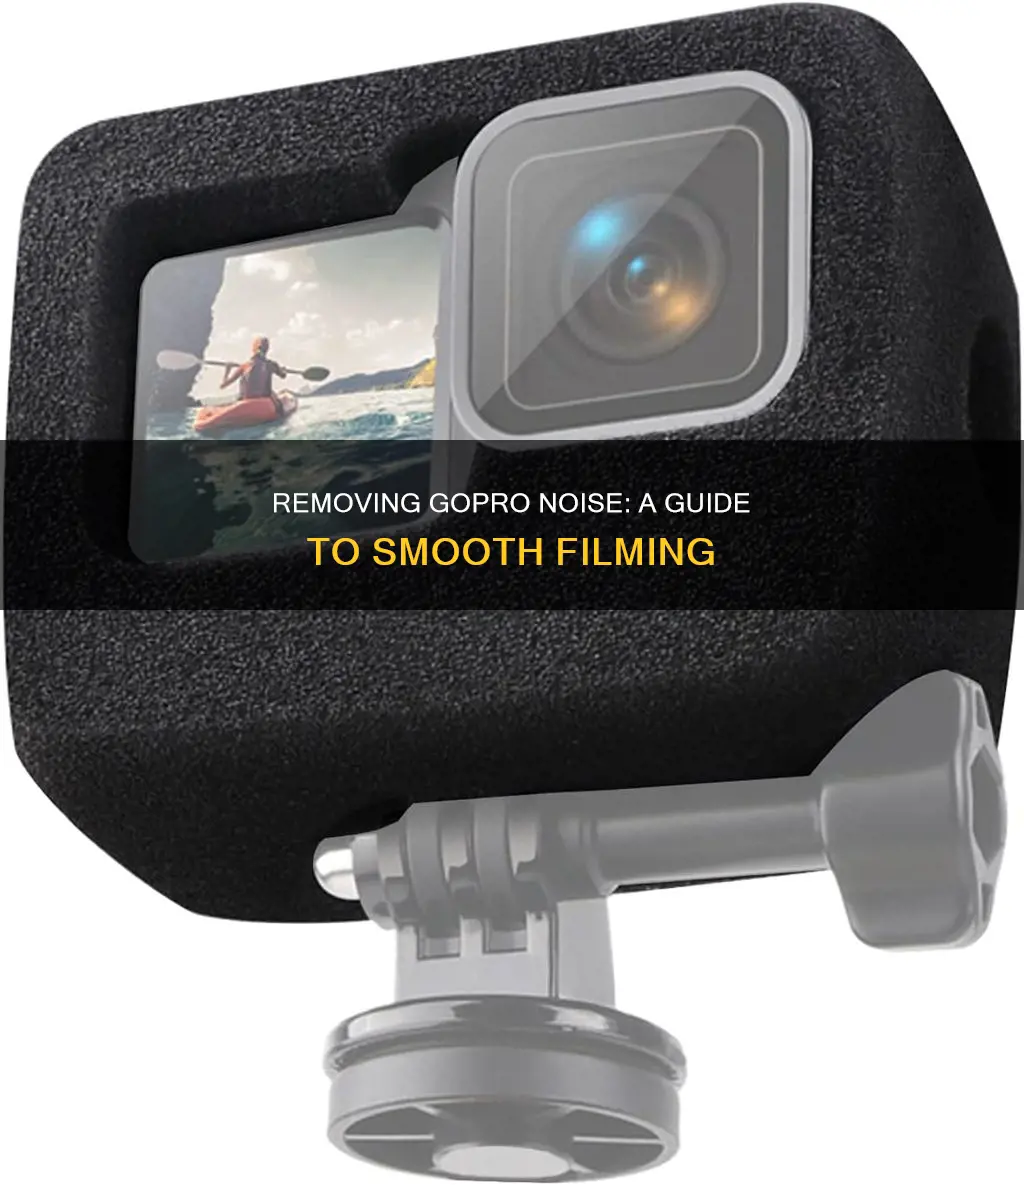
If you're experiencing issues with your GoPro footage, such as graininess or unwanted noise, there are several steps you can take to address these problems. Before shooting, ensure you are filming in a well-lit area to avoid graininess. During shooting, adjust your camera settings, such as ISO value, shutter speed, and frame rate, to minimise noise and grain. Finally, if you still encounter issues, you can use video editing software to reduce grain and noise in your footage.
What You'll Learn

Use external mics to reduce white noise
Using an external microphone can be an effective way to reduce white noise and improve the audio quality of your GoPro footage. Here are some tips and suggestions for utilising external mics to minimise unwanted sound:
Firstly, ensure your GoPro model supports external microphones. Some GoPro models, like the Hero7 White and Silver, do not have a microphone input and cannot accommodate external mics. Upgrading to a model like the Hero7 Black, which does support external mics, can be a worthwhile investment if you're serious about improving your audio.
Once you have a compatible GoPro model, invest in a good-quality external microphone. While inexpensive mics like the Saramonic SR-XM1 or the BOYA BY-MM1 can be useful, they may not deliver professional-grade results. Consider your budget and the specific requirements of your project when choosing an external mic.
When setting up your external microphone, pay attention to the mic's sensitivity settings. Lowering the sensitivity can help reduce ambient noise and minimise the pickup of unwanted sounds. You may need to experiment with different settings to find the optimal configuration for your environment and subject matter.
Additionally, consider using a noise gate. This feature, found in audio software, allows you to set a volume threshold so that any sound below a certain level is filtered out. This can be highly effective in reducing low-level background noise, such as wind or buzzing sounds.
Another technique to reduce white noise is to capture "dead mic noise." Record 20-30 seconds of silence in your recording environment, then use this sample as a filter to remove similar background noise from your main recordings. Software like Adobe Audition and Wondershare Filmora offer tools to achieve this.
Remember, using external mics and post-processing techniques can significantly enhance the audio quality of your GoPro footage, minimising unwanted white noise and distractions.
Stream Zmodo Cameras on Fire TV: Easy Steps
You may want to see also

Lower the mic sensitivity
If you're experiencing unwanted noise when using your GoPro, one solution is to lower the microphone sensitivity. This can be particularly effective if you're dealing with wind noise or other background sounds that are interfering with your audio.
To do this, you'll need to access your GoPro's audio settings. Locate the "Mic Sensitivity" or "Microphone Sensitivity" option, which is usually found under the "Audio" or "Sound" settings. Once you've found the right setting, adjust the sensitivity to a lower level. This will make the microphone less sensitive to sound, reducing the amount of ambient noise that is picked up.
It's important to note that lowering the mic sensitivity will also reduce the overall volume of your audio. So, while it can help to reduce unwanted noise, you may also need to speak louder or move closer to the camera to ensure your desired audio is captured clearly. Experiment with different sensitivity settings to find the right balance between noise reduction and audio quality.
Additionally, consider using a wind muff or a dead cat windscreen over your GoPro's microphone. This can help reduce wind noise and other unwanted sounds without requiring you to lower the mic sensitivity too much. These accessories are designed to fit over the microphone and block out wind and other noise sources, improving the overall audio quality.
Self-Checkout Cameras: What Are They Watching?
You may want to see also

Capture dead mic noise and filter it out in post-production
If you're experiencing unwanted noise when using your GoPro, there are several steps you can take to reduce or eliminate it. In this case, we'll focus on capturing dead mic noise and filtering it out in post-production.
Firstly, it's important to understand the type of noise you're dealing with. In the case of a GoPro, you may encounter “white noise”, which is a buzzing or hissing sound that can be caused by various factors such as inexpensive microphones, high microphone sensitivity, or electrical interference.
To capture the dead mic noise for filtering, record about 20-30 seconds of room noise with your GoPro in the same environment where you will be recording your main footage. This captured noise will be used as a reference for filtering out similar noise from your final recording.
When it comes to the software for filtering, there are several options available. You can use dedicated audio editing software such as Adobe Audition or Wondershare Filmora, which offer denoising features. These programs allow you to apply noise reduction or filtering effects specifically targeted at removing unwanted sounds while preserving the desired audio.
Additionally, you can explore noise gate settings in your audio software. A noise gate is a tool that allows you to set a volume threshold, below which any sound will be filtered out. This can be particularly useful for removing low-level background noise, such as the buzzing or hissing you may be experiencing with your GoPro.
Another option is to utilise noise-cancelling software designed specifically for ambient noise reduction. Examples include CrumplePop, Krisp, Audacity, Wavosaur, Wavepad, and NoiseGate. These tools can either block ambient noises from being recorded in the first place or allow you to edit them out after recording.
When using noise-cancelling software, it's important to ensure compatibility with your operating system and recording setup. Some software may only work within specific applications or with certain audio hardware. Additionally, be mindful of the potential trade-off between noise reduction and audio quality; excessive noise reduction can sometimes lead to a loss of desired audio details.
In summary, by capturing dead mic noise and using the appropriate software tools, you can effectively filter out unwanted sounds from your GoPro recordings while retaining the audio quality you desire.
Uncover Your Alexa Show Camera: A Step-by-Step Guide
You may want to see also

Shoot in a well-lit area to avoid grainy video
When shooting with a GoPro, it's important to remember that the lighting conditions can greatly affect the quality of your video. If you're looking to avoid grainy footage, shooting in a well-lit area is a good first step.
Grainy footage, also known as "noise", can occur when your camera's sensor struggles to receive enough light. This is common in low-light conditions, and the result is a video with visible grain, or noise, that appears similar to static in old-fashioned analogue television.
By shooting in a well-lit area, you ensure that your camera has ample light to work with, reducing the likelihood of noise in your footage. This simple step can make a big difference in the overall quality of your video.
If you're unable to find a well-lit area to shoot, there are a few other tricks you can use to improve the lighting conditions. One option is to use a slower shutter speed, which allows more light into the camera. However, if your subject is moving, a slower shutter speed can result in blurry footage. To avoid this, you can use a tripod to stabilise your camera.
Another option is to increase the ISO setting on your camera. This will make your camera more sensitive to light, resulting in brighter footage. However, be cautious as increasing the ISO too much can also introduce more noise into your video. As such, it's generally best to shoot in a well-lit area whenever possible to avoid excessive noise in your GoPro footage.
Exploring Network-Attached Cameras: A Comprehensive Guide
You may want to see also

Use a low ISO value to reduce grain
Using a low ISO value is a great way to reduce grain and noise in your GoPro footage. ISO measures the light sensitivity of your camera sensor, and a lower ISO value will let less light in, resulting in a darker image.
When you're shooting in bright conditions, a low ISO is ideal. For example, on a sunny day, an ISO of 100 will be perfect for capturing clear, detailed footage with minimal noise. This is because, in well-lit conditions, your camera sensor is already receiving plenty of light, so a high ISO isn't necessary.
However, in low-light conditions, such as when shooting at night or indoors with dim lighting, a higher ISO value is required. In these situations, your camera sensor needs a boost in light sensitivity to capture enough light for a well-exposed image. While this will introduce more noise, it's necessary to avoid extremely dark and unusable footage.
It's important to note that while a low ISO can help reduce noise, it's not the only factor at play. Other settings, such as aperture and shutter speed, also affect the amount of light captured and can impact noise levels. Additionally, post-processing techniques can be used to reduce noise further, such as using noise reduction software or filters.
By understanding the relationship between ISO and lighting conditions, you can effectively use low ISO values to minimize noise and grain in your GoPro footage, resulting in clearer and more detailed images.
Baseball Camera Break: Impact and Aftermath
You may want to see also
Frequently asked questions
You can try using an external mic and lowering its sensitivity. You can also try capturing 20-30 seconds of dead mic noise and using it as a filter to clean out the rest of the audio.
Grainy footage is often caused by improper settings when shooting in low light. To avoid this, you can increase the aperture size, decrease the shutter speed, or select a high ISO.
Avoid using a high ISO, fast shutter speed, and high frame rate. You should also avoid using unapproved SD cards, as this may cause your footage to become pixelated.
You can use video editing software such as Adobe Premiere Pro, Adobe After Effects, or VideoProc Converter AI to reduce grain and noise in your footage. These programs offer various tools and plugins to help improve the quality of your videos.


