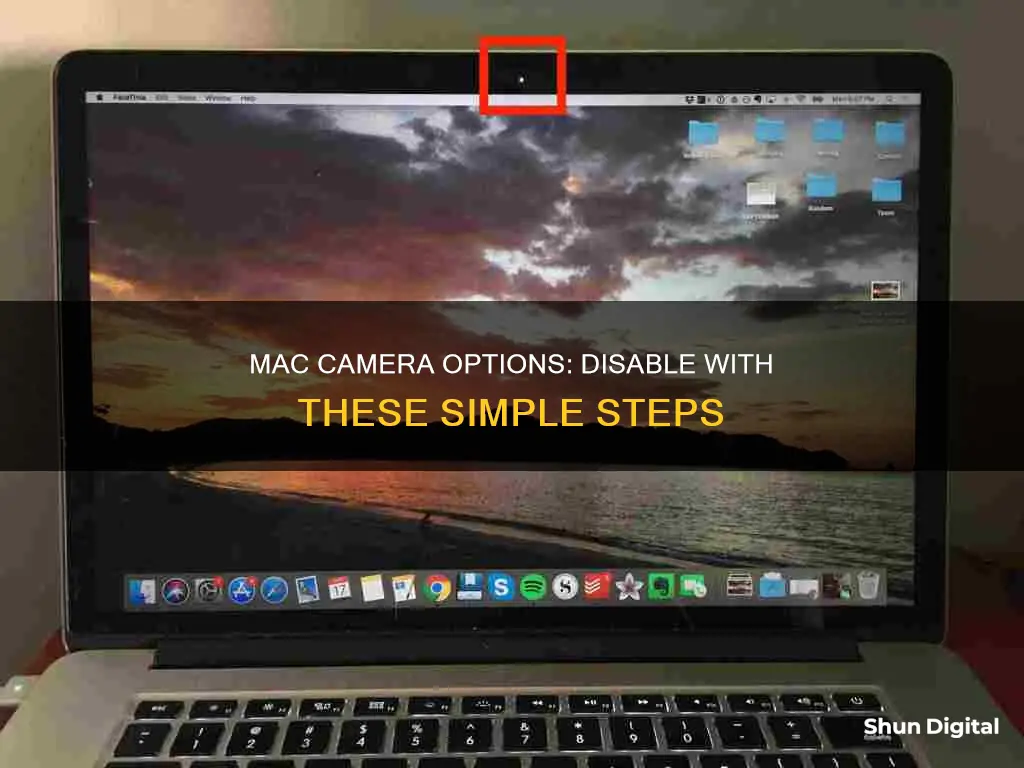
If you want to remove camera options from your Mac, you can do so by revoking access to certain apps. This can be done by going to System Preferences, then Security & Privacy, and deselecting the checkbox next to the app you do not want to give camera access to. You can also cover the camera with tape or a webcam cover slider.
What You'll Learn

Disable the built-in camera's access to apps
If you want to prevent apps from accessing your Mac's built-in camera, you can do so by revoking their permissions. Here's how:
- Click on the Apple logo in the top right corner of the menu bar.
- Select "System Settings..." from the drop-down menu.
- In the System Settings window, click on "Privacy & Security" or "Security & Privacy".
- In the Privacy & Security or Security & Privacy window, select "Camera" from the options listed. This will display a list of apps that have access to your camera.
- On the next screen, disable the toggles or uncheck the boxes for the apps that you do not want to access your Mac's camera.
- If you disable the toggle or uncheck the box for any app that is currently using the camera, you may get a pop-up. Click "Quit & Reopen" if you want to save the changes immediately.
By following these steps, you can selectively disable the built-in camera's access for specific apps on your Mac.
Anfield's TV Camera Setup: A Behind-the-Scenes Look
You may want to see also

Restrict browser access
There are several ways to restrict browser access to your Mac's camera.
Safari
To restrict Safari from accessing your Mac's camera, open the Safari browser and click on the Safari option in the top right of the menu bar. Select Settings, then head to the Websites menu and click on Camera in the General window on the left. You will see all the currently open websites listed under the "Allow websites to access the camera with the settings below" menu. Click the drop-down menu to the right of any website and select Deny. If you want to disable the camera for all other websites, click the drop-down menu next to "When visiting other websites" and select Deny.
Google Chrome
Open the Google Chrome browser and click on the Google Chrome option in the top right of the menu bar. Select Settings, then click on Privacy and Security in the sidebar. Next, click on Site Settings under the Privacy and Security menu and scroll down to click on Camera under the Permissions menu. On the next screen, select "Don't allow sites to use your camera" under the Default Behaviour menu.
Firefox and Chrome
Firefox and Chrome have robust and user-friendly security settings. You can easily switch off the audio and video access for every web browser you use, making it much more difficult for malicious software to hijack access.
Parental Controls
The parental controls feature on Mac provides the option to disable the camera for any user account on your MacBook. Open the Safari browser and click on the Safari tab in the top menu bar, then select Preferences in the drop-down menu. On the System Preferences screen, click on Parental Controls, then click on the Enable Parental Controls button. You may need to click on the Lock Icon and enter your Admin Password to access this setting. On the next screen, select the User Account for which you want to disable camera access in the left pane. In the right pane, switch to the Apps tab and uncheck "Allow Use of Camera". This will prevent all apps on your MacBook from using the built-in camera and any plug-in webcam for that particular user account.
System Preferences
Click on the Apple logo in the top menu bar and select System Preferences in the drop-down menu. On the System Preferences screen, click on the Security & Privacy tab, then select Camera in the left pane. In the right pane, uncheck the apps that you do not want to have access to your camera.
How Green Light Evades Cameras
You may want to see also

Use tape to cover the camera
Covering your MacBook's camera with tape is a simple, effective, and cheap solution to protect your privacy. Security and intelligence chiefs and even Facebook CEO Mark Zuckerberg are known for covering their built-in cameras with tape.
To cover your MacBook's camera with tape, you can follow these steps:
- Choose an appropriate tape: While clear tape won't work, thick masking tape, scotch tape, electrical tape, or even the sticky part of Post-It notes can be used. You can also use black gaffers tape, which is commonly used in theatre, photography, and television production and removes with little to no residue. Alternatively, you can use a small, round, one-quarter-inch diameter felt sticker, which can be easily removed for video calls and reattached when you're done.
- Apply the tape: Simply stick the tape over your MacBook's camera lens. Ensure that the tape is opaque enough to block the camera and sticky enough to stay in place.
- Remove the tape when needed: If you need to use your camera, carefully remove the tape. Keep a roll of tape nearby or in your computer bag if you need to replace it.
While using tape is a straightforward solution, it may not be ideal for the long term as it could leave marks or scratches on your MacBook or potentially damage the lens. Additionally, remember that newer MacBooks have a green light indicator that turns on when the camera is active, providing an extra layer of security.
Capturing the Northern Lights: Camera Tips for Aurora Chasers
You may want to see also

Revoke access to the camera in System Preferences
If you want to revoke access to your camera in System Preferences, you can do so by following these steps:
- Click the Apple logo in the top right corner of the menu bar.
- Select System Settings from the drop-down menu.
- Click on the Privacy & Security option. If you are using macOS Mojave or an earlier version, you may need to scroll down to find it.
- Select the Camera option located under the Privacy menu.
- On the next screen, you will see a list of apps that have access to your camera. Disable the toggles for any apps that you do not want to access your camera.
- If you are disabling access for an app that is currently active, a pop-up will appear. Click "Quit & Reopen" if you want to save the changes immediately.
- You can restore access at any time by going back into the Privacy & Security settings and re-enabling the toggle for the desired app.
In most cases, this should be enough to restrict access to your camera. However, if you are still concerned about privacy, you can also use third-party apps like OverSight to monitor and alert you if any app attempts to access your camera or microphone. Alternatively, you can physically cover your camera with tape or a privacy slider, although this may leave marks or scratches on your device.
Mastering Camera Movements in TV Paint: A Guide to Tweens
You may want to see also

Use a third-party app to monitor access to the camera
While Apple's macOS does offer a range of privacy settings to control access to your camera, you can also use third-party apps to monitor access to your camera.
One such app is CleanMyMac X, a powerful Mac performance improvement app that can be used to clear hard-to-find system junk, clutter, and caches to get your Mac camera working as good as new again. Here is how you can use it:
- Download CleanMyMac X (a link to download a free version is available on the MacPaw website).
- Use the Smart Scan to quickly and easily identify system junk.
- Your Mac camera and audio should now be working normally again. Remember to disable access via System Settings or web browsers when it isn't needed to keep your Mac secure.
Another tool that comes with CleanMyMac X is Application Permissions. This tool allows you to check what apps are allowed to use your camera and adjust those permissions with a few clicks. This way, if you ever feel that someone is watching you, you can easily check within the Privacy settings and block access to your camera immediately.
In addition to CleanMyMac X, other third-party apps and websites can be used to monitor and control access to your camera. For example, you can use a webcam cover slider, privacy protector, or even tape to physically block the camera lens. While this may not be the most elegant solution, it is simple, effective, and cheap. However, be aware that using tape or a cover slider may leave marks or scratches on your Mac or potentially damage the lens.
Spotting Active TV Cameras: What to Look For
You may want to see also
Frequently asked questions
You can revoke access to your camera in System Settings. Go to Privacy & Security and toggle off all unneeded apps on the list.
In Safari, go to Safari > Settings > Websites > Camera and click Ask to switch to Deny. In Chrome, go to Settings > Privacy and Security > Site Settings > Camera and select 'Don't allow sites to use your camera'.
Yes, you can cover the camera with tape or a webcam cover slider. However, this may damage the lens or screen.
Go to System Preferences > Security & Privacy > Privacy. Then, deselect the checkbox next to the app you do not want to give camera access to.


