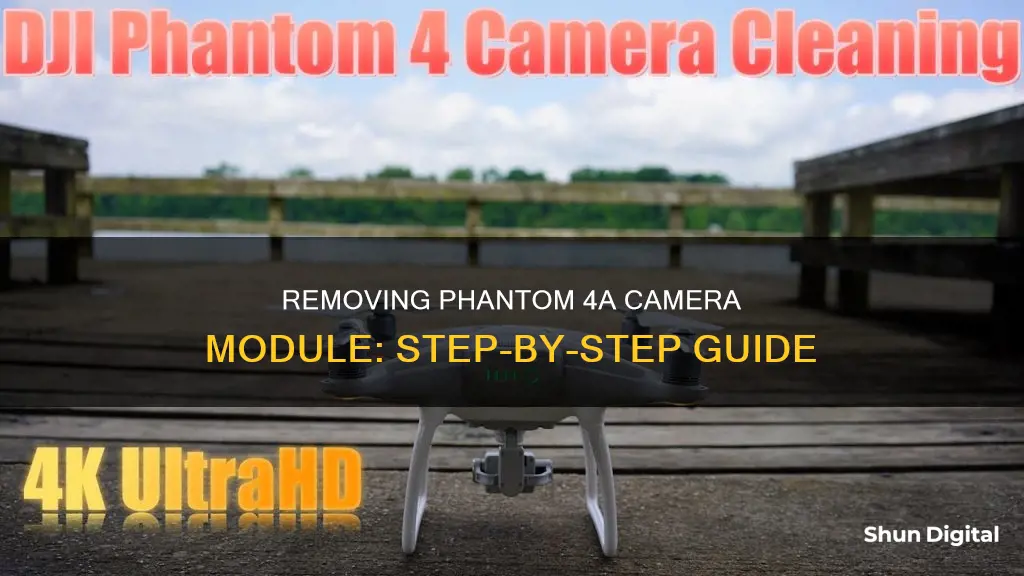
The DJI Phantom 4 drone has a camera module that some users may want to remove or replace. While it is possible to remove the camera, it is a complex process that requires careful handling of the drone's internal components. It is not recommended for inexperienced users as it may void the warranty and damage the drone. Official sources advise that only repair centres should perform any kind of repair work on the camera. However, some online guides and forums provide step-by-step instructions for those who wish to attempt the removal themselves, but it is important to proceed with caution.
What You'll Learn

Removing the gimbal lock
To remove the gimbal lock from your Phantom 4 A, you will need to follow a series of steps to ensure the safe removal of the camera module. Here is a detailed guide:
Firstly, remove the propellers by pushing down and twisting them counter-clockwise to release them from the drone. This is an important first step to create space and access the internal components.
Next, remove the battery by firmly pressing the battery tabs on the top and bottom and gently sliding it out. This will power down the drone and ensure no accidental activation occurs during the disassembly process.
Now, you can focus on the gimbal lock. If the gimbal lock is still in place, carefully remove it from the drone. This step will expose the underlying components and prepare the drone for further disassembly.
Using the appropriate screwdriver, typically a T6, remove all eight screws on the gimbal assembly. These screws secure the gimbal in place, and removing them will allow you to detach the gimbal from the drone's body.
With the screws removed, gently pry the gimbal assembly from the drone using a plastic tool. Be cautious not to force it, as there are delicate cables that must be unplugged first. Carefully disconnect the gimbal cable's screws and bracket, typically using a Phillips #000 screwdriver, and then gently unplug the gimbal cable by releasing the clips on the sides and sliding the cable out.
At this point, the gimbal lock should be successfully removed. You can now proceed with further disassembly or repairs, following similar careful procedures for other components. Remember to keep track of the order of removal for easier reassembly.
Please note that this process may differ slightly depending on your specific Phantom 4 model and variant. Always refer to official guides or seek expert advice if you are unsure about any steps.
Lines on My Camera: What's the Deal?
You may want to see also

Disconnecting the gimbal cables
Step 1: Using a Phillips #000 screwdriver, remove the two screws and the gimbal bracket. This will expose the gimbal cables that need to be disconnected. Take note of the location and orientation of the screws, as they will need to be reinstalled in the same way during reassembly.
Step 2: Gently unplug the left gimbal cable. This cable is usually in a red box and can be unplugged by pushing in the white clips on its sides and then sliding the cable out. Be very careful not to damage the cable or the connectors during this step.
Step 3: Now, focus on the right gimbal cable, which is typically in an orange box. This cable is a 3-in-1 cable, and you will need to use a spudger to gently pry it up and unplug it. Again, be cautious not to damage the cable or connectors.
Step 4: With both gimbal cables disconnected, carefully set aside or store the gimbal assembly in a safe place. It is important to keep the parts organized and protected during the disassembly process to avoid any accidental damage.
Step 5: Before proceeding, take a moment to inspect the gimbal cables and connectors for any signs of damage or wear. If everything looks intact and in good condition, you can move on to the next step.
Step 6: (Optional) If you plan to reinstall the gimbal assembly or if you are replacing it with a new one, it is essential to clean the connectors gently with a soft, dry cloth. Ensure no moisture or debris is introduced during this step, as it can affect the performance and integrity of the connections.
By following these steps carefully, you should be able to successfully disconnect the gimbal cables from your Phantom 4 A drone. Remember to take your time, be gentle, and pay attention to the details to avoid any accidental damage to the cables or connectors.
Watching an Eclipse: Camera Screen Projection
You may want to see also

Removing the gimbal assembly
Step 1: Remove the Gimbal Lock
If the gimbal lock is still engaged, make sure to disengage it before proceeding. This will ensure that the gimbal is not accidentally activated during the removal process.
Step 2: Remove the Battery
Firmly press the battery tabs on the top and bottom of the battery, and then slide it out of the drone. It is important to disconnect the power source before performing any work on the drone.
Step 3: Remove the Shell's Main Screws
Using a T8 screwdriver, remove the eight Torx screws that secure the plastic shell of your drone. This will allow you to access the internal components, including the gimbal assembly.
Step 4: Remove Gimbal Assembly Screws
With a T6 screwdriver, remove all eight screws located on the grey gimbal assembly. These screws hold the gimbal assembly in place, and removing them will allow you to detach it from the drone's body.
Step 5: Detach the Gimbal Assembly
Using a plastic spudger or pick, gently pry the gimbal assembly away from the drone. Be cautious, as there are cables connecting the gimbal that must be unplugged before complete removal.
Step 6: Disconnect the Gimbal Cables
Using your fingers or needle-nose pliers, carefully unplug the gimbal cables. For the left cable (indicated by a red box), push in the white clips on the sides and slide the cable out. For the 3-in-1 cable on the right (orange box), use a spudger to gently pry it up and disconnect it.
By following these steps, you will be able to successfully remove the gimbal assembly from your Phantom 4 A drone. Remember to keep track of the screws and cables removed during the process to facilitate easier reassembly.
Frankfurt Brothels: Are They Under Surveillance?
You may want to see also

Removing the shell's main screws
To remove the shells main screws from your Phantom 4 A, you will need a T8 screwdriver.
First, remove the propellers by pushing down and twisting them counter-clockwise to release them from the drone. Then, remove the battery by firmly pressing the tabs on the top and bottom of the battery and sliding it out. If the gimbal lock is still on, remove it from the drone.
Now, you can remove the eight Torx screws from the plastic shell using your T8 screwdriver. These screws are located on the plastic shell of your Phantom 4 A. Be sure to keep track of the screws as you remove them, as you will need to put them back in the correct order during reassembly.
With the main screws removed, you can now access the internal components of your drone and proceed with any necessary repairs or modifications. Remember to exercise caution and follow appropriate safety procedures when working with electronic devices.
Hacking Smart TV Cameras: A Step-by-Step Guide
You may want to see also

Removing the gimbal assembly screws
To begin, make sure that you have the right tools for the job. You will need a T6 screwdriver for removing the gimbal assembly screws. It is also recommended to have a plastic spudger or pick tool on hand for gently prying the assembly away from the drone.
Once you have the necessary tools, follow these steps:
- Using the T6 screwdriver, carefully remove all eight screws on the gimbal assembly. The gimbal assembly is the grey component located on the belly of the craft.
- After removing the screws, use the plastic spudger or pick tool to gently pry the gimbal assembly away from the drone. Be cautious, as there are cables that must be unplugged before completely removing the assembly.
- With the gimbal assembly removed, you will have access to the cross-head screws on the white tabs holding the composite internal frame to the lower shell.
- Carefully lower the camera and gimbal, and undo the two ribbon cables connecting the assembly to the flight controller board.
- Now you can set the gimbal assembly aside and proceed with further disassembly or maintenance of your Phantom 4 A.
Remember to work slowly and carefully throughout the process to avoid damaging any components or cables. It is also important to keep track of the order of disassembly, as you will need to reverse these steps for reassembly.
By following these steps, you should be able to successfully remove the gimbal assembly screws and access the internal components of your Phantom 4 A for maintenance or repairs.
Exploring F1 Onboard Cameras: A Spectator's Guide
You may want to see also
Frequently asked questions
Removing the camera from your Phantom 4 drone can be a complex process and may void your warranty. It is recommended that you send your drone to a repair centre to have this done.
You will need a range of screwdrivers, including a T8, a T6, and a Phillips #000. You will also need a plastic spudger or pick, a knife or flathead screwdriver, and needle-nose pliers.
First, remove the gimbal lock if it is still on. Then, using a T6 screwdriver, remove the eight screws on the grey gimbal assembly. Finally, gently pry the gimbal assembly from the drone with a plastic spudger or pick.
Be careful not to damage any of the gimbal cables when removing the gimbal, as you may have to pay for repairs. Also, do not cut any cables with wire cutters, as they are enameled wire and will be difficult to solder back together.


