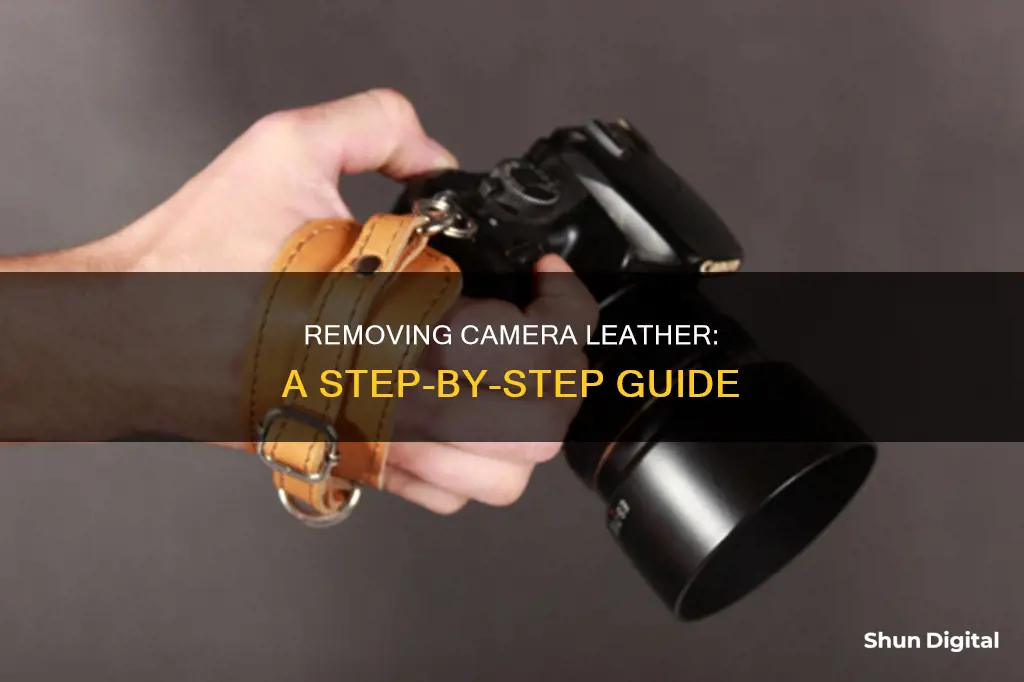
Removing the leather from a camera can be a challenging task, and it is important to proceed with caution to avoid damaging the camera body. The process may vary depending on the type of camera and the condition of the leather. In some cases, the leather may be glued on, and it is essential to use the right tools and techniques to remove it safely and effectively. It is recommended to use a combination of gentle touch and firm pulling, being cautious not to scratch the camera body. Additionally, it is crucial to clean any adhesive residue left on the camera body after removing the leather. Overall, while removing camera leather can be a complex process, it is achievable with patience and the right tools.
| Characteristics | Values |
|---|---|
| Tools | Tweezers, chisel, needle-nose pliers, scalpel, small flat-bladed screwdriver, toothpicks, bamboo sticks, microfibre cloth, cotton swab, cotton wipes, palette knife, bookbinder's leather paring knife, painter's palette knife, small pointy object, blunt file tip |
| Chemicals | Isopropyl alcohol, non-acetone nail polish remover, sanitising alcohol hand rub, pure alcohol, lacquer thinner, lighter fluid, paint stripper, MEK, methyl-ethyl ketone, butanone, xylol, xylene, acetone, naphtha, adhesive removers, turpentine, white spirits, industrial/medical alcohol, Goo Gone, steam, water, denatured alcohol, paint thinner, sandpaper, Micro-tools leather/leatherette removal kit, Zippo lighter fluid, Micro-Sol, Micro-Wash, Micro-Strip, Micro-Clean, Micro-Shine, Micro-Shine, Micro-Wash, Micro-Strip, Micro-Clean, Micro-Bright, Micro-Shine |
| Other | Heat from a hair dryer, hot water |
What You'll Learn

Use a solvent like alcohol or acetone
When removing camera leather, you can use a solvent like alcohol or acetone. However, it is important to exercise caution as these chemicals can damage certain parts of your camera. For example, alcohol can damage plastics irreversibly, so be extra careful when using it on plastic camera components.
If you are set on using a solvent, start by putting a couple of drops of alcohol on a corner of the piece you want to remove. Use a small, flat-bladed screwdriver to lift the leatherette. Be careful not to use a knife or anything with a curved blade, as you need to work the angle of the blade in one direction to avoid cutting through the cover. Work carefully from the edges towards the middle, adding more alcohol as you go. Only remove as much as you need to. Most of the time, you will be able to leave the cover attached to one part of the camera body, which will help when it comes to reassembly.
Alternatively, you can use acetone. However, be aware that acetone is a strong chemical that can remove paint and damage plastic. Always wear gloves and work in a well-ventilated area when handling acetone. Apply a small amount of acetone to a cotton pad and gently rub it on the glue for around five minutes. The glue should start to soften, allowing you to peel away the leatherette.
Once you have removed the leatherette, you will need to clean off any remaining glue. You can use a microfiber cloth and a small amount of alcohol or acetone to do this, being careful to avoid sensitive camera components.
Removing Back Camera Screen Protectors: A Step-by-Step Guide
You may want to see also

Use a hair dryer to heat the leather
To remove camera leather, you can use a hair dryer to heat the leather and weaken the adhesive. Here are some detailed instructions on how to do this:
Firstly, it is important to note that leather and heat do not mix well. Heat can pull out vital nutrients from the leather, causing it to shrink and become damaged. Therefore, it is crucial to be cautious when using a hair dryer to remove camera leather. Keep the hair dryer at least 15 cm away from the leather at all times.
Start by setting your hair dryer to medium heat. You do not want to use high heat as it can damage the leather. Turn on the hair dryer and hold it about 15 cm away from the leather. Move the hair dryer back and forth, ensuring you do not keep it in one place for too long. This will help to soften the leather and loosen the adhesive.
After applying heat for a few seconds, you can try to gently lift the edge of the leather with a wooden toothpick or a pair of tweezers. If the leather does not come off easily, continue applying heat with the hair dryer and try again. Be careful not to force the leather off, as you may damage the camera body.
Once you have lifted the edge of the leather, you can start to gently peel it off. If the leather is difficult to grip, you can use a precision scalpel to carefully cut it into smaller pieces, making it easier to remove. Always cut away from yourself to avoid any accidents.
If there is any adhesive residue left on the camera body, you can use a microfiber cloth and a small amount of isopropyl alcohol or a dedicated cleaning solution to remove it. Be cautious when using alcohol on plastics, as it can damage the material irreversibly.
It is important to note that applying heat to the camera module can potentially weaken the adhesive holding the camera lens. While this may not be an issue once the adhesive cools down, it is something to keep in mind, especially if your camera is water-resistant. Overheating can also damage the internal components of the camera, so always be mindful of the heat and duration of exposure.
By following these steps, you should be able to successfully remove camera leather using a hair dryer. Remember to take your time, be gentle, and avoid excessive heat to prevent any damage to the camera or its components.
The Magic Behind Self-Cleaning TV Cameras
You may want to see also

Use a sharp tool to cut the leather
Removing the leather covering from a camera can be a challenging task, and it is important to exercise caution to avoid damaging the camera body. One effective approach is to use a sharp tool, such as a precision scalpel or a small flat-bladed screwdriver, to carefully cut and lift the leatherette. Here is a detailed guide on how to do this:
Prepare the Necessary Tools and Work Area:
Before beginning, ensure you have a clean work area and the necessary tools. In addition to a sharp tool for cutting, you will need items such as wooden toothpicks, tweezers, microfiber cloths, and a cleaning solution for removing adhesive residues. It is also recommended to wear protective gear, such as gloves and safety glasses, to safeguard against any sharp edges or chemical exposure.
Start Cutting the Leather:
Begin by carefully inserting the sharp tool under the edge of the leather covering. Gently cut and lift a small portion of the leatherette to create an initial grip point. Be cautious not to apply too much force, as you risk damaging the camera body underneath. This process may require patience and a gentle touch.
Grip and Remove the Leather:
Once you have a small section of the leatherette lifted, use a pair of tweezers or needle-nose pliers to securely grip the lifted edge. Start gently pulling and removing the leather covering. If necessary, cut the leather into smaller pieces to facilitate easier removal. Work your way across the entire camera body, cutting and lifting as you go. This process may take some time, especially if the leather is strongly adhered to the camera.
Clean the Adhesive Residue:
After removing all the leather pieces, it's time to address the adhesive residue left behind. Use a microfiber cloth and a small amount of cleaning solution to carefully wipe down the camera body. Be cautious when using chemicals like alcohol on plastics, as they can cause irreversible damage. Alternatively, you can use a mild solvent like rubbing alcohol or a hair dryer to soften and remove the glue. Ensure you remove all traces of adhesive before proceeding further.
Inspect and Prepare the Camera Body:
Once the leather and adhesive residue are completely removed, carefully inspect the camera body for any gouges or scratches that may have occurred during the removal process. If necessary, use fine-grain sandpaper or a similar tool to smooth out any imperfections. Additionally, check for any small metal plates that may have been attached to the leatherette and ensure they are properly cleaned and set aside for reattachment.
Prepare for Reattachment of New Leather:
At this stage, you have successfully removed the old leather covering and prepared the camera body for the reattachment of a new leatherette. Refer to other guides for specific instructions on how to attach the new leather covering, as the process may vary depending on the camera model and the type of leatherette you choose. Remember to take your time and work with precision to achieve the best results.
Cameras in Prison Cells: Why Inmates Avoid Them
You may want to see also

Use a cleaning solution to remove adhesive residue
Removing adhesive residue from your camera can be done in a few simple steps. Firstly, it is important to note that you should try to remove the residue without using any cleaning solutions, as these can damage the camera's material irreversibly.
However, if this does not work, you can use a cleaning solution. Soak a microfibre cloth or a paper towel in isopropyl alcohol, also known as rubbing alcohol, and wrap it around the surface you are cleaning. You can also use a cotton swab for tighter spots. Be careful not to use too much cleaning solution and avoid rubbing too hard, especially if your camera is made of plastic, as the paint may come off.
Let the cloth sit on the camera for about 30 minutes, and then try to wipe the adhesive residue away. Once you are done, let the camera surface dry completely.
Other cleaning solutions that can be used include acetone nail polish remover, Goo Gone, baby oil, mineral spirits, and WD-40.
Blackboard Collaborate: Viewing All Participant Cameras
You may want to see also

Use a chisel to remove dried glue
When removing camera leather, you may encounter dried glue that needs to be chipped away. Here is a detailed guide on how to use a chisel to effectively remove dried glue from your camera:
Get the Right Tools
Before you begin, ensure you have the necessary tools ready. You will need a sharp chisel, preferably with a beveled edge, and a small mallet or another light object to tap the end of the chisel if needed. A precision scalpel with a sharp blade can also be useful for cutting away any remaining adhesive residue.
Prepare the Area
Inspect the area and identify any dried glue drips, globs, or gobs that need to be removed. Place the tip of the sharp chisel at the base of one of these glue spots, ensuring that the beveled side of the chisel is facing up. This will provide you with better control and precision during the removal process.
Remove the Dried Glue
Hold the chisel at a 15-degree angle and gently rock it back and forth as you push it forward. This motion will help you get under the dried glue and slowly lift it away from the surface. If the glue is particularly stubborn, you can tap the end of the chisel with a small mallet to apply more force. Be careful not to damage the camera body during this process.
Scrape Away Excess
Once the glue has been chipped off, use the sharp edge of the chisel to lightly scrape the area and remove any excess fibers or residue that may have been pulled loose. Be gentle and precise to avoid scratching the camera body.
Deal with Glue Smears
If you encounter glue smears, which are often caused by fingers, you may need to use a different approach. Glue smears cannot typically be removed with a chisel because the glue penetrates the pores of the wood or surface. In this case, you can try softening the smear with acetone. Apply acetone to a cotton swab and keep the smear wet for about 15 minutes. Then, use the chisel to gently scrape off the softened glue. If the glue is still stubborn, you can scrub it off with medium-grit steel wool.
Remember to work carefully and patiently when removing dried glue with a chisel. Taking your time will help ensure that you effectively remove the glue while minimizing the risk of damaging your camera.
Troubleshooting FLIR Cloud: Why Can't I See All Cameras?
You may want to see also
Frequently asked questions
You will need something small and pointy, like tweezers, a precision scalpel with a sharp blade, a chisel, a needle-nose pliers, and a clean microfibre cloth.
You will need a chemical agent to dissolve the glue, such as pure alcohol, lacquer thinner, or naphtha. You can also use acetone, but this may damage the camera body.
First, use your small pointy object to lift a corner of the leather. Then, grip the corner with your needle-nose pliers and start twisting it around the pliers, lifting the leather by rolling it up. Once the leather pieces are removed, it’s time to remove any glue residue. You can use a chisel to do this, but be careful not to gouge the camera body.
Wear gloves and safety glasses to protect yourself from any sharp or toxic materials. Be gentle when lifting the leather, and go slow when removing glue residue to avoid permanent damage to your camera.


