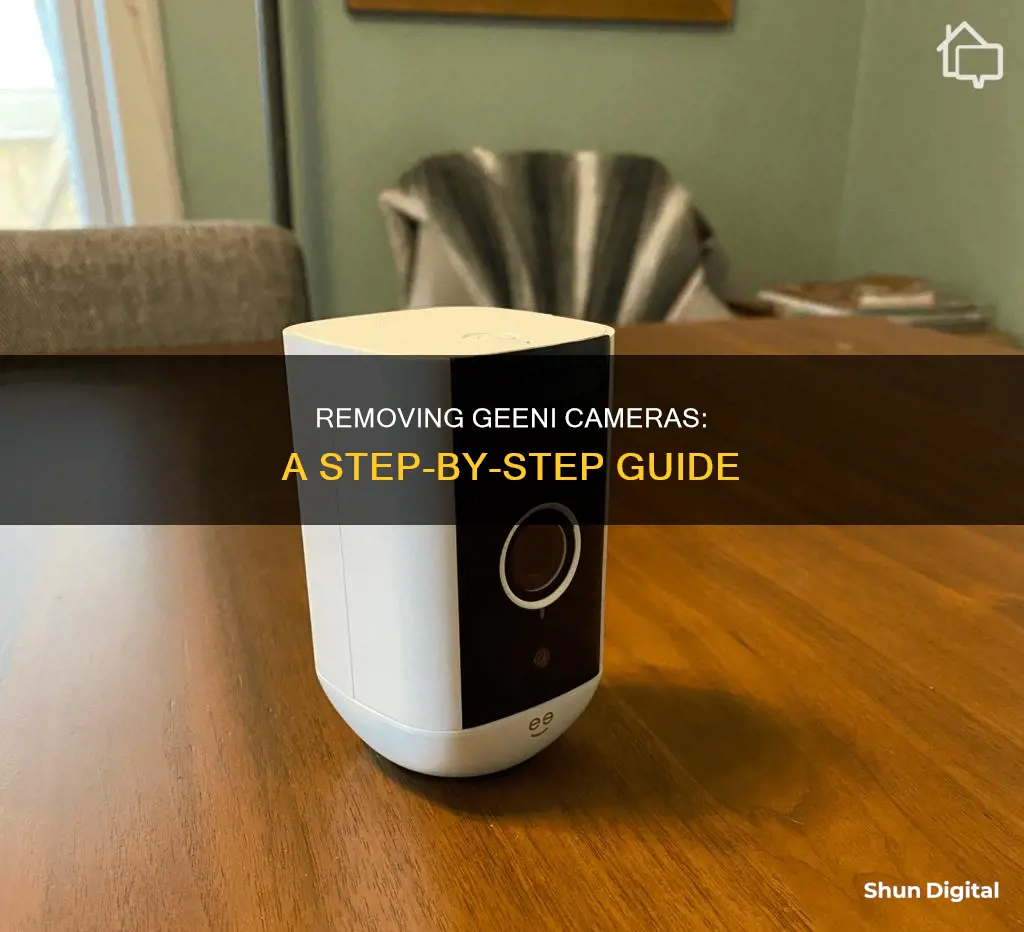
The Geeni camera is a surveillance camera that can be used to monitor your property and loved ones. It offers several features, including motion detection and night vision, and can be conveniently controlled through the Geeni app. However, there may be times when you need to reset or remove the camera, such as when giving it away or experiencing persistent technical issues. Resetting the camera will restore it to its factory default settings, so it is recommended to try other troubleshooting methods first. If you decide to remove the camera from the Geeni app, you can do so by opening the app, selecting the device, and following the removal steps outlined in the app.
What You'll Learn

Resetting the Geeni Camera via the App
Firstly, open the Geeni app and select the camera you want to reset. This is done by tapping the camera from the home screen of the app.
Next, you will need to access the camera settings page. On the app, this is done by tapping the "..." or three dots at the top right corner of the app.
Once you are on the camera settings page, scroll down to find the "Remove Device" button. Tap this button and then confirm the removal. This will disassociate the camera from your account and erase all the settings made by you.
After confirming the removal, the camera will be successfully reset via the app. You can now reconnect the camera to your Wi-Fi network via the Geeni app as if it were new and upgrade to the latest firmware version.
It is important to note that resetting the camera will clear all configurations and settings on the app, including any virtual assistant integration. Therefore, before resetting, ensure that you have explored all other troubleshooting options and only proceed to reset as a last resort.
Accessing Funlux Cameras on PC: Easy Viewing
You may want to see also

Troubleshooting Methods
Before resetting your Geeni camera, there are several troubleshooting methods you can try. These methods can help eliminate any minor glitches and bugs within the camera.
Firstly, you can try rebooting the camera. This can be done by powering off the camera, unplugging it, and waiting for at least a minute before turning it back on. A weekly reboot can also enhance the camera's functionality.
Secondly, ensure that your camera is connected to a stable Wi-Fi connection. The Geeni camera requires a Wi-Fi connection to work effectively. Check that you are entering the correct Wi-Fi password and that your camera is within the router's range. If the camera is too far from the router, the connection will break. Move the camera or the router closer to each other to ensure a stable connection.
Thirdly, inspect the power source of the camera. The Geeni camera requires a constant power supply to function properly. Ensure that the camera is plugged into a working electrical outlet. Check for any power outages, and if there are any, wait until the power is back on.
If these troubleshooting methods do not work, you can then proceed to reset your Geeni camera. Resetting the camera will bring it back to its factory default settings, so it is recommended to try the above methods first.
Apple Watch Series 4: Camera-Equipped Timepiece?
You may want to see also

Locating the Reset Button
To reset your Geeni camera, you will need to locate the reset button. This is located on the back of the camera, inside a small hole. You will need to use a sharp object, such as a paper clip or hairpin, to press the button. Once you have located the button, press and hold it for 10-15 seconds.
If you are having trouble finding the reset button, you can refer to the camera's manual. The manual should provide a detailed description of the camera's back panel, including the location of the reset button. It may also provide instructions on how to properly reset the camera, which can be helpful if you are unsure about the process.
The reset button on the Geeni camera is typically small and inconspicuous. It is often located near the power port or the memory card slot. If you are having trouble locating it, try looking for a small hole or indentation on the back of the camera. The reset button should be easily accessible but not obtrusive.
In some cases, the reset button may be located on the bottom or side of the camera. This is usually the case for Geeni doorbell cameras. The reset button on these cameras is typically located at the bottom of the lens, inside a small hole. Again, you will need to use a sharp object to press the button.
Once you have located the reset button, simply press and hold it for the specified amount of time. After releasing the button, the camera will reset to its factory default settings. This process can help resolve any internal glitches or bugs that may be causing issues with your camera's performance.
Exploring F1 Onboard Cameras: A Spectator's Guide
You may want to see also

Removing the Device from the App
Removing the Geeni device from the app is a straightforward process. Here is a detailed, step-by-step guide:
Firstly, open the Geeni app on your device. The app is crucial for setting up and controlling your Geeni camera, and it also allows you to remove the device when needed. Once the app is open, you will see the main device list. From this list, select the specific Geeni camera that you want to remove. This is an important step as it ensures that you are removing the correct device.
Next, look at the top right corner of the app interface. You will notice a button with three dots or three horizontal lines. Click on this button, which will open a menu with various options. From these options, select "Remove Device". This is the critical step in the process as it initiates the removal of the selected device from the app.
Finally, you will need to confirm the removal. A simple confirmation step ensures that you do not accidentally remove a device. Once you confirm, the Geeni camera will be successfully removed from the app. This process is useful when you want to reset the camera, give it away, or discard it.
It is important to note that removing the device from the app will erase all the settings configured for that particular camera. Therefore, it is recommended to try other troubleshooting methods before removing the device if you are facing any issues. These methods could include rebooting the camera, checking the Wi-Fi connection, or inspecting the power source. However, if these methods do not resolve the issue, removing the device from the app and resetting it can be an effective solution.
Removing Cameras in Maya: A Step-by-Step Guide
You may want to see also

Resetting the Geeni Camera Using the Reset Button
The Geeni camera is a surveillance camera that can be used to monitor your property and loved ones. It offers several exciting features, such as live streaming, motion detection, and night vision. However, due to various reasons, you may experience performance issues with your Geeni camera over time. When this happens, resetting the camera can help eliminate any internal glitches and bugs, making it as good as new.
It is important to note that resetting the camera will restore it to its factory default settings, so it should be done as a last resort. Before resetting, it is recommended to try other troubleshooting methods, such as rebooting the camera or checking your Wi-Fi connection and power source.
- Locate the reset button: The reset button is usually found on the back of the camera. It is often inside a small hole, so you may need to use a sharp object like a paper clip or hairpin to press it.
- Press and hold the reset button: Insert the sharp object into the hole and press and hold the reset button. Hold it for at least 5 seconds, but no more than 15 seconds.
- Release the button: After holding the button for a few seconds, release it. The camera will now initiate the reset process.
- Wait for the reset to complete: The camera will take a few moments to reset. You may hear a voice prompt or see an indicator light blinking to signal that the reset is in progress.
- Reconfigure the camera: Once the reset is complete, you can set up the camera again from scratch. This includes connecting to your Wi-Fi network and configuring any desired settings through the Geeni app.
By following these steps, you can successfully reset your Geeni camera using the reset button. Remember that this will erase all your previous configurations, so it is recommended to only reset the camera when necessary, such as when troubleshooting persistent issues or before giving away or discarding the device.
Tesla Cameras: Easy Viewing or Privacy Concern?
You may want to see also
Frequently asked questions
Open the Geeni app and select the device you want to remove from the main device list. Then, click on the three dots in the top right corner and select 'Remove Device'.
Removing the camera from the app will erase all the settings you have made.
Before removing the camera, try other troubleshooting methods such as rebooting the camera or checking your Wi-Fi connection. Only reset the camera if these methods don't work.
To reset your Geeni camera, press and hold the reset button on the back of the camera for 10-15 seconds. Once you hear a voice prompt, the reset is complete and you can reconfigure the camera.
Resetting the camera will bring it back to its factory default settings, erasing all the configurations you have made.


