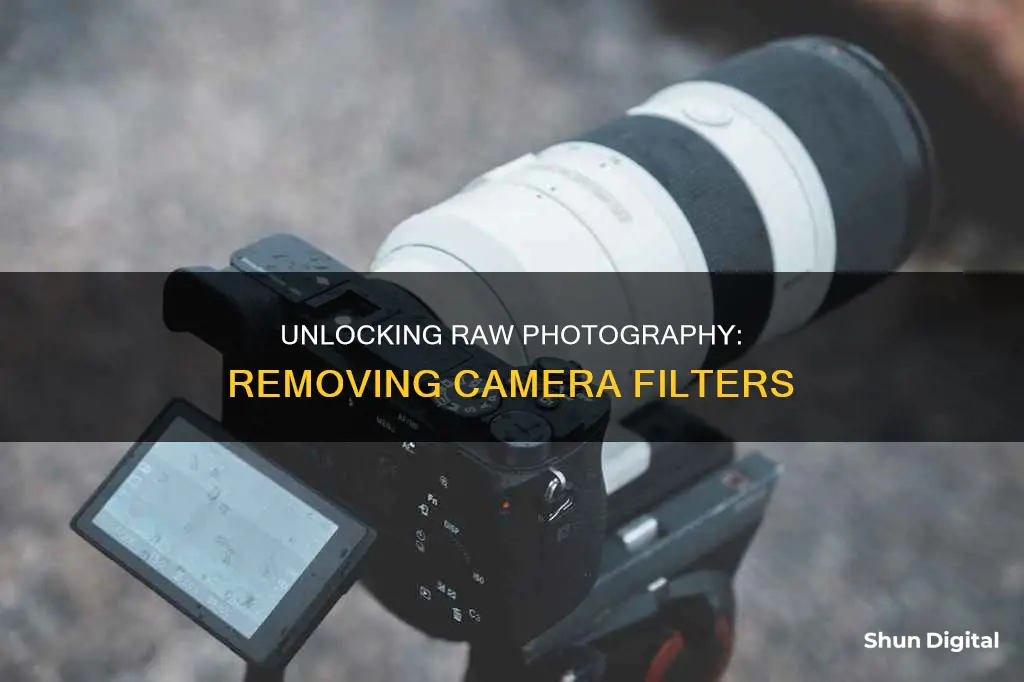
Removing a stuck camera filter can be a frustrating experience, but there are several methods you can try to get it off without damaging your equipment. The first step is to identify why your lens filter is stuck. The most common reasons are either that it has been screwed on too tight or that there is debris in the threads. Less commonly, the filter may be stuck due to damage caused by an impact. Once you have identified the cause, you can choose the best method to remove it.
If your filter is stuck due to overtightening or debris, there are several simple techniques you can try. Firstly, try using a rubber band to provide extra grip and then twist the filter counterclockwise to remove it. You can also try placing the lens filter on a rubber mouse pad or silicone oven mitt and applying a slight downward force while turning. Another option is to use a lens filter wrench, which is an inexpensive tool designed specifically for removing stuck lens filters.
If your filter is stuck due to temperature changes, you can try letting the lens cool naturally in an air-conditioned space or placing it in the freezer to allow the metal to contract.
For filters that are stuck due to damage, more aggressive methods may be necessary. However, these should be treated as a last resort as they may result in sacrificing the filter or even damaging your lens.
| Characteristics | Values |
|---|---|
| Common causes of a stuck camera filter | Dirt or tiny particles in the threads, Overtightening, Weather conditions, Filter material |
| Preventative measures | Clean threads, Hand-tightening, Choose quality filters |
| Methods for removing stuck filters | Rubber bands, Kitchen jar lid gripper, Rubber mat or mouse pad, Cooling the lens and filter, Filter wrench, Oil filter wrench, Pliers |
What You'll Learn

Use a rubber band
Removing a stuck camera filter can be a challenging task, but with the right tools and techniques, it can be done efficiently and safely. One effective method to remove a camera filter is by using a rubber band for a better grip. This approach is particularly useful when dealing with stubborn or tight filters. Here's a step-by-step guide on how to use a rubber band to remove a stuck camera filter:
Step 1: Prepare the Rubber Band
Choose a thick rubber band that is wide enough to provide a good grip on the filter. It should be large enough to wrap around the outer rim of the filter securely.
Step 2: Wrap the Rubber Band
Carefully wrap the rubber band around the filter's outer rim. Ensure that the rubber band is tight enough to provide a strong grip. Avoid overlapping the rubber band onto the lens portion of your camera to prevent any accidental damage.
Step 3: Twist the Filter
Once the rubber band is securely in place, use it to twist the filter in a counterclockwise direction. The counterclockwise direction is the standard way to loosen a filter. Hold the rubber band securely and apply gentle but firm pressure to twist the filter.
Step 4: Tapping Technique
If the filter is still stuck and difficult to turn, try gently tapping the rubber band with a wooden block or a similar object. This light impact can help dislodge the filter and allow it to turn more freely.
Step 5: Avoid Excessive Force
It is important to be cautious and avoid using excessive force when removing the filter. Applying too much pressure can lead to cracking or breaking the filter, which can be costly to replace. Always handle the filter and your camera with care.
Step 6: Clean the Lens
Once the filter is successfully removed, it is good practice to clean the lens surface with a microfiber cloth to eliminate any dust or debris that may have accumulated. This step ensures that your camera remains in optimal condition for future use.
Using a rubber band to remove a stuck camera filter is a simple and effective technique. It provides extra traction, making it easier to loosen the filter without causing damage. Remember to be gentle, avoid using excessive force, and always ensure your camera is turned off and the lens cap is on before beginning the removal process.
Exploring Albuquerque: Accessing Live Camera Feeds
You may want to see also

Try a lens filter wrench
If you're struggling to remove a lens filter, a lens filter wrench is a great tool to have in your kit. These inexpensive tools are designed to remove filters that are stuck due to being screwed on too tightly or debris in the threads.
Lens filter wrenches are available in different sizes, so you can choose one that fits your lens diameter. For example, a wrench designed for 67mm to 72mm lenses will not work for a 62mm lens. Some wrenches have a rubber coating, which provides a better grip on the filter. Neewer offers a set of rubber-coated metal wrenches in various sizes, which are highly recommended by professional photographers.
When using a lens filter wrench, place one on the barrel of the lens and the other on the filter. This will give you both grip and leverage, allowing you to easily remove the filter. It's important to note that you should not use a wrench to attach a filter, as it may cause over-tightening. Filters should be tightened by hand, just enough to ensure they don't fall off.
Lens filter wrenches are a great addition to your camera kit, especially if you often find yourself struggling to remove stuck filters. They are lightweight, take up minimal space, and can save you a lot of frustration.
Removing Camera Countdown: A Quick Guide to Disabling the Timer
You may want to see also

Freeze the lens
Freezing the lens is a method used to remove stuck camera filters. It involves placing the lens and filter in a freezer to cool the filter more than the lens, creating separation between the two. This technique is particularly useful for smaller lenses, which can be stood on something already frozen to aid the cooling process.
To freeze the lens, it is important to first place the lens in a watertight bag and add silica gel packets to absorb any moisture. This is because moisture inside the lens can lead to long-term damage. Additionally, it is recommended to cover the filter with plastic wrap to keep it dry. Once the preparations are complete, the lens and filter can be placed in the freezer. The filter should be left in the freezer for around 15 seconds, or until it is cool enough to be removed.
It is important to note that this method may not be as effective for circular polarisers, as their front element rotates as you twist. Therefore, other methods such as using a rubber band or a kitchen jar lid gripper may be more successful. However, freezing the lens can be a useful technique to try, especially when combined with other methods.
Exploring Public Cameras: A Guide to Accessing Live Feeds
You may want to see also

Tap the filter with your fingernail
Tapping the edge of a stuck camera lens filter with your fingernail is a simple and effective way to remove it. This method is supported by the Koldunov Brothers, who claim that their "strange" technique has never failed them. While it may seem counter-intuitive, a gentle approach is often more successful than using force.
To start, lightly tap the edge of the stuck filter with your fingernail, gently applying a twisting force at the same time. You can tap all around the circumference of the filter, and after a while, try twisting it off as you usually would. This method works by imparting a light shock to the lens filter, jarring it enough to allow it to turn.
It is important to remember to tap the lens filter gently so as not to cause any further damage, denting, or shock to the lens components. Additionally, this method may take some time and patience, but it is worth trying before resorting to more heavy-duty tools or techniques that may damage your filter or lens.
While this technique is simple and effective, it may not work for filters that are extremely stuck or jammed due to impact. In those cases, you may need to try other methods or tools, such as using a filter wrench, a rubber band, or freezing the filter. However, for most stuck lens filters, tapping with your fingernail is a safe and successful approach.
Removing Kadak Easyshare LS420 Camera's Battery: A Step-by-Step Guide
You may want to see also

Take it to a camera store
If you're struggling to remove a stuck camera filter, one option is to take it to a camera store. Staff at these stores are likely to be familiar with the problem and have the tools and expertise to help.
Before you go, it's worth carefully inspecting the lens filter to determine if it's damaged. If it is, then a camera store professional will definitely be your best bet. They will have the necessary tools and experience to safely remove the filter and prevent damage to your lens.
Even if the filter isn't damaged, it's still worth considering a trip to the camera store if you don't feel confident attempting to remove it yourself. This is especially true if you have a zoom lens, as these have more complicated inner workings and are more susceptible to damage.
Camera store staff see a lot of stuck filters and rarely encounter one that can't be removed with a simple rubber band trick. They can also inspect your lens and filter for damage and offer advice on preventing future stuck filters.
So, if you're having trouble removing a camera filter, don't hesitate to seek help from your local camera store. Their expertise could save you from damaging your equipment and might just be what you need to get your camera working again.
Finding Active Cameras in Teams Meetings
You may want to see also
Frequently asked questions
There are several ways to remove a stuck camera filter. One way is to use a rubber band to provide extra grip and then twist the filter counterclockwise to remove it. Another method is to use a kitchen jar lid gripper, an anti-slip mat, or a mouse pad to help twist off the filter. If the filter is stuck due to temperature changes, you can let the lens cool down naturally or place it in the freezer to help loosen the filter.
There are several common causes of a stuck camera filter. This includes dirt or debris on the threads, overtightening the filter, temperature changes causing the metal to expand or contract, and the type of filter material used (aluminum filters are more prone to sticking than brass filters).
To prevent camera filters from getting stuck, it is recommended to regularly clean the threads of both the lens and the filter. Use only two fingers to tighten the filter gently until it stops. Avoid using excessive force or any liquid or paste lubricant. Consider using brass filters instead of aluminum filters to reduce the chances of sticking.


