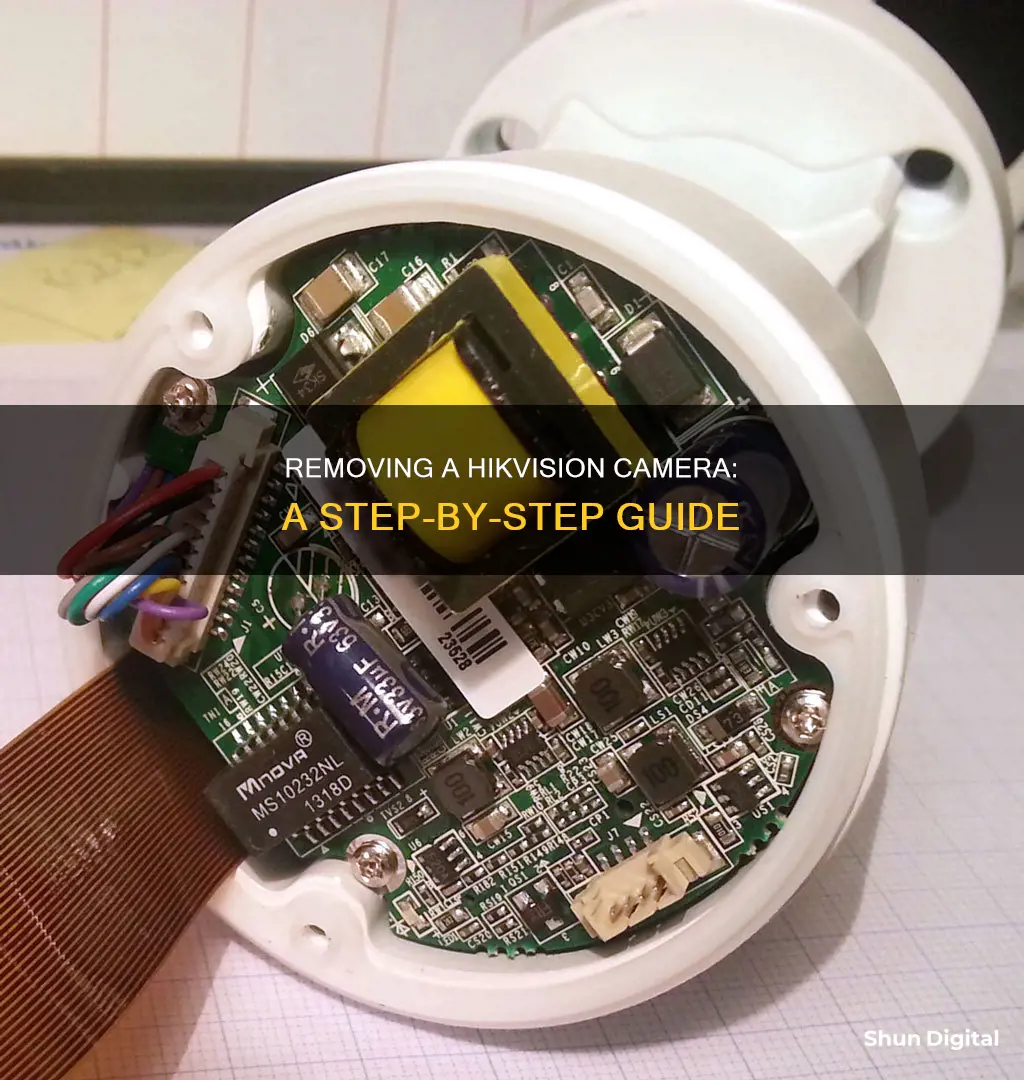
Removing a Hikvision camera can be a tricky process, especially if it's an older model that has been outside for a few years. The first step is to rotate the camera's housing anti-clockwise to release it from its base. If it's stuck, try gently tapping around it or using rubber gloves for a better grip. Once the camera is detached, you can access the network cable and other internal components. It's important to handle the camera with care, especially if you plan to reset and reuse it.
| Characteristics | Values |
|---|---|
| Removing the camera housing | Twist the camera so that the line camera housing lines up with the line below the logo. |
| Use a flat blade to prise apart or do it by hand. | |
| Removing the camera from the wall | Turn the plastic ring with the notch anti-clockwise. |
| Grab and twist back and forth until the camera detaches from the base. | |
| Removing the camera dome cover | Held on with three torx T10 screws. |
What You'll Learn

Removing the camera housing
- Identify the notch: On the camera housing, locate a notch or indentation. This notch is typically found on the plastic ring or trim ring of the camera. It might be necessary to twist or turn the camera housing to find the notch.
- Align the notch: Rotate the camera housing so that the notch aligns with a line on the base of the camera, located below the logo. This line-up is crucial for the next steps.
- Pry it open: Using a flat blade or a coin, gently pry the camera housing away from the base. Insert the flat blade or coin into the indent and carefully apply leverage. This step may require some force, but be cautious not to damage the camera.
- Remove the housing: Once the housing is pried open, continue to twist and pull the camera housing away from the base. It might be necessary to apply some force, but be gentle to avoid breaking any internal components.
- Accessing screws: In some Hikvision camera models, removing the housing will reveal screws that attach the camera to the wall or mounting surface. You may need to unscrew these to completely detach the camera from its mounting location.
- Clean and maintain: After removing the camera housing, it's a good opportunity to clean the internal components and inspect for any signs of damage or condensation. This can help ensure the proper functioning and longevity of your Hikvision camera.
Remember to handle the camera with care and consider wearing protective gloves to avoid leaving fingerprints or causing accidental damage. Additionally, if you're planning to reinstall the camera, make sure to follow the manufacturer's instructions and properly seal any openings to prevent water ingress and condensation buildup.
LG TV Camera: What You Need to Know
You may want to see also

Using a flat blade to prise apart
To remove a Hikvision camera, you'll need to twist the camera so that the line of the camera housing lines up with the line you can see below the logo. There should be a small indent where you can insert a flat blade to prise the camera apart, but it should also be possible to do this by hand.
First, locate the indent on the camera housing. This is usually found below the logo, and it is where you will insert the flat blade. A flat-head screwdriver or a similar tool with a flat edge can be used for this purpose. If you are having trouble locating the indent, try turning the camera housing slowly in either direction until you feel or see the notch. It may be helpful to wear rubber gloves for a better grip while doing this.
Once you have found the indent, insert the flat blade into the space. Gently apply force to prise the camera apart. Start with a small amount of force and increase gradually as needed, being careful not to damage the camera or its housing. You may need to try different angles or positions to find the best leverage point. If you are having difficulty, you can also try gently tapping around the camera housing first, as sometimes a light touch is more effective in releasing the binding.
If the camera still doesn't come apart, try twisting the camera housing anti-clockwise. This will help to release the binding, and you should feel or hear a slight 'clunk' as it comes loose. From here, you can continue to prise the camera apart with the flat blade, or you may be able to simply pull it away from the base.
If you encounter any screws during this process, make sure to remove them to fully detach the camera from its housing or base. Remember to handle the camera with care and avoid using excessive force, as this may damage the camera or its internal components.
Smart TV Features: Microphone and Camera Privacy Concerns
You may want to see also

Removing the dome cover
Locate the Dome Cover: Begin by identifying the dome cover, which is typically the outermost part of the camera. It is usually a curved or dome-shaped transparent or semi-transparent cover that protects the lens and internal components of the camera.
Prepare the Necessary Tools: Before starting the removal process, gather the required tools. In most cases, you will need a screwdriver that matches the type of screws holding the dome cover in place. The screws can vary, but a common type used in many Hikvision cameras is the Torx T10 screw. Ensure you have the correct screwdriver to avoid damaging the screws.
Unscrew the Dome Cover: Using the appropriate screwdriver, carefully remove the screws that secure the dome cover to the camera body. Place the screws in a safe location to avoid misplacing them. The number of screws can vary depending on the camera model, but typically there are three screws or fewer.
Gently Lift the Dome Cover: After removing the screws, gently pry the dome cover away from the camera body. Be cautious not to apply excessive force, as some dome covers may have sealing gaskets or other delicate components that could be damaged. Use a flat-bladed tool or a thin, flat object if necessary, being careful not to scratch or damage the dome cover or the camera body.
Set the Dome Cover Aside: Once the dome cover is removed, place it in a safe location, keeping it separate from other camera components to avoid confusion during reassembly.
It is important to handle the dome cover with care throughout the removal process, as it is typically made of delicate materials such as plastic or glass. Additionally, ensure that you follow any model-specific instructions provided by Hikvision for your particular camera model, as removal procedures may vary slightly between different camera models.
New Chevy Trailers: Can Cameras See Through Them?
You may want to see also

Resetting the camera
Hard Reset
- Disconnect the camera's power supply cable or the PoE cable.
- Locate the reset button on the camera. This is usually found close to the memory card slot.
- Press and hold the reset button.
- Keep holding the reset button for 15-20 seconds.
- Release the reset button.
- After the camera reset, use the SAPD tool or a web browser to set up the camera again.
Reset via a Web Browser
If you don't have direct access to the camera, you can use a web browser to open the IP camera menu to restore the camera to its default settings:
- Go to: Configuration > Maintenance > Upgrade & Maintenance > Default > Restore.
- By clicking "Restore", all camera parameters will be reset to factory settings, except for the IP address.
Smart TV Camera: Where is it Located?
You may want to see also

Using a hammer to remove the camera
Removing a Hikvision camera can be a challenging task, but with the right tools and approach, it can be done effectively. Here is a step-by-step guide on how to use a hammer to remove the camera:
Locate the Indent: Before reaching for the hammer, it is important to identify the correct spot to apply force. Inspect the camera and look for a small indent or notch on the camera housing. This indent is typically located below the logo and can be used as a leverage point.
Prepare the Hammer: Choose a hammer of appropriate weight and size for the task. A standard claw hammer or a small sledgehammer can be effective. Ensure that you have a good grip on the hammer and that you feel comfortable wielding it.
Protective Gear: It is crucial to prioritize safety when using tools like hammers. Put on safety goggles to protect your eyes from any flying debris. Additionally, consider wearing work gloves to enhance your grip and protect your hands from potential injury.
Apply Force: With the hammer in hand, firmly strike the camera near the indent or notch. The goal is to apply enough force to dislodge the camera from its mounting. A sharp blow in the right spot should cause the plastic holding clips or other fasteners to come apart.
Disassemble: Once the camera has been dislodged, carefully remove it from its mounting base. There may be additional clips or screws holding it in place, so use a flat-bladed screwdriver if necessary to gently pry apart the components. Be cautious not to damage any surrounding areas or wiring.
Dispose or Repair: After successfully removing the camera, assess whether you intend to dispose of it or repair and reuse it. If disposal is the goal, ensure that you do so responsibly and in accordance with local regulations for electronic waste.
Using a hammer to remove the Hikvision camera can be a straightforward approach, but caution is advised to prevent accidental damage to surrounding areas or personal injury. It is always recommended to exercise proper safety measures when working with tools and electronics.
How Cameras in Space Miss the Stars
You may want to see also
Frequently asked questions
To remove a Hikvision camera from a wall, you can try twisting the camera to line up the camera housing with the line below the logo. If this doesn't work, you can try using a flat blade to prise it apart or using a coin to gently pry it away from the base. Alternatively, you can try removing the plastic ring by turning it anti-clockwise.
To remove a Hikvision camera from a network, you will need to reset the camera to factory defaults. This can be done by holding down the reset button while plugging in the PoE cable and keeping it held for at least 10 seconds.
To remove a Hikvision camera from your favourites, go to the Edit Favourites page and swipe the Favourites name to the left and tap. Then, tap the camera you want to delete and confirm the deletion in the pop-up window.


