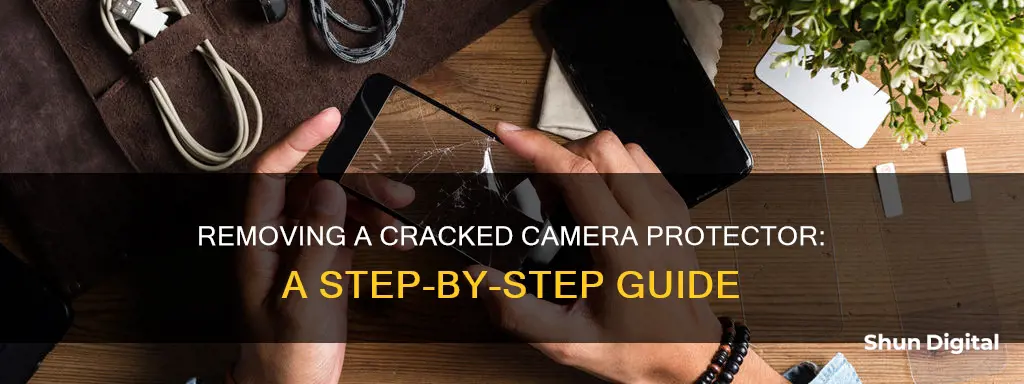
A cracked camera lens protector can be frustrating, but it is possible to remove it safely and effectively. This process will depend on the type of phone you have and the tools you have available. For example, iPhone users can turn off their phones to avoid accidental touches and clean the lens protector with a microfiber cloth. Then, they can warm up the adhesive with a hairdryer, insert a plastic card or fingernail to lift the edge, and slowly peel off the protector. Similarly, Samsung Galaxy users can use a hairdryer or heat gun to soften the adhesive, then gently pry off the protector with a plastic tool, being careful not to scratch the camera housing. In both cases, it is important to clean any remaining adhesive residue from the camera lens after removing the protector.
How to Remove a Cracked Camera Protector
| Characteristics | Values |
|---|---|
| Power Off Your iPhone | Turn off your iPhone to avoid accidental touches or button presses during the removal process |
| Clean the Protector | Gently wipe the protector with a microfiber cloth to remove dust and debris for a smooth and lint-free removal |
| Warm Up the Adhesive | Use a hairdryer on a low or medium setting to warm up the adhesive and loosen its hold |
| Insert a Pry Tool | Use a plastic tool or a thin, non-metallic object (such as a plastic card or guitar pick) to gently lift one corner of the protector |
| Remove the Protector | Once a corner is lifted, slowly and steadily peel off the protector, avoiding sudden movements or excessive force |
| Clean the Lens | After removal, use a microfiber cloth and lens cleaning solution to wipe away any remaining adhesive residue from the camera lens |
What You'll Learn

Warm adhesive with a hairdryer
Warming the adhesive with a hairdryer is an effective way to remove a cracked camera protector. This method is also useful for removing a screen protector. Here is a step-by-step guide:
Firstly, set your hairdryer to its lowest heat setting. Alternatively, if you do not have a hairdryer, you can use another gentle heat source, such as leaving your device in a warm car or near a radiator. However, make sure that the alternative heat source is not hot enough to damage other components.
Next, heat the camera protector relatively closely for around 15 seconds. Keep the hairdryer moving for the duration of the heating process. Avoid focusing the heat on one area, as this can lead to screen damage.
Once the adhesive is suitably softened, carefully insert a pry tool or a thin, non-metallic object, such as a plastic card, guitar pick, or toothpick, under the protector. Gently lift one corner of the protector, being careful not to apply too much pressure to avoid scratching the camera lens.
Continue to slowly and steadily peel off the protector, avoiding sudden movements or excessive force, as this could damage the lens or leave behind residue.
After removing the protector, use a microfiber cloth and a small amount of lens cleaning solution to gently wipe away any remaining adhesive or residue from the camera lens.
On-Camera Sex: Reality or Fiction?
You may want to see also

Use a plastic tool to pry it off
If your camera protector is cracked, you'll probably need to remove it. To do this, you can use a plastic tool to pry it off. Here's a step-by-step guide on how to do it:
First, power off your device. This will prevent any accidental button presses or touchscreen interactions during the removal process. Then, use a microfiber cloth to gently wipe the surface of the lens protector. This will remove any dust or debris and ensure a smooth and lint-free removal.
Next, use a hairdryer to warm up the adhesive on the lens protector. Set your hairdryer to a low or medium heat setting and carefully warm up the adhesive. This will help to loosen it and make it easier to remove the protector. Be careful not to focus the heat on one area, as this can damage the screen.
Now, it's time to pry off the protector. Use a plastic tool, such as a plastic pry tool, a plastic razor blade, or even a plastic hair clip, to gently lift one corner of the lens protector. Be careful not to apply too much pressure, as you could scratch the camera lens.
Once you've lifted a corner, continue to slowly and steadily peel off the protector. Avoid sudden movements or excessive force, as this could damage the lens or leave behind residue. If you're having trouble getting the protector off in one piece, try using dental floss to saw between the protector and the camera lens.
Finally, after removing the protector, use a microfiber cloth and a small amount of lens cleaning solution to gently wipe away any remaining adhesive or residue from the camera lens.
By following these steps, you can safely remove a cracked camera protector from your device. Just remember to take your time and be gentle to avoid damaging your camera lens.
Removing Your Reverse Camera: A Step-by-Step Guide
You may want to see also

Avoid metal tools
When removing a cracked camera protector, it is important to avoid using metal tools. Metal tools can scratch the camera housing, which is often made of aluminium, and damage the lens. Instead, opt for plastic tools or other non-metallic objects to gently lift and pry off the protector.
One method is to use a plastic spudger, which can be carefully inserted between the protector and the camera housing to slowly pry off the protector. You can also use a plastic card, such as an old credit card, gift card, or laminated ID card, to slide under the corners of the protector and gently lift it up. If you don't have a plastic card, a guitar pick, toothpick, or even a strong fingernail can be used to lift the corners.
If the glue is particularly strong, you can use isopropyl alcohol to dissolve or weaken the adhesive. Apply a small amount of isopropyl alcohol with a syringe or dropper between the protector and the camera housing to help loosen the bond.
Additionally, warming up the adhesive with a hair dryer set to a low or medium heat can make it easier to remove the protector. Be sure to move the hair dryer back and forth and avoid focusing the heat on one area for too long to prevent screen damage. Once the adhesive is softened, use a plastic tool or card to gently lift and peel off the protector.
By avoiding metal tools and using these alternative methods, you can effectively remove a cracked camera protector without risking damage to your device.
Uncover Your Alexa Show Camera: A Step-by-Step Guide
You may want to see also

Use isopropyl alcohol to dissolve strong glue
If your camera protector is cracked and firmly stuck, you can use isopropyl alcohol to dissolve the strong glue. This method is safer than using acetone, which can be too aggressive and potentially damaging to plastics and painted finishes.
To start, power off your device and clean its surface with a microfiber cloth to remove any dust or debris. Then, use a syringe or dropper to apply a very small amount of isopropyl alcohol between the cracked camera protector and the camera housing.
Let the alcohol sit for a few moments to dissolve the adhesive. Then, use a plastic tool or your fingernail to gently lift one corner of the protector. Be careful not to apply too much force, as this could damage the camera lens. Once you have lifted a corner, slowly and steadily peel off the protector.
After removing the protector, use a microfiber cloth and a small amount of lens cleaning solution to wipe away any remaining adhesive residue from the camera lens.
GMC's Camera Technology: Seeing Behind Trailers
You may want to see also

Clean the lens after removal
Once you've removed the cracked camera protector, it's important to clean the lens thoroughly to ensure optimal picture quality. Here are some detailed instructions to guide you through the process:
Prepare the Necessary Tools:
Before you begin, gather the required cleaning supplies. You will need a microfiber cloth, lens cleaning solution, and an air duster. Microfiber cloths are gentle and effective at trapping dirt, making them ideal for lens cleaning. An air duster will help blow away any dust or sand without touching the lens, reducing the risk of scratches.
Remove Dust and Dirt:
Start by using the air duster to blow away any dust, sand, or debris on the lens. This step is crucial, especially if you live in a dusty area or have been to the beach, as it ensures you don't accidentally scrub dirt into the lens during the next steps.
Wipe Down the Lens:
Fold a microfiber cloth into a small triangle to effectively clean the lens and reach any nooks and crannies. Gently wipe the lens in a circular motion, ensuring you use a clean section of the cloth for each pass. Avoid using your shirt or a rough, abrasive cloth, as these can scratch the lens.
Remove Fingerprints and Smudges:
After removing the dust, use the microfiber cloth to address any fingerprints or smudges. If they persist, you can apply a small amount of lens cleaning solution to the cloth. Be extremely careful to avoid getting any liquid into vital parts of your phone or lens. Most experts recommend using just a drop or two of the solution on the cloth and gently wiping the lens until it's clean.
Check the Results:
Open your camera app to check if the lens is clean and functioning properly. If you still notice dust or blurriness, there may be dirt inside the lens that requires professional cleaning.
By following these steps, you can effectively clean your camera lens after removing a cracked protector, ensuring you capture clear and crisp photos.
Insignia 4K Smart TV: Built-in Camera or Not?
You may want to see also
Frequently asked questions
First, power off your phone to avoid any accidental button presses or touchscreen interactions during the removal process. Then, use a microfiber cloth to gently wipe the surface of the lens protector and remove any dust or debris. Next, use a hairdryer to warm up the adhesive on the lens protector, softening it and making it easier to remove. Finally, use a plastic pry tool or a thin, non-metallic object to gently lift one corner of the lens protector. Avoid using metal tools as they can scratch the camera lens.
If the glue is very strong, use isopropyl alcohol to dissolve or weaken the adhesive. Use a syringe or dropper to apply a very small amount between the protector and the camera housing.
Some other tools that can be used to remove a cracked camera protector include a plastic guitar pick, an old train card, a laminated card, a needle, dental floss, and tweezers.


