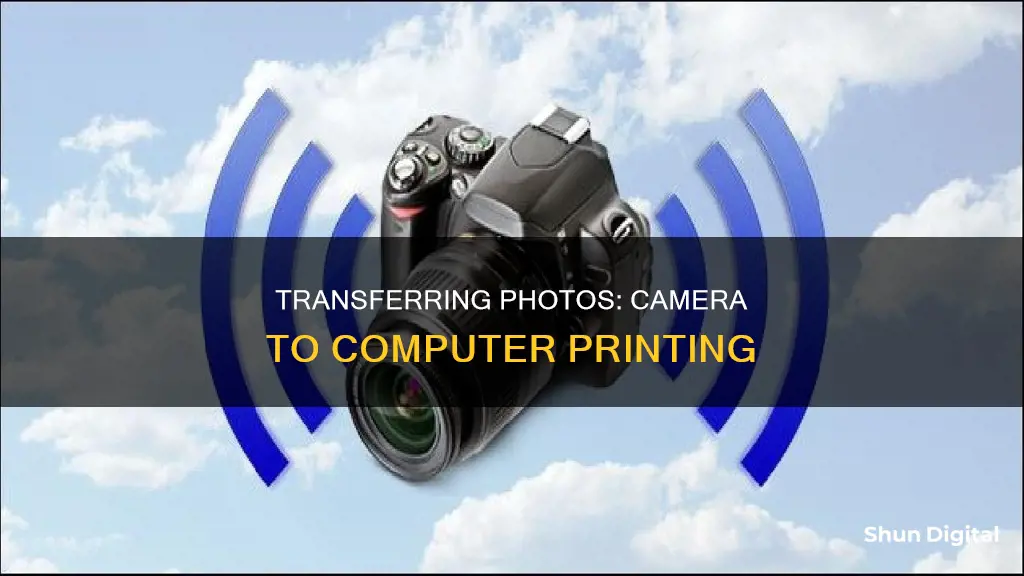
Printing photos directly from your camera can save you time and effort, and it doesn't have to be a complex process. You can print photos directly from your camera without using a computer, but if you want to print from your computer, you'll first need to transfer your photos.
To transfer photos from your camera to your computer, you can use a USB cable or insert your camera's SD card directly into your computer. Once you've done this, you can drag and drop the images you want into a new folder.
If you want to print photos directly from your camera, you can do so wirelessly or with a USB cable. First, check your camera's user guide to see if it has printing software or the PictBridge standard, which allows you to print directly from your camera. Then, turn off your camera and connect it to your printer via USB or wireless connection. If your camera has an AC adapter, plug it in, as printing can quickly drain your camera's battery.
| Characteristics | Values |
|---|---|
| Connection type | USB cable, Wi-Fi, Bluetooth, memory card |
| Required software | PictBridge, camera-specific software |
| File location | "My Pictures" folder, "DCIM" folder, "My Documents" folder, "iPhoto" |
| Printing options | Paper size, paper type, print quality, page margins, photo size, number of copies, etc. |
What You'll Learn

Transferring pictures from your camera to your computer using a USB cable
Transferring pictures from your camera to your computer is a straightforward process. Here is a step-by-step guide:
Step 1: Connect your camera to your computer
Use the USB cable that came with your camera to connect it to an open USB port on your computer. If you can't find the port on your camera, check for any panels that can be flipped open to reveal the port. If you don't have the cable, you will need to purchase a replacement that fits your camera model.
Step 2: Turn on your camera
Your computer should recognise your camera immediately. You may need to switch your camera into 'Review' mode for it to connect fully to your computer. This process will vary depending on your specific camera model.
Step 3: Open the relevant app on your computer
On Windows, open the Photos app. You can do this by typing 'Photos' in the search box on the taskbar and selecting the Photos app from the results. Then, select 'Import' from the app bar.
On macOS, open the Photos app, which looks like a multi-coloured flower.
Step 4: Select the photos you want to transfer
You can select individual photos or multiple photos. On Windows, you can press 'CTRL + A' to select all the photos in the folder. To select multiple photos, hold 'CTRL' and click each photo. On macOS, click each photo to select it, or drag your cursor to select multiple photos at once.
Step 5: Transfer the photos
On Windows, select the location of the destination folder for import. Then, click 'Confirm' to move the photos.
On macOS, click 'Import Selected' or 'Import All New Photos' in the top-right corner. Imported photos will be saved to 'All Photos'. You can change the save location by clicking the drop-down menu next to 'Import to' and selecting a new destination.
Step 6: Eject your camera
On Windows, click the arrow in the bottom-right corner of the taskbar. Click the device icon, and then click 'Eject'.
On macOS, open the Finder. Locate the camera in the left sidebar, then click the up-arrow icon to eject it.
You can now safely disconnect the camera from your computer.
Charging Lorex Cameras: Quick and Easy Guide
You may want to see also

Transferring pictures from your camera to your computer using an SD card
Step 1: Remove the SD Card from Your Camera
Locate the internal storage compartment of your camera and press the SD card to unlock it. Then, carefully take out the SD card.
Step 2: Insert the SD Card into Your Computer
If your computer has a built-in SD card reader, insert the SD card into the appropriate slot. The card reader may be labelled with the SD card logo or the name of the supported card types. If your computer lacks an SD card reader, you can purchase an external SD card reader that connects to your computer via USB.
Step 3: Access the SD Card on Your Computer
On a Windows computer, open the File Explorer by right-clicking the Start menu and selecting "File Explorer." You should then see your SD card listed in the left panel. If you don't see it, click the arrow on the left of "This PC" to expand the options.
For macOS, open the Finder, which you can usually find on the dock. Your SD card should be listed in the left panel of the Finder window.
Step 4: Locate the Photos on Your SD Card
Double-click on the drive icon corresponding to your SD card. The photos are typically stored in a folder named "DCIM" (Digital Camera Images). If you don't see the photos immediately, double-click on the DCIM folder.
Step 5: Select the Pictures You Want to Transfer
You can choose individual photos or press "Ctrl + A" (on Windows) or "Cmd + A" (on macOS) to select all the photos in the folder. To select multiple photos, hold the "Ctrl" (Windows) or "Cmd" (macOS) key and click on each photo.
Step 6: Transfer the Selected Pictures
Drag and drop the selected pictures to your desired location on your computer, such as the "Pictures" folder or a new folder you create. You can also use the copy-paste function to transfer the photos.
Step 7: Eject the SD Card
Once you have finished transferring the photos, safely eject the SD card before removing it from your computer. On Windows, click the arrow in the bottom-right corner of the taskbar, then click the flash drive icon and select "Eject." On macOS, find the SD card listed on the left panel of the Finder and click the up-arrow symbol to eject it safely.
Additional Tips:
- Ensure your SD card is properly inserted into the card reader or your computer's built-in slot.
- If you encounter compatibility issues, adjust your computer settings or perform minor troubleshooting.
- Always safely eject the SD card before removing it to avoid data loss or damage.
Camera Tickets: Legal or Not in Center Point, Alabama?
You may want to see also

Printing pictures from your computer
If you want to edit your photo before printing, you can use photo editing software to enhance the image. Common edits include lightening dark photos, cropping to emphasise certain features or fit a specific paper size, resizing, and applying fun filters. Most computers and devices have basic photo editing capabilities, but there are also many free and paid software options available.
When you're happy with your image, it's time to select the right paper. Photo printing uses a lot of ink, so it's best to use thicker papers designed specifically for photo printing. Paper comes in gloss, satin, and matte finishes, with glossy paper offering the most professional look but being harder to see in bright light. Choose the highest quality inkjet photo paper you can afford for the best results.
Now you're ready to print. The exact steps will depend on your operating system and printer model, but here's a general guide:
- Open the photo you want to print in the appropriate program. This could be a dedicated photo editing program or a default photo app, such as the Photos app on Windows or macOS.
- Look for a print icon near the top of the program window. It usually resembles a printer with a piece of paper coming out of it. If you can't see a print icon, look for a menu bar, click "File," and select "Print" from the drop-down menu.
- A print properties window will appear, allowing you to select additional options such as the number of copies, paper size, orientation, and print quality.
- Adjust the settings to your preferences and click "OK" or "Print" to start the printing process.
Remember to ensure your printer is turned on, has up-to-date drivers, and is configured correctly before attempting to print.
Game Winner Camera: How Many Batteries Are Required?
You may want to see also

Printing pictures directly from your camera
Once you've confirmed that your camera has PictBridge, simply turn off your camera and turn on your printer. Connect the two using a USB cable—some camera manufacturers include these cables with their products, but they can be easily replaced if needed. Then, turn on your camera, and the LCD screen will start up, allowing you to navigate through the print options.
If you don't have PictBridge, you may still be able to print directly from your camera using Wi-Fi capabilities or by connecting your camera or its memory card to a printer with a card reader.
Camera Battery Exhausted: What to Expect and Why
You may want to see also

Printing pictures from your camera without a computer
Printing pictures directly from your camera without using a computer is possible and can be a simple process. There are a few ways to do this, depending on the type of camera and printer you have.
Firstly, you can check if your camera has PictBridge technology. PictBridge is a common software package that allows you to print directly from your camera to a compatible printer. The PictBridge logo can be found on the printer unit or in the user manual. If your camera and printer are PictBridge-compatible, simply turn off both devices and connect them with a USB cable. Then, turn on the printer, followed by the camera. You can then select and print your desired images by following the steps outlined on your camera's LCD screen.
Another option is to use a printer with a memory card reader. These printers allow you to insert the memory card from your camera directly into the printer and print your pictures without the need for a computer. Most inkjet printers have memory card slots, while these slots are rarer on black-and-white laser printers and high-end corporate printers. This method may also allow you to perform basic editing functions, such as adjusting contrast and brightness, and reducing red-eye.
Additionally, if your camera has built-in Wi-Fi capabilities, you may be able to connect it wirelessly to a Wi-Fi printer on the same network. However, printing directly from your camera can quickly drain the camera's battery, so it is recommended to use an AC adapter or ensure your battery is fully charged before starting the print job.
Lumix GX85: Does It Have a Macro Mode?
You may want to see also
Frequently asked questions
You can transfer photos from your camera to your computer by connecting your camera to your computer using a USB cable. You can also insert the camera's SD card directly into your computer and transfer the image files to your desktop.
First, locate the photo you want to print. The most common place for photos to be saved on your computer is in the "My Pictures" folder. Then, right-click on the image file and select "Print". Ensure your printer is connected, turned on, and has enough ink and glossy photo paper loaded. Finally, click the "Print" button to begin printing.
Yes, some newer cameras allow you to print directly from the camera, both wirelessly and through a USB cable. Check your camera's user guide to determine if your camera supports direct printing and any specific requirements.


