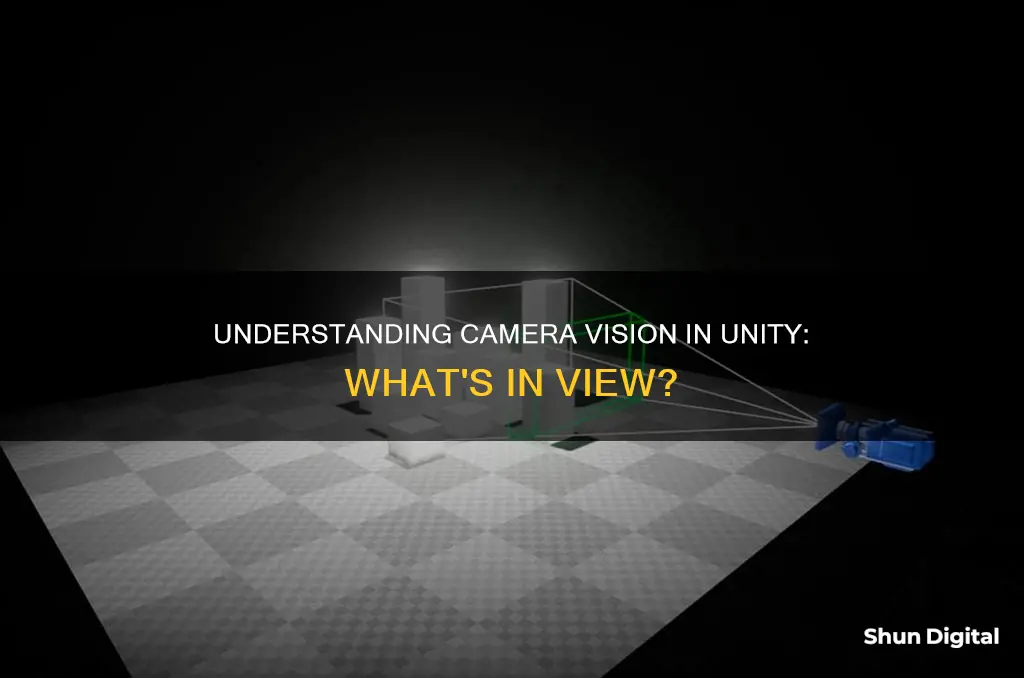
Unity is a game engine that provides a host of functionalities for game developers. One of the most important aspects of game development is the camera, which determines what the player sees on their screen. In Unity, it is possible to view the game world through the camera's perspective in the Scene view without having to switch to the Game view. This can be achieved by selecting the desired camera object in the Hierarchy and then choosing Align View to Selected from the GameObject menu. This feature allows developers to easily adjust the camera's position, rotation, and field of view to create the perfect visual experience for players.
| Characteristics | Values |
|---|---|
| How to check if an object is seen by the Main Camera | Use the Camera.WorldToViewport function, using your Main Camera to call it and giving in the parameter the position of the object you are checking. If the x and y coordinates values of the result vector are between 0 and 1 and the z value is superior to 0, it means the center of your object is seen by your camera. |
| How to look through the camera in the Scene view | Select the Camera (GameObject) that you would like to look through while in the Scene view. Then go to the "GameObject" Menu and select "Align View to Selected." |
What You'll Learn

Using the onbecamevisible() and onbecameinvisible() functions
The OnBecameVisible() and OnBecameInvisible() functions in Unity are useful for avoiding computations that are only necessary when an object is visible. They are called when the renderer becomes visible or invisible by any camera, respectively, and the messages are sent to all scripts attached to the renderer.
For example, you can use OnBecameVisible() to enable specific behaviour when an object is visible, and OnBecameInvisible() to disable that behaviour when the object is no longer visible. These functions can be used as co-routines by using the yield statement in the function.
It's important to note that these functions are intended exclusively for rendering concerns and not for gameplay. When running in the editor, Scene view cameras will also cause these functions to be called. Additionally, "visible" can be interpreted as "not culled", meaning that the object is being processed by the rendering pipeline.
Csharp
Using UnityEngine;
Using System.Collections;
Public class ExampleClass : MonoBehaviour
{
Void OnBecameVisible()
{
Enabled = true;
}
Void OnBecameInvisible()
{
Enabled = false;
}
}
In this example, the `ExampleClass` inherits from `MonoBehaviour` and overrides the `OnBecameVisible()` and `OnBecameInvisible()` methods. When the object becomes visible, `enabled` is set to `true`, and when it becomes invisible, `enabled` is set to `false`.
Troubleshooting Blue TV Screen Issues on Camera
You may want to see also

Using the Camera.WorldToViewport function
The Camera.WorldToViewportPoint function in Unity transforms a position from world space into viewport space. Viewport space is normalised and relative to the camera, with the bottom-left of the camera at coordinates (0,0) and the top-right at (1,1). The z-position is in world units from the camera.
Here's an example of how to use this function:
Csharp
Using UnityEngine;
Using System.Collections;
Public class ExampleClass : MonoBehaviour
{
Public Transform target;
Camera cam;
Void Start()
{
Cam = GetComponent
}
Void Update()
{
Vector3 viewPos = cam.WorldToViewportPoint(target.position);
If (viewPos.x > 0.5F)
{
Print("target is on the right side!");
}
Else
{
Print("target is on the left side!");
}
}
}
In this example, we first get the position of the target object in world space. We then use the `WorldToViewportPoint` function to transform this position into viewport space, relative to the camera. We can then check the x-coordinate of the `viewPos` vector to determine whether the target is on the left or right side of the camera's viewport.
It's important to note that the `Camera.WorldToViewportPoint` function only considers the position of objects in world space and does not take into account any obstacles or occlusions that may be between the camera and the target object. If you need to check if an object is visible on the screen, you may need to use additional techniques or functions, such as the GeometryUtility class mentioned in the discussion linked above.
Classic Multi-Camera Sitcoms: TV's Longest-Running Shows
You may want to see also

Aligning the view to the selected camera
To align the view to the selected camera in Unity, you can follow these steps:
- In the Unity Editor, go to the Hierarchy panel and select the desired camera object.
- With the camera object selected, navigate to the GameObject menu at the top of the editor.
- From the GameObject menu, choose the "Align View to Selected" option.
- Alternatively, you can use the keyboard shortcut by pressing "F" on your keyboard after selecting the camera object. This will automatically align the view to the selected camera.
- If you want to lock the view to the camera even when it is moving, you can use the "Lock View to Selected" option in the Edit menu or use the "Shift+F" keyboard shortcut.
By following these steps, you will be able to align the view in the Scene window to match the perspective of the selected camera. This can be helpful for setting up your game scene and understanding how the camera will capture the game environment.
Additionally, you can also adjust the camera's properties, such as its field of view, by selecting the camera object and modifying its settings in the Inspector window. This allows you to fine-tune the camera's behaviour and appearance in your game.
Mi Smart TV: Built-in Camera Feature Explained
You may want to see also

Using the rotation button to change camera directions
Unity users can use the rotation button to change the direction of their in-game camera. This is a useful feature for game developers who want to test different camera angles and views.
To do this, you can use the "Rotate" tool, located in the "Transform" menu. This will bring up a circular tool with arrows that can be used to adjust the camera's rotation. Clicking and dragging on the arrows will allow you to rotate the camera around the respective axis.
Additionally, you can use the "Rotation" field in the "Inspector" window to manually input the desired rotation values. The "Rotation" property is located under the "Transform" component and allows you to specify the rotation in degrees around the X, Y, and Z axes.
Another method is to use keyboard shortcuts. With the camera selected, you can use the arrow keys to rotate the camera incrementally. Holding down "Ctrl" while using the arrow keys will result in smaller adjustments, while holding "Shift" will make larger adjustments.
It's important to note that rotating the camera will not change the position of the camera in the scene; it will only change the direction it is facing. To move the camera to a new position, you can use the "Move" tool or adjust the "Position" values in the "Inspector" window.
By utilizing these methods, you can easily change the direction of your camera in Unity, allowing for precise control over the in-game viewpoint.
Troubleshooting Apple Watch Camera Issues
You may want to see also

Using an editor script
Unity's Camera component has a function called WorldToViewport, which can be used to check if an object is seen by the Main Camera. Here's an example of how to use this function in an editor script:
Csharp
Using UnityEngine;
Using System.Collections;
Using System.Collections.Generic;
Public class CameraScript : MonoBehaviour
{
Public Camera mainCamera;
Public Transform checkedObject;
Void Start()
{
MainCamera = Camera.main;
}
Void Update()
{
Vector3 viewPos = mainCamera.WorldToViewportPoint(checkedObject.position);
If (viewPos.x >= 0 && viewPos.x <= 1 && viewPos.y >= 0 && viewPos.y <= 1 && viewPos.z > 0)
{
// The object is visible to the main camera
// You can add your custom code here
}
Else
{
// The object is not visible to the main camera
}
}
}
In this script, we first define a public Camera variable called "mainCamera" and a public Transform variable called "checkedObject". We then assign the main camera in the scene to "mainCamera" in the Start function.
In the Update function, we use the WorldToViewportPoint function to get the viewport position of the "checkedObject". The WorldToViewportPoint function converts a world space position to a viewport space position relative to the specified camera. We then check if the x and y coordinates of the viewport position are between 0 and 1, and if the z coordinate is greater than 0. If these conditions are met, it means the object is visible to the main camera, and you can add your custom code to execute when the object is visible.
You can attach this script to any game object in your scene, and it will continuously check if the "checkedObject" is visible to the main camera. You can also extend this script to support multiple cameras or implement additional conditions for object visibility.
Streaming Roku Camera Footage to Your TV
You may want to see also
Frequently asked questions
You can use the Camera.WorldToViewport function, giving the position of the object as a parameter. If the x and y-coordinates are between 0 and 1 and the z-coordinate is greater than 0, the centre of the object is seen by the camera.
Select the camera object in the hierarchy and click on "Align View to Selected" in the GameObject menu.
Select the camera in the hierarchy and click on "Align View to Selected" in the GameObject menu. Then, in the "GameObject" menu, select "Align View to Selected".
You can use the Camera.WorldToViewportPoint function, giving the position of the object as a parameter. If the x, y and z coordinates are greater than 0, the object is in the range of the camera.
You can use the onBecameVisible() and onBecameInvisible() functions.


