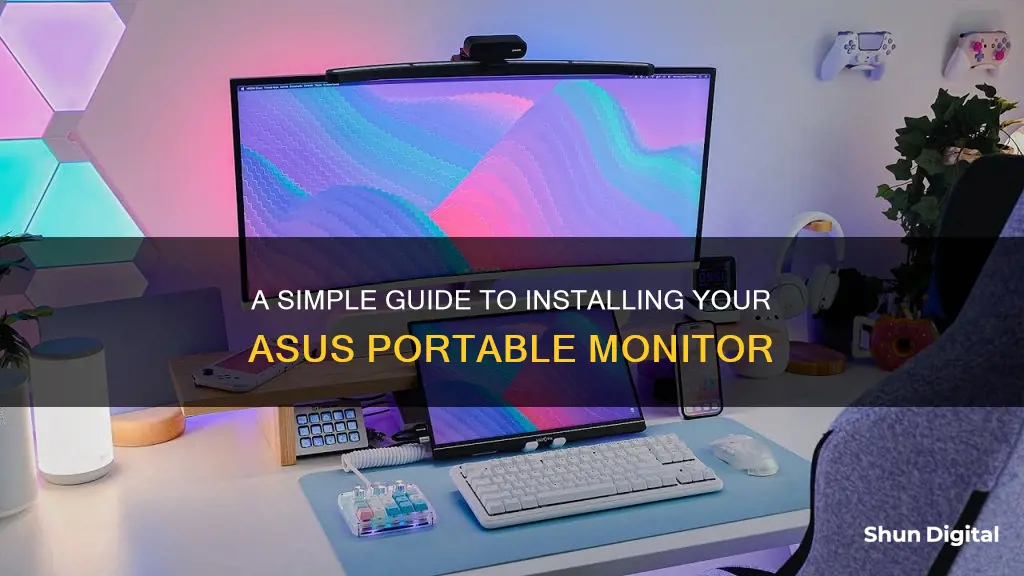
The ASUS MB168B is a 15.6-inch portable monitor with a sleek and ultra-slim design. It is the world's slimmest and lightest USB monitor, weighing just 800g and with a slim 8mm profile. The monitor is USB-powered and has a single USB 3.0 cable for power and data transmission. It is ideal for on-the-go dual-monitor setups and mobile presentations. The MB168B features ASUS EzLink technology, which offloads graphics processing from the PC, allowing a PC to drive up to five MB168B monitors simultaneously. The monitor also has an auto-rotating display and its backlight brightness is automatically adjusted based on environmental lighting. In this article, we will provide a step-by-step guide on how to install the ASUS MB168B portable monitor.
What You'll Learn

Connect the USB cable between the monitor and PC
To connect your ASUS portable monitor, you will need to use a USB cable. This is a simple process, but it is important to follow the correct steps to ensure a successful installation.
First, locate the USB port on your monitor. This is usually located on the back or side of the monitor. The USB port on your PC will typically be found on the back of the tower, or on the side or front of a laptop. Once you have located both USB ports, you can proceed to connect the cable.
The USB cable should have a standard connector on one end, which will plug into your PC, and a smaller connector on the other end, which will plug into your monitor. Ensure that the connectors are firmly inserted into the ports. If the connectors are not firmly in place, it may result in an unstable connection or no connection at all.
Now, turn on your monitor. If this is the first time you are setting up the monitor, you may need to install the necessary drivers. This can usually be done by downloading the relevant software from the ASUS support website.
Finally, test the connection by trying out different functions on your monitor. Open a few applications, play a video, or adjust the settings to ensure that your monitor is functioning properly.
By following these steps, you should be able to successfully connect your ASUS portable monitor to your PC using a USB cable.
Monitoring Cox Internet Data Usage: A Step-by-Step Guide
You may want to see also

Insert the CD or download the driver from the ASUS support site
If you have purchased an ASUS portable monitor, you may need to install a display driver. This is because, in some cases, your monitor may not display anything before the driver is installed. You may also need to restart your Windows after installing the driver to properly activate the monitor.
To install the driver, you can either insert the CD that came with your monitor, or download the driver from the ASUS support site. If you choose to download the driver, first go to the product page of your monitor on the ASUS official website. Then, find the 'Support' tab on the product page and choose 'Driver & Tools'. Next, choose the operating system that you are using. The driver that suits your operating system will then be displayed. Download and execute the driver file. Finally, follow the instructions to install the driver.
If you are installing the driver from a CD, first connect the USB cable between your monitor and your PC. Then, insert the CD and open up the folder, clicking 'Setup'. Click 'ASUS Ezlink Display Driver and Utility' and the setup process will begin. Follow the steps to complete the DisplayLink installation. Finally, restart your computer.
Asus Monitor Bluetooth: Is It Built-In or Not?
You may want to see also

Open the folder and click 'Setup'
Once you have downloaded the driver from the ASUS support site, you will need to open the folder and click 'Setup'. This will begin the installation process.
To open the folder, locate it on your device. The folder may be in your 'Downloads' file, or wherever you chose to save it when downloading. Once you have found the folder, double click to open it.
Inside the folder, you should see a 'Setup' application. This may be named 'Setup.exe'. Double click on this application to run it.
Running the 'Setup' application will begin the installation of the ASUS Ezlink Display Driver. This process will take a few minutes to complete. Once the setup process has started, you will need to follow the on-screen instructions to complete the installation.
It is important to note that if you are updating the driver version or upgrading your monitor, you should first completely remove the original driver before installing the new one.
Monitoring Solar Power Usage: A Comprehensive Guide
You may want to see also

Click 'ASUS Ezlink Display Driver and Utility'
To install the ASUS EzLink Display Driver and Utility for the MB168B, MB168B+, or MB169B+ monitor, you will need to follow the below steps:
- Connect the USB cable between the MB168/MB169B+ monitor and your PC.
- Insert the CD provided, or if you do not have a CD, download the driver from the ASUS support site.
- Open the folder and click "Setup".
- Click "ASUS EzLink Display Driver and Utility".
- The set-up process will begin and will take a few minutes to complete.
- Another screen will appear, with a pop-up message that may vary depending on the version. Follow the steps to complete the DisplayLink installation.
- Two more screens will appear; click "Next" to complete the installation.
- Once the installation is complete, restart your computer.
Please note, if you are updating the driver version or upgrading from MB168 to MB169B, you will need to completely remove the original driver before beginning these installation steps.
Monitoring RAM Usage: Nagios Setup Guide
You may want to see also

Restart your computer
To install the ASUS Ezlink Display Driver for the MB168/MB169B+ LCD monitors, you must first connect the USB cable between the monitor and your PC. Then, insert the CD or download the driver from the ASUS support site.
Open the folder and click 'Setup', then click 'ASUS Ezlink Display Driver and Utility'. The setup process will begin and will take a few minutes to complete.
Follow the steps to complete the DisplayLink installation. When the EzLink Utility installation is completed, restart your computer.
This will ensure that all the necessary components of the ASUS Ezlink Display Driver are installed correctly and that your computer recognizes the new hardware.
Restarting your computer will also allow any changes made during the installation process to take effect, ensuring that your new ASUS portable monitor functions properly.
Monitor Your MacBook's CPU Usage: A Step-by-Step Guide
You may want to see also
Frequently asked questions
The ASUS MB168B 15.6" portable monitor is easy to install. It uses a single USB 3.0 cable for power and data transmission. First, connect the USB cable between the monitor and your PC. Then, insert the CD or download the driver from the ASUS support site. Open the folder and click "Setup", then click "ASUS Ezlink Display Driver and Utility". Follow the setup process and restart your computer when it's complete.
While some ASUS portable monitors like the MB168B do come with a CD for installation, you can also download the driver from the ASUS support site if you don't have a CD drive.
To update the driver version of your ASUS portable monitor, first completely remove the original driver. Then, follow the standard installation steps as outlined above.


