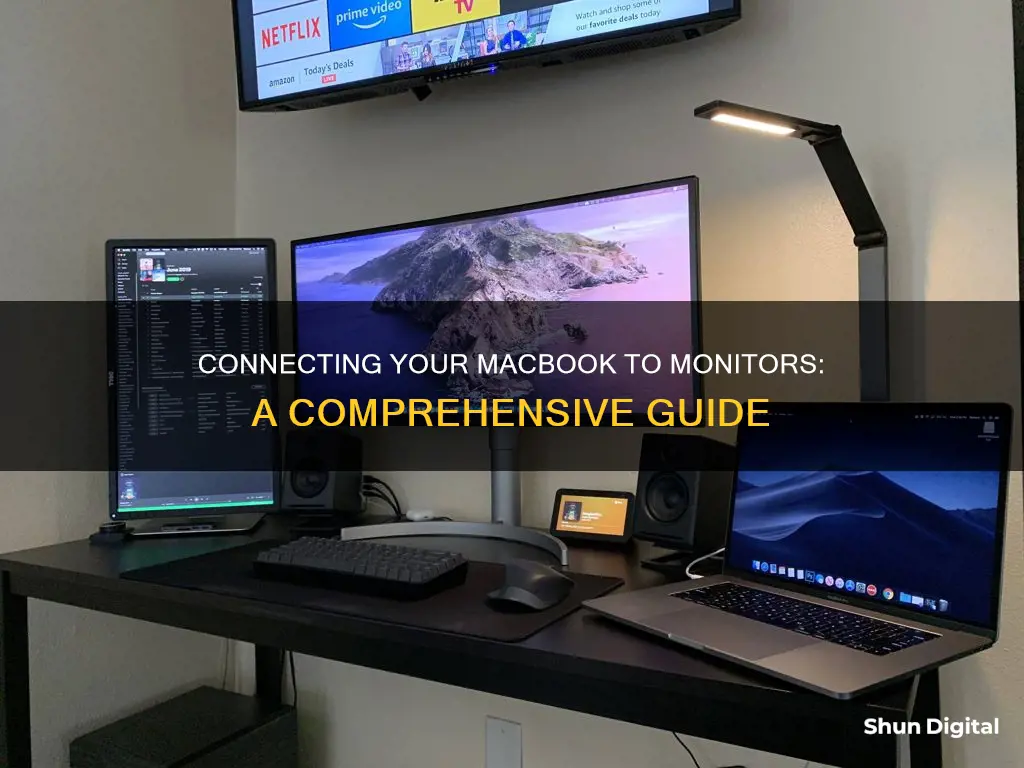
Connecting your MacBook to an external monitor is a simple process, but it's important to ensure that your MacBook model is compatible with the monitor you wish to use. Once you've checked compatibility, you can identify the correct ports and cables, connect your monitor, and adjust your display settings.
| Characteristics | Values |
|---|---|
| Number of displays supported | Depends on the Mac model, e.g. MacBook Pro models made in 2023 or later with M2 Max or M3 Max chip may support up to four external displays |
| Ports to use | Thunderbolt, HDMI, Mini DisplayPort, Thunderbolt 4 (USB-C), VGA |
| Cable compatibility | Check the monitor's technical requirements for connection and locate the cables and corresponding ports using the manual for your monitor |
| Adapters | May be needed if the display doesn't have the right cables, e.g. USB-C to HDMI, MiniDisplay-to-DVI, MiniDisplay-to-VGA, or HDMI-to-DVI adapter |
| Display settings | Can be adjusted by going to System Settings > Displays |
What You'll Learn

Identify your MacBook's video ports
To identify the video ports on your MacBook, follow these steps:
Click the Apple icon in the top left corner of your screen, then click System Settings. Find the Help menu option at the top of your screen and click on it. In the drop-down menu, select MacBook Specifications. On the webpage that opens, scroll down to Video Support (or Display Support, depending on your MacBook model).
Alternatively, you can use the following steps:
Choose Apple menu > About This Mac, double-click your serial number, then press Command-C to copy it. Go to the Tech Specs page, click the Search Tech Specs bar, and press Command-V to enter your computer's serial number, then click Search. Click the specs page for your Mac.
Note that different MacBook models have different video ports. For example, MacBook models from 2011 through 2015 have Thunderbolt or Thunderbolt 2 ports, while MacBook models from 2016 through 2020 have Thunderbolt 3 ports.
Once you've identified the video ports on your MacBook, you can determine what type of cable or adapter you need to connect it to an external display.
Understanding the ASUS ACPI Monitor Application
You may want to see also

Purchase any necessary adapters or cables
To connect a MacBook to an external monitor, you'll need to purchase any necessary adapters or cables. This will depend on the type of video ports your MacBook and monitor have.
If your MacBook was manufactured in 2020 or later, it will have Thunderbolt 4/USB-C ports. Many MacBook models made between 2016 and 2020 have Thunderbolt 3/USB-C ports. MacBook Pro models introduced between 2012 and 2015, as well as in 2021 or later, also have HDMI ports. Older MacBooks may have Thunderbolt/Thunderbolt 2/Mini DisplayPorts.
Common monitor ports include HDMI ports, which look like trapezoids; DisplayPort (or Thunderbolt/Thunderbolt 2) ports, which look like rectangles with two corners cut off; USB-C (or Thunderbolt 3/Thunderbolt 4) ports, which are small and oval-shaped; VGA ports, which have 15 small holes with a larger screw hole on each end and are often blue; and DVI ports, which have 24 small holes with a slit on one side.
If your MacBook and monitor have different types of video ports, you will need an adapter. Adapters can be purchased directly from the Apple Store or other technology retailers. For example, if your MacBook has USB-C ports and your monitor has HDMI ports, you will need a "USB-C to HDMI adapter". If you need a USB-C cable, make sure it supports video/data transfer, as the USB-C cable that comes with your MacBook is only for charging.
Choosing the Right Screws for VESA Monitor Mounts
You may want to see also

Connect the cable or adapter to your MacBook
Now that you've identified the video ports on your MacBook and monitor, purchased the appropriate cables and adapters, and plugged your monitor into a power source, it's time to connect the cable or adapter to your MacBook.
Be sure to fully plug the cable or adapter into your MacBook. Otherwise, you may experience issues with your MacBook's screen not displaying properly on your monitor. If your MacBook does not have the same type of video ports as your monitor, you will likely need an adapter. Adapters can be purchased directly from the Apple Store or any technology retailer. To determine the type of adapter you need, compare the ports on your MacBook and monitor. For example, if your MacBook has USB-C ports and your monitor has HDMI ports, try searching for a "USB-C to HDMI adapter".
If you need a USB-C cable, make sure to buy one that supports video/data transfer. The USB-C cable that came with your MacBook is only for charging and will not connect your Mac to an external display.
Once you've connected the cable or adapter to your MacBook, connect the other end to your monitor. Some monitors will have both an "In" and an "Out" port for a certain cable type, so be sure to plug the cable into the port labelled "In".
Now, plug your monitor into a power source and turn it on. You should now see your MacBook's screen on the monitor. If your monitor is not displaying your MacBook's screen, ensure that you have selected the right video input. You can usually change your monitor's input by pressing a button on the monitor, selecting "Input", then selecting the option with the same name as the port you are using.
If your connecting cable and adapter are fully plugged in and you have checked your monitor's input but still aren't seeing your MacBook's screen, your MacBook might not be detecting the monitor. Open System Settings, choose Displays, then hold down the Option key. When the "Detect Displays" button appears at the bottom of the window, click it.
Electricity Usage: Monitored by Companies or Not?
You may want to see also

Connect the other end of the cable to your monitor
Now that you have selected the right cable and/or adapter, it is time to connect the other end of the cable to your monitor.
First, locate the correct port on your monitor. The most common types of ports are HDMI, DisplayPort (or Thunderbolt/Thunderbolt 2), USB-C (or Thunderbolt 3/Thunderbolt 4), VGA, and DVI.
If your monitor has multiple ports, be sure to plug the cable into the port labelled 'In' or 'Input'. This means that the port accepts video input from other sources, allowing you to input video from your MacBook.
If you are connecting a Thunderbolt/USB-C display, connect the display to a Thunderbolt/USB-C port on your MacBook Pro, MacBook Air, iMac, Mac Mini, Mac Pro, or Mac Studio.
If you are connecting a DisplayPort (DP) display, use a USB-C to Display Port 1.4 cable to connect the display to a Thunderbolt port on your MacBook Pro, MacBook Air, iMac, Mac Mini, Mac Pro, or Mac Studio.
If you are connecting an HDMI display, plug a cable from your monitor's HDMI in port directly into the HDMI out port on your MacBook Pro, MacBook Air, iMac, Mac Mini, Mac Pro, or Mac Studio.
If you are connecting a VGA display, use a USB-C VGA Multiport Adapter to connect the display to a Thunderbolt port on your MacBook Pro or iMac.
If you are connecting a DVI display, use a cable that is compatible with your monitor's DVI port.
Once you have connected the cable to the correct port on your monitor, plug the monitor into a power source and turn it on. You should now see your MacBook's screen on the monitor.
If your monitor is not displaying your MacBook's screen, ensure that you have selected the correct video input. You can usually change the monitor's input by pressing a button on the monitor, selecting 'Input', and then selecting the option with the same name as the port you are using.
If your cable and adapter are fully plugged in and you have checked your monitor's input but still cannot see your MacBook's screen, your MacBook might not be detecting the monitor. In this case, you may need to adjust your display settings.
Hooking Up Four Monitors: The Ultimate Guide
You may want to see also

Adjust your display settings
Once you have connected your monitor to your MacBook, you can adjust your display settings.
Step 1: Open System Settings
Click the Apple icon in the top left of your screen, then click System Settings. If you're running an older version of macOS, this may be called System Preferences.
Step 2: Click Displays
Click the Displays icon in the menu bar on the left side of the System Settings window. You might need to scroll down to find it. In older versions of macOS, look for this option in the main System Preferences window.
Step 3: Choose to extend or mirror your display
Extending your display allows you to use your monitor as an entirely separate desktop, while mirroring your display will duplicate your MacBook’s screen on your monitor. To change between these settings, click the name of your monitor, then click the 'Use As' menu. Select your preferred display type (mirrored or extended) from the menu.
Step 4: Rearrange your displays
For the easiest and most intuitive setup, try arranging your displays as they are arranged on your desk. At the top of the Displays menu, where you see the icons for your monitors, click the Arrange button. Drag and drop your monitors to the desired position, then click Done.
Step 5: Set your primary display
If you want to set your new monitor as your main display, click on it and select 'Main display' from the 'Use As' drop-down menu. If you want to use your laptop as your primary display, you do not need to change anything.
Other display settings
In addition to the above, you can also adjust other display settings such as resolution, brightness, and colour profile.
Enlarging Your Monitor Display: Scaling to 1080 on TV
You may want to see also
Frequently asked questions
First, identify the video ports on your MacBook and monitor. Purchase any necessary adapters or cables. Connect the cable or adapter to your MacBook, then connect the other end to your monitor. Plug the monitor into a power source and turn it on.
You will likely need an adapter. Adapters can be bought from the Apple Store or other technology retailers.
Be sure that you have selected the right video input on your monitor. If this doesn't work, your MacBook might not be detecting the monitor. Open System Settings, choose Displays, then hold down the Option key and click the "Detect Displays" button.
In the Displays menu, click the "Arrange" button. Drag and drop your monitors into your desired position, then click Done.
Yes. Connect your MacBook to an external keyboard and mouse, and ensure it is plugged into a power source. Open System Settings, select Display, and select your external monitor. Use the "Use As" menu to set it as a mirror for your MacBook's built-in display.


