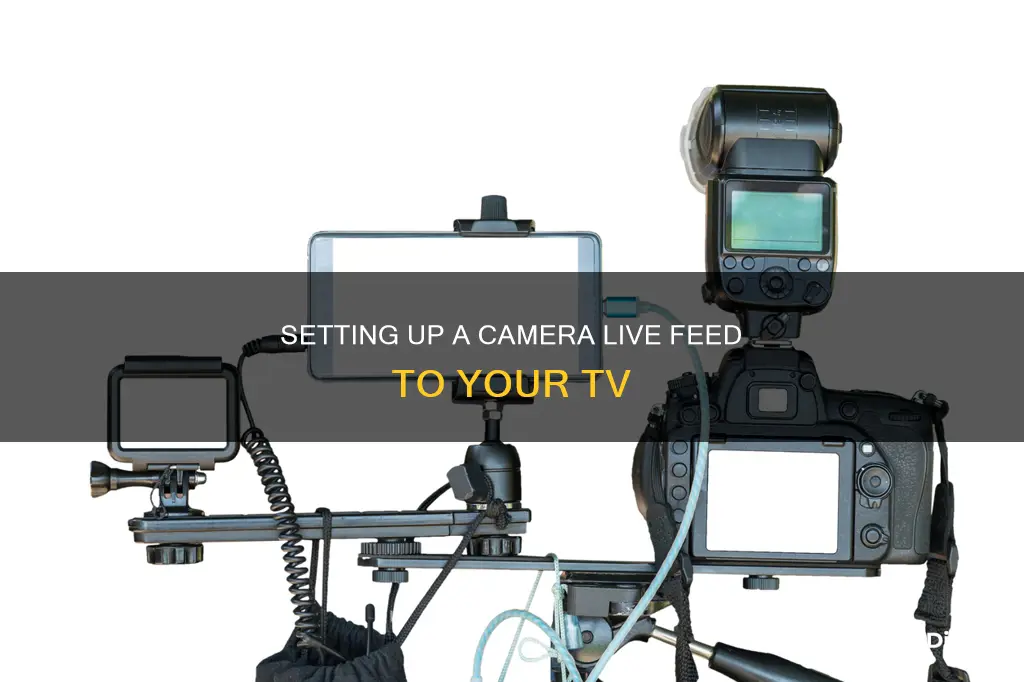
Live camera streaming is a popular method of content creation, allowing broadcasters to connect with their audience in an authentic way. It can be used for a variety of purposes, from live events to personal broadcasts, and can be set up with just a few simple steps. This introduction will cover the basics of how to have a camera live feed to a TV, including the equipment needed, the process of setting up the camera and streaming platform, and tips for promoting your live stream.
| Characteristics | Values |
|---|---|
| Camera | Webcam, IP camera, security/surveillance camera, DSLR, mirrorless camera, smartphone |
| Camera features | High-definition video, clean HDMI out, good in low light |
| Camera setup | Indoors, outdoors, on a tripod, on top of a TV |
| Internet connection | 5G wireless internet, Tethered Ethernet, Wi-fi |
| Live streaming platform | Online Video Platform (OVP), Video on Demand (VOD), RTMP Streaming Platform, HTTP Live Streaming platform |
| Live streaming software | YouTube, Dacast, Skype |
| Live streaming equipment | Capture card, HDMI cable, encoder, microphone |
| TV | LCD display, Google TV, smart TV |
What You'll Learn

Use a Google Nest speaker, display, Chromecast voice remote or Google TV Streamer Voice Remote
Streaming your Nest camera video feed to a TV using a Google Nest speaker, display, Chromecast voice remote, or Google TV Streamer Voice Remote is a straightforward process. Here's a step-by-step guide to help you get started:
Step 1: Set Up Your Security Camera
If you have a Nest camera or doorbell, follow the instructions provided in the box and app. If you have another compatible camera, such as Arlo, Wyze, or Eufy, follow the setup instructions provided by the device manufacturer. Note that Nest cameras and doorbells can stream to Chromecast with Google TV or a smart display screen.
Step 2: Set Up Your Device
Ensure that your Chromecast and speaker or display are set up correctly. Connect these devices to the same Wi-Fi network as your camera and add them to the same home in the Google Home app. This includes:
- Chromecast with Google TV (set up in the Google Home app)
- Chromecast (3rd generation or older)
- TV that works with Cast
- Google TV Streamer (4K) and Voice Remote
Step 3: Add Your Camera or Doorbell to the Google Home App
If you've set up a Nest camera or doorbell, it should already be added to the Google Home app. If not, force-close the app and reopen it. For other compatible cameras, open the Google Home app and verify that the Google Account shown is linked to your speaker or display. If needed, switch accounts or add another account. Ensure that you're using the correct home by tapping next to the home name. Tap "Devices," then "Add," and select "Works with Google Home." Finally, choose your camera manufacturer from the list to finish the setup.
Step 4: Use Voice Commands to Stream Your Security Camera to Your TV
To use voice commands on your Google TV Streamer (4K), press and hold the microphone button on the remote control before giving your command. Say "Ok Google" or "Hey Google," followed by the appropriate command. For example:
- "Show [camera name]"
- "What's on [camera name]?"
- "[Camera name] on [Chromecast device name]"
- "Play [camera name] on [Chromecast device name]"
- "Show [camera name] on [Chromecast device name]"
- "Stop [TV or Chromecast device name]"
The live video stream will automatically stop after a certain period to save power. Live video from battery-powered Nest cameras and doorbells will stop after 5 minutes, while wired Nest cameras and doorbells will stop after 12 hours. To start the live stream again, simply repeat your voice command.
With these steps, you can easily view live video feeds from your Nest cameras, doorbells, or other compatible security cameras using your Google Nest speaker, display, Chromecast voice remote, or Google TV Streamer Voice Remote.
Becoming a TV Camera Operator: Skills, Steps, and Secrets
You may want to see also

Use a camera with a video output, not USB
If you're looking to set up a live camera feed to a TV, it's important to note that a USB webcam won't work directly with your TV. The USB ports on TVs are typically meant for accessing media like photos and videos, not for input from a camera. To achieve what you want, you'll need a camera with a video output, not a USB connection.
- Use an adapter or converter: If you already have a USB webcam, you can use an adapter or converter to change the USB output to a video output like HDMI or composite. This will allow you to connect your camera to the TV's HDMI or composite input. However, keep in mind that you may need an additional device like a computer or tablet to make the conversion work.
- Opt for a composite video camera: A simple and cost-effective solution is to purchase a cheap composite video camera. You can find these cameras for less than $50, and they will provide a direct connection to your TV without the need for any additional devices or adapters.
- Explore Android TV sticks: Another option is to use a $50 Android TV stick, which can work with your USB webcam. However, this may require some trial and error to get it functioning properly.
- Choose a high-quality camera for better results: If image quality is important, consider investing in a higher-end camera like the Panasonic HC-X920, which offers clean HDMI output and performs well in low-light conditions. This option will provide a nice, high-definition image for your viewers.
Remember, when setting up your camera and TV, you may also need to consider factors like cable length and mounting options to ensure a stable and aesthetically pleasing setup.
TCL TV Cameras: Are You Being Watched?
You may want to see also

Use a webcam with a laptop or computer
Webcams are a great way to live stream using your computer without the need for live streaming encoding software. You can use a webcam with a laptop or computer to live stream to a TV. Here is a step-by-step guide:
Step 1: Choose an Online Video Platform
The first step is to select a reliable online video platform (OVP) that supports live streaming. This platform will serve as the foundation for your live broadcasts. Make sure the OVP is compatible with your webcam and has the features you need, such as browser-based streaming and privacy and security options.
Step 2: Set Up Your Webcam
Next, you will need to set up your webcam. Ensure you have a high-quality webcam capable of shooting high-definition videos. Connect the webcam to your laptop or computer using a USB cable. If you plan to include audio in your live stream, consider investing in a mid-range microphone to improve sound quality.
Step 3: Secure a Stable Internet Connection
A strong and reliable internet connection is crucial for live streaming. Ensure you have a fast and stable internet connection to avoid interruptions during your live broadcast. Test your internet speed and consider using an Ethernet connection or WiFi for the best results.
Step 4: Set Up a Live Channel
Now, it's time to set up your live channel through your chosen OVP. Configure your live channel settings, including the channel name, description, and privacy settings. If you plan to schedule your live stream for a later date, be sure to set the date and time.
Step 5: Promote Your Live Stream
To maximize viewership, promote your live stream through various channels. Schedule your stream in advance and share it on social media platforms like Facebook and Twitter. Create engaging thumbnails and use relevant hashtags to attract your target audience. You can also share the link to your live stream in online communities and forums.
Step 6: Test Your Setup
Before going live, it's essential to test your setup thoroughly. Conduct a trial run to identify any potential issues with your audio, video, or internet connection. If you plan to stream for an extended period, consider running a more comprehensive test to ensure the quality of your live stream throughout the duration.
Step 7: Start Streaming
Once you have completed all the previous steps and confirmed that your setup is working correctly, it's time to start streaming! Click the "Start Streaming" button on your chosen OVP and begin your live broadcast.
By following these steps, you can effectively use a webcam with a laptop or computer to live stream to a TV. Remember to test your setup in advance and ensure a stable internet connection for a smooth and successful live streaming experience.
Ranged Attack Camera in Medieval Total War: Ultimate Viewing Guide
You may want to see also

Use a streaming platform like YouTube
Streaming platforms like YouTube have made it easy to broadcast live video content. Here's a step-by-step guide on how to use YouTube for live streaming from your camera to a TV:
Step 1: Enable Your Channel for Live Streaming
Firstly, ensure that your YouTube channel is enabled for live streaming. This feature is available to all users above the age of 13. To enable live streaming, simply go to your channel's settings and look for the "Live Streaming" option. Once enabled, you'll be able to start streaming directly from your webcam without any additional encoding software.
Step 2: Start the Live Streaming Process
To begin live streaming, click on the "Create" button in the upper right corner of the YouTube website and select "Go Live." From the left-hand menu, choose "Webcam" as your streaming source.
Step 3: Configure Stream Settings
Enter a title and description for your live stream. You can also set a privacy setting, choosing between public, private, or unlisted. If you're aged 13-17, YouTube will automatically set your privacy setting to private. Additionally, you can schedule your live stream for a future date and time.
Step 4: Advanced Settings and Thumbnail
Click on "More options" to access advanced settings, where you can fine-tune your stream. Once you're done, click "Next," and YouTube will automatically capture a thumbnail for your stream.
Step 5: Select Webcam and Microphone
Ensure that you've chosen the correct webcam and microphone for your live stream. You can also edit and manage your stream settings, such as tags, monetization, and chat options.
Step 6: Start Streaming
Once you've confirmed your settings, click "Start Streaming." Your live broadcast will begin, and you'll be able to see it on your TV.
Step 7: End the Stream
When you're finished with your live stream, click "End Stream" at the bottom of the page. All streams under 12 hours will be automatically archived, and you can access them later through the "Live Tab" on YouTube.
Additional Features
YouTube also offers a Live Control Panel, which provides a compact version of the Live Control Room. This panel displays important information like Views and Chat revenue in a smaller area. Additionally, during live streaming with a webcam, you can share your screen with your audience.
Streaming to Other Platforms
If you want to stream to platforms other than YouTube, such as Facebook, you can use services like CamStreamer. CamStreamer allows you to stream live video directly to various platforms and offers additional features like graphic overlays and remote access via the cloud.
Airplaying Your Camera to TV: A Step-by-Step Guide
You may want to see also

Use a Google Home app
To stream your camera's live feed to your TV using the Google Home app, you need to ensure that your camera is compatible with the app. Compatible cameras include the Nest Cam, Swann Smart Security Camera, and Tuya Smart, Smart Life.
Once you have confirmed compatibility, follow these steps:
Step 1: Set up your camera
If you have a Nest camera or doorbell, follow the instructions provided in the box and app. For other compatible cameras, follow the setup instructions provided by the device manufacturer.
Step 2: Set up your TV device
Connect your TV device, such as Chromecast or a TV that works with Google Cast, to the same Wi-Fi network as your camera. Ensure that your TV device is added to the same home in the Google Home app.
Step 3: Link your camera to the Google Home app
Open the Google Home app and verify that the Google Account shown is linked to your TV device. If not, switch accounts or add another account. Verify that you are using the correct home where you added your TV device. Tap "Devices" and "Add Works with Google Home." Finally, choose your camera manufacturer from the list to finish the setup.
Step 4: Stream your camera's live feed
Use voice commands to stream your camera's live feed to your TV. Say "Ok Google" or "Hey Google," followed by one of the following commands:
- "Show [camera name]"What's on [camera name]?"
- "[Camera name] on [TV or Chromecast device name]"
- "Play [camera name] on [TV or Chromecast device name]"
- "Show [camera name] on [TV or Chromecast device name]"
To stop the live feed, say "Stop [TV or Chromecast device name]" or press the Home button on your remote control.
Additionally, you can view your camera's live feed on a computer by going to home.google.com and signing in with the same Google account used in the Google Home app.
Smart TVs: Are They Watching You?
You may want to see also
Frequently asked questions
You can stream your camera's live feed to your TV using a speaker or display such as a Google Nest speaker, display, Chromecast voice remote, or Google TV Streamer Voice Remote. You will need to set up your security camera and device, and then add your camera to the Google Home app.
You will need a camera with a video output, not USB, and a stable internet connection. You may also need a tripod to stabilize the video.
There are a variety of cameras that can be used for broadcasting, including smartphones, DSLR cameras, mirrorless cameras, and webcams that shoot high-definition video.
To connect your camera to live streaming, you need to connect it to a laptop using an HDMI cable. The laptop should have live streaming software installed to encode and send the stream to the receivers.


