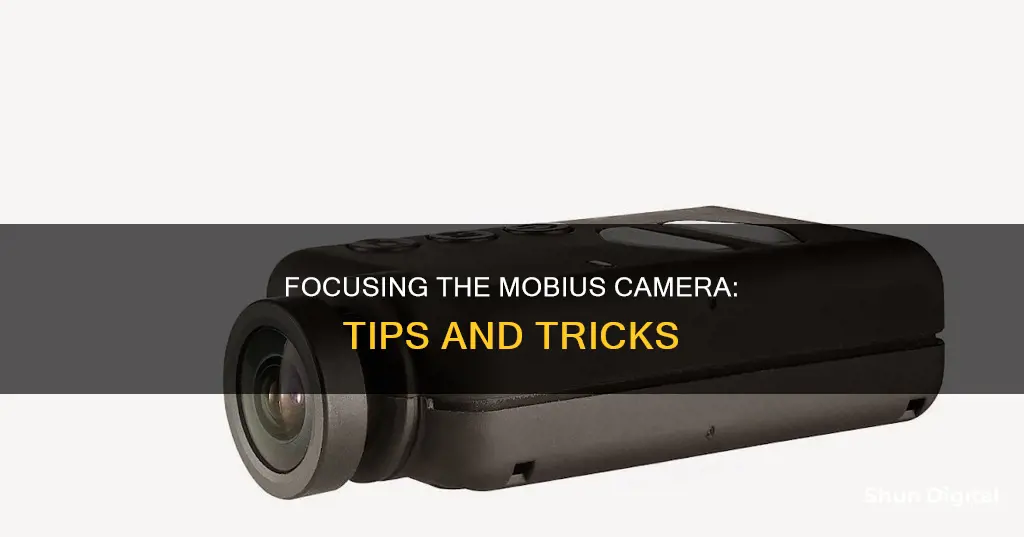
The Mobius ActionCam is a small, durable video recorder that can be used as a helmet or dash camera. The camera's focus can be adjusted manually to capture objects as close as 4 away, allowing for macro photography. Adjusting the focus involves opening the camera case, locating the camera module, and then carefully turning the lens to achieve the desired focus. This process may void the warranty and requires careful handling to avoid damaging any internal components. Online resources, such as test images and software, can also assist in fine-tuning the focus to achieve sharper images.
How to Focus a Mobius Camera
| Characteristics | Values |
|---|---|
| Default factory configuration | Objects must be a minimum of several feet from the camera to be in focus |
| Manual adjustment | Possible to focus on objects up to 4" away |
| Tools required | Phillips #00 screwdriver, box cutter or knife, 0.9mm hex key or driver |
| Process | Remove screws, split seal, pull apart casing, locate and remove camera module, loosen set screw, turn lens to adjust focus |
| Clockwise lens adjustment | Brings objects 4"-6" away into focus |
| Counter-clockwise lens adjustment | Brings distant objects into focus |
| Alternative method | Use Mobius in webcam mode with test image on a PC |
| App | WebcamViewer V1.0 |
What You'll Learn

Adjusting the lens for macro photography
- Use a Phillips #00 screwdriver to remove the two screws at the bottom of the case.
- Use a box cutter or knife to split the quality control seal on the front of the device.
- Gently pull the casing apart near the lens.
- Slide back the bottom half of the case to disengage the clips holding the casing together.
- Carefully remove the bottom half of the case and set it aside.
- Locate the camera module and gently pull it out of the case, being mindful of the fragile ribbon cable attached to it.
- Use a 0.9mm hex key or driver to loosen the set screw on the side of the camera module without fully removing it.
- Adjust the focus by gently turning the lens. Clockwise adjustments will focus on objects 4"-6" away, while counterclockwise adjustments will focus on distant objects.
- To reassemble the camera, follow the disassembly steps in reverse order.
Now, let's discuss some general tips for adjusting the lens for macro photography:
- Aperture Settings: The aperture, or f-stop, is a critical setting for macro photography as it directly affects the depth of field. For the smallest subjects (around 1 inch or smaller), use a higher aperture between f/8 and f/11 to ensure sufficient depth of field. For larger subjects, you can use a lower f-stop between f/2.8 and f/10.
- Shutter Speed: In macro photography, even slight movements can be amplified in the final image. To counteract this, maintain a relatively high shutter speed. When using a tripod, aim for a shutter speed of around 1/200. Without a tripod, keep the shutter speed above 1/320.
- ISO: Adjust the ISO setting to maintain optimal aperture and shutter speed values. Setting the ISO to auto can simplify this process.
- Lighting: Lighting can be challenging in macro photography due to the small size of the subjects. Consider using a flash with a diffuser to soften the light and improve illumination.
- Focus Stacking: In macro photography, the depth of field is extremely shallow. To compensate for this, you can use a technique called focus stacking. Take multiple photos with slightly different focusing distances, and then use software to combine the sharpest parts of each image, resulting in an image with an extended depth of field.
Clarity in Camera Raw: Enhancing Image Details
You may want to see also

Using a screwdriver to remove case screws
To focus your Mobius ActionCam camera, you will need to remove the case screws. This is a simple process but will likely void any warranty on the camera.
First, remove the lens cap and the SD card. Then, use a Phillips #00 screwdriver to remove the two screws on the bottom of the case. You can then use a box cutter or knife to split the quality control seal on the front of the device. Pull the casing apart near the lens, sliding back the bottom half of the case to disengage the clips holding the casing halves together.
Gently remove the bottom of the case, being careful not to damage the harness that runs from the battery to the circuit board. The battery pack is mounted to the bottom casing. Now you can locate the camera module and gently pull it out of the case, being careful not to damage the fragile ribbon cable attached to it.
Focusing Your Camera: Tips for Capturing Sharp Images at KSC
You may want to see also

Voiding the warranty by breaking the seal
The Mobius ActionCam is a small, durable video recorder often used as a helmet or dash camera. The lens can be manually adjusted to focus on objects up to approximately 4 inches away, allowing the device to be used for macro photography projects.
To adjust the focus, you will need to open the camera casing. This will involve breaking the quality control seal on the front of the device, which will probably void any warranty.
Step 1: Removing Exterior Peripherals
- Remove the lens cap.
- Remove the SD card by pressing down on the card until you hear a click, then release it.
Step 2: Opening the Casing
- Use a Phillips #00 screwdriver to remove both screws on the bottom of the case.
- Use a box cutter or knife to split the quality control seal on the front of the device. Be aware that breaking this seal will likely void any warranty.
- Pull the casing apart near the lens.
- Slide back the bottom half of the case to disengage the clips holding the casing halves together.
Step 3: Locating the Camera Module
- Gently remove the bottom of the case and place it alongside the device. Be careful not to damage the harness that runs from the battery to the circuit board.
- Locate the camera module.
Step 4: Adjusting the Focus
- Grab the sides of the camera module and gently pull it upwards to free it from the case, being gentle to avoid damaging the fragile ribbon cable attached.
- Use a 0.9mm hex key or driver to loosen the set screw fastened into the side of the camera module. Loosen the screw until it turns freely, but do not fully remove it.
- Grab the side of the lens and gently turn it to adjust the focus. Turning the lens clockwise will bring objects 4"-6" away into focus, while turning it counterclockwise will focus on distant objects.
Reassembling the Device:
To reassemble your device, follow the above instructions in reverse order. Be sure to be gentle when handling the camera module and placing the casing back together to avoid damaging any components.
How to Find the Crop Tool in Camera Raw?
You may want to see also

Locating and removing the camera module
To locate and remove the camera module of your Mobius ActionCam, you will need a Phillips #00 screwdriver, a box cutter or knife, and a 0.9mm hex key or driver.
First, use the Phillips #00 screwdriver to remove both screws on the bottom of the case. Next, use the box cutter or knife to split the quality control seal on the front of the device. Be aware that breaking the seal will probably void any warranty. Pull the casing apart near the lens, and slide back the bottom half of the case to disengage the clips holding the casing halves together.
Gently remove the bottom of the case and place it alongside the device. The battery pack is mounted to the bottom casing, so be careful not to damage the harness that runs from the battery to the circuit board when opening the case.
Now, locate the camera module. Grab the sides of the camera module and gently pull to free it from the case, being careful not to damage the fragile ribbon cable attached to it.
Once the camera module is removed, you can adjust the focus by using the 0.9mm hex key or driver to loosen the set screw fastened into the side of the module. Loosen the screw until it turns freely, but do not fully remove it. Grab the side of the lens and gently turn it to adjust the focus.
When facing the back of the camera module, turning the lens all the way clockwise will bring objects 4"-6" away into focus, while turning it all the way counterclockwise will focus on distant objects. The lens has about a half turn of travel.
To reassemble your device, simply follow these instructions in reverse order.
Charging the HP R847: A Step-by-Step Guide
You may want to see also

Adjusting the focus by turning the lens
To adjust the focus of your Mobius ActionCam by turning the lens, you will need to perform the following steps:
Firstly, use a Phillips #00 screwdriver to remove the two screws on the bottom of the case. Next, use a box cutter or knife to carefully split the quality control seal on the front of the device. Be aware that breaking this seal will likely void any warranty on the camera. Once the seal is broken, gently pull the casing apart near the lens. Slide back the bottom half of the case to disengage the clips holding the casing halves together. Remove the bottom half of the case and set it aside, being careful not to damage the battery harness.
Now, locate the camera module. Gently pull on the sides of the camera module to free it from the case, taking care not to damage the fragile ribbon cable attached to it. Use a 0.9mm hex key or driver to loosen the set screw on the side of the camera module, but do not fully remove it. Once the screw is loosened, you can adjust the focus by gently turning the lens with your fingers.
To focus on objects that are 4 to 6 inches away, turn the lens clockwise while facing the back of the camera module. For focusing on distant objects, turn the lens counterclockwise. The lens has approximately a half-turn of travel. Once you have achieved the desired focus, carefully reassemble the camera by following the disassembly instructions in reverse order.
It is important to handle the camera and its components with care during this process to avoid any accidental damage. Additionally, adjusting the focus by turning the lens may void your warranty, so proceed with caution.
Wired Lorex Cameras: How Long Do They Last?
You may want to see also
Frequently asked questions
You will need a Phillips #00 screwdriver and a 0.9mm hex key or driver. First, remove the screws on the bottom of the case, then use a knife to split the quality control seal. Pull the casing apart, then slide back the bottom half to remove the case. Remove the bottom half of the case and locate the camera module. Gently pull the camera module out of the case and loosen the set screw on the side. Now, grab the side of the lens and gently turn it to adjust the focus.
Facing the back of the camera module, turn the lens all the way clockwise to bring objects 4"-6" away into focus. Turn the lens all the way counterclockwise to bring distant objects into focus.
Yes, you can use the Mobius camera in webcam mode by plugging it into your PC via its data cable. Use an online test image and adjust the lens until the image is sharp.
The Mobius ActionCam can be manually adjusted to focus on objects as close as 4" away, allowing for macro photography.
Try adjusting the lens position. There are three positions for the lens, and the outermost position may provide the sharpest focus.


