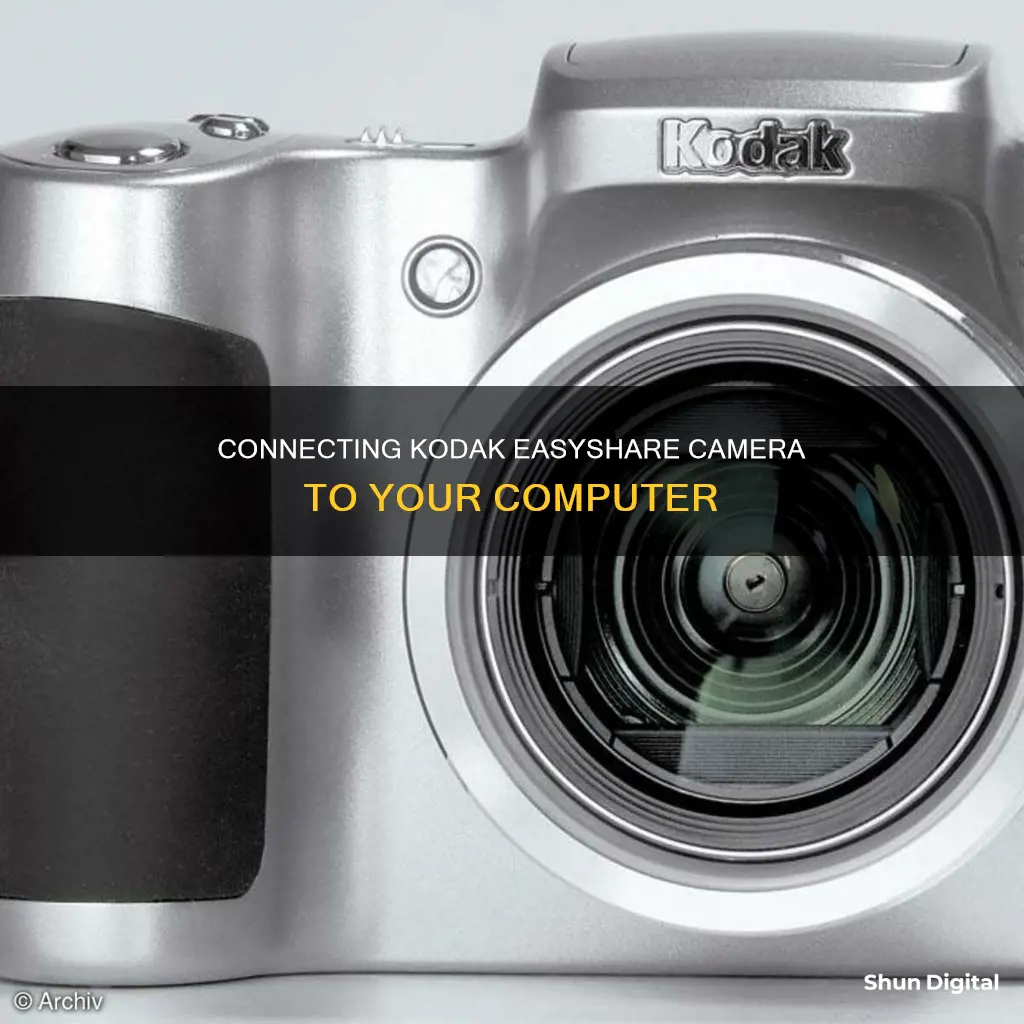
If you want to hook up your Kodak EasyShare camera to your computer, you can do so by using the USB cable that came with your camera or by using a memory card reader. First, make sure the power to your camera is off, then connect your camera to the computer using the USB cable. If you are using a memory card, insert it into the memory card reader and then plug the reader into the computer. If you are using a Windows computer, you can follow the prompts when you connect your camera's USB cable or insert the memory card. For a MAC OS computer, you will need to open iPhoto and enter the Roll Name and Description for the pictures.
| Characteristics | Values |
|---|---|
| Connection type | USB cable, memory card reader, Wi-Fi wireless network |
| Camera power | Off when connecting |
| Computer OS | Windows, MAC |
| Software | Kodak EasyShare |
| Transfer button | Green |
What You'll Learn

Connect camera to computer with USB cable
To connect your Kodak EasyShare camera to your computer with a USB cable, first ensure that your camera is powered off. Then, use the USB cable that came with your camera to connect it to your computer. Once the cable is connected, you can turn on the power to your camera.
If you do not have the original USB cable, you can purchase a replacement online from retailers such as Amazon or Walmart. When purchasing a replacement cable, be sure to verify compatibility with your specific Kodak EasyShare camera model.
Once your camera is connected to your computer, you can transfer pictures and videos between the two devices.
For computers with a Windows operating system, a dialog box should appear when you connect your camera. From there, you can follow the prompts to import your pictures and videos.
For a MAC OS computer, you can use iPhoto to transfer your pictures. Simply open iPhoto, enter the "Roll Name" and "Description" for the pictures, and follow the prompts.
Camera Battery Drain: Quick Fix Tips
You may want to see also

Turn on the camera
To turn on your Kodak EasyShare camera, first ensure that the power to your camera is off. Then, connect your camera to your computer using the USB cable that came with your device. Once the camera is connected, you can turn on the power to your camera.
If you are using a Windows operating system, you will need to follow the prompts that appear when you connect your camera. For Windows XP OS, click on the Microsoft Scanner and Camera Wizard, then click OK and follow the prompts. For Windows VISTA OS, click on "Import pictures" and follow the prompts. For Windows 7 OS, click on "Import pictures and videos" and follow the instructions.
If you are using a Mac OS, simply open iPhoto from the dock or Applications folder after connecting your camera and turning it on. You will then be prompted to enter the "Roll Name" and "Description" for your pictures.
Remember to keep your camera powered off until it is connected to your computer via the USB cable, then turn it on to initiate the transfer process.
The Evolution of Pinhole Cameras: A Historical Perspective
You may want to see also

Open iPhoto on Mac
To transfer pictures from your Kodak Easyshare camera to your Mac computer, you will first need to ensure that the power to your camera is off. Then, connect your camera to your computer using the USB cable that came with the camera. Alternatively, you can remove the memory card from the camera and insert it into a memory card reader that is either built into the computer or externally connected.
Once your camera or memory card is connected, you can open iPhoto on your Mac by following these steps:
- Open a new Finder window.
- Click on "Go" in the menu bar.
- Press and hold the "Option" key on your keyboard and click on "Library."
- Within the Library folder, locate and open the "Application Support" folder.
- Look for the "iPhoto" or "Photos" folder, depending on your macOS version.
- Double-click on the "iPhoto" or "Photos" folder to open it, and then locate the "iPhoto Library" folder within.
- Enter the "Roll Name" and "Description" for the pictures you are transferring from your Kodak Easyshare camera.
Another way to open iPhoto is by going through the "Pictures" folder:
- Open a new Finder window.
- Click on "Pictures" in the sidebar.
- Locate and open the "iPhoto Library" folder.
- Within this folder, you will find various subfolders containing your photos.
By following these steps, you can open iPhoto on your Mac and transfer pictures from your Kodak Easyshare camera to your computer.
Understanding Your Camera: Exploring Different Modes
You may want to see also

Enter Roll Name and Description
If you are using a Mac, you will need to enter the "Roll Name" and "Description" for the pictures when transferring images from your Kodak EasyShare camera to your computer.
Firstly, make sure the power to your camera is off. Then, connect your camera to the computer using the USB cable that came with your camera, and turn on the power to your camera. Alternatively, you can remove the memory card from the camera and insert it into a memory card reader, either built into the computer or externally connected.
Then, open iPhoto from the dock or the Applications folder. When iPhoto opens, you will be prompted to enter the "Roll Name" and "Description" for the pictures.
If you are using a Windows computer, the process is slightly different. After connecting your camera or inserting your memory card, open Windows Explorer by clicking "My Computer" or "Start > My Computer". Right-click on either your digital camera or the memory card, then follow the prompts to import your pictures.
Editing Raw Camera Files: A Step-by-Step Guide
You may want to see also

Use a memory card reader
To transfer pictures from your Kodak EasyShare camera to your computer using a memory card reader, you'll first need to check what type of memory card your camera uses. The Kodak EasyShare range uses a variety of memory cards, including CF, xD, SD, SDHC, MicroSD, and MicroSDHC cards.
Once you've confirmed the type of memory card your camera uses, you can remove the memory card from the camera and insert it into the memory card reader on your computer. If your computer doesn't have a built-in memory card reader, you can purchase an external memory card reader that connects to your computer via USB.
After inserting the memory card into the reader, a dialog box should appear on your computer screen. The steps you take next depend on your operating system:
- For Windows XP OS, click on "Microsoft Scanner and Camera Wizard", then "OK", and follow the prompts.
- For Windows Vista OS, click on "Import pictures" and follow the prompts.
- For Windows 7 OS, click on "Import pictures and videos using Windows" and follow the prompts.
If a dialog box does not appear, you can import your pictures using Windows Explorer. Click on "My Computer" or "Start > My Computer" to launch Windows Explorer. Right-click on your digital camera or the memory card, and follow the prompts to import your pictures.
If you're using a Mac, open iPhoto from the dock or the Applications folder. Enter the "Roll Name" and "Description" for the pictures, and follow the prompts to import them.
Disabling Camera Mode in VAM: A Step-by-Step Guide
You may want to see also
Frequently asked questions
First, install the Kodak EasyShare software. Then, turn off the camera and plug the labelled end of the USB cable into the labelled USB port on your computer. Plug the other end of the USB cable into the camera and turn it on. Follow the instructions on the computer screen.
You can use the USB cable that came with your camera or a memory card that contains your pictures.
Remove the memory card from the camera and insert it into a memory card reader (either built into the computer or externally connected). For a Windows operating system, open Windows Explorer and right-click on either your digital camera or the memory card, then follow the prompts to import your pictures. For a Mac operating system, open iPhoto and enter the "Roll Name" and "Description" for the pictures.
Try connecting the camera directly to the computer using the supplied USB cable. If that doesn't work, try using a memory card reader.
You can transfer pictures and videos wirelessly using a Kodak Wi-Fi card. First, make sure your computer is on and logged in, and that the "Enable Wireless Connection" option is checked in the EasyShare software. Connect to the same wireless network as the computer you want to transfer pictures to. In "View", select a picture or video, then press the "Share" button on the camera and select "Transfer".


