Charging a camera battery is a straightforward process, but it's important to follow the correct steps to avoid damaging your equipment. This paragraph will guide you through the process of charging your camera battery using a charger, covering the necessary precautions, recommended charging times, and potential alternatives if you don't have access to a charger.
| Characteristics | Values |
|---|---|
| Charging time for a full charge | 2-3 hours |
| Charging method | Using a wall plug, power bank, computer, or AC adapter |
| Charging cable | USB-C or USB 2.0 Type A to Mini B |
| Charging indicator | A light that turns off when the battery is fully charged |
| Charging status | The light may flash when the battery is charged |
| Charging temperature | 10°C to 30°C (50ºF to 86ºF) |
| Charging frequency | Avoid continuous or repeated charging without use |
| Charging duration | Do not charge for more than 24 hours |
What You'll Learn
![]()
Charging a camera battery with a wall plug
First, ensure that your camera uses in-camera charging. Most modern cameras have this feature, but it is always good to check. If your camera does not support in-camera charging, you will need to use an external charger.
Next, locate the necessary equipment. You will need a USB charging cable that is compatible with your camera. Many cameras come with a USB cable in the box. Additionally, you will need a USB wall adapter, also known as an AC adapter or wall charger. This adapter connects to a wall outlet and provides power to your camera via the USB cable.
Before connecting anything, ensure that your camera is switched off. Most cameras cannot be charged while they are turned on.
Now, you can begin the charging process. Attach the USB charging cable to your camera. The charging port is usually located behind a rubber cover on your camera. Then, connect the other end of the USB cable to the USB wall adapter. Finally, plug the wall adapter into a wall outlet.
Your camera should now be charging. The charging process may take some time, depending on the capacity of your battery and the charging conditions. Some cameras have a charge lamp or LED indicator that shows the charging status. Once the indicator shows that the battery is fully charged, you can disconnect the camera and wall adapter from the power source.
It is important to use only compatible equipment when charging your camera battery. Using incorrect voltages or currents can damage your equipment. Additionally, always refer to your camera's user manual for specific instructions and safety precautions.
By following these steps, you can conveniently charge your camera battery using a wall plug and ensure that your camera is ready for your next shooting opportunity.
Charging the Eufy 2C: Know When It's Ready
You may want to see also
![]()
Charging a camera battery with a power bank
Step 1: Check your camera's USB charging capabilities
Before you attempt to charge your camera battery with a power bank, you should check your camera's USB charging capabilities. Some cameras can be charged via USB, while others cannot. If your camera doesn't have a USB port, you won't be able to charge it with a power bank.
Step 2: Choose the right power bank
Not all power banks are created equal. When choosing a power bank to charge your camera battery, look for one that has the USB-C Power Delivery feature, such as the Anker power bank. Make sure the power bank has enough power to charge your camera. Check your camera battery's specifications to find out how many mAhs (milliamperes) of energy it draws, and choose a power bank that can meet or exceed this requirement. For example, if your camera battery requires 1,400 mAh, you'll need a power bank that puts out at least 1,400 mAh.
Step 3: Connect the power bank to your camera
To charge your camera battery with a power bank, follow these steps:
- Install your camera battery in your camera.
- Turn the camera off. This is important because the battery may not charge while the camera is turned on.
- Connect your USB cable to your camera. Open the rubber cover that hides the cord connections and connect the power cord that came with your camera to the camera.
- Connect the other end of the USB cable to the power bank.
Step 4: Monitor the charging process
Depending on your camera model, you may be able to observe the charging process through an LCD window or a light on the back of the camera. This will indicate how much of the battery needs to be charged and when it is fully charged.
Step 5: Allow sufficient charging time
It typically takes a couple of hours to charge a camera battery with a power bank. Once the battery is fully charged, the charging light will turn off, and the battery icon on your camera (if applicable) will show that it is charged to full capacity.
Tips:
- It is important to know your camera's specifications and the risks involved before attempting to charge it with a power bank.
- Always use charging equipment that is compatible with your camera to avoid damaging your device.
- Consider purchasing a camera charging power bank, which is designed specifically for charging camera batteries and can provide faster charging times.
- Choose a power bank with a capacity of at least 10,000mAh to ensure your camera can remain charged overnight or during extended use.
- If you plan to use the power bank outdoors, consider a waterproof and shockproof model to protect it from the elements.
- Avoid very cheap or knock-off power bank brands, as they may lack important safety features such as short-circuit protection.
Charging Camera Batteries: Alternative Methods to Try
You may want to see also
![]()
Charging a camera battery with a computer
If your camera can be charged via a computer, follow these steps:
- Ensure that your camera is turned off. Charging will not work if the camera is on.
- Check that your camera has a memory card installed. Some cameras will not charge without a memory card.
- Connect your camera to a USB port on your computer using a USB cable. You may need to use the USB cable that came with your camera.
- A pop-up may appear on your computer screen. Follow the instructions to agree to charge the camera through the USB port.
- Verify that the camera's charging indicator light is on or that the screen indicates that it is charging.
- Keep the computer turned on and wait for the battery to be fully charged. This may take a few hours.
- Once the battery is fully charged, the charging indicator light will turn off.
It is important to note that charging a camera battery through a computer may be slower than using a dedicated charger. It is recommended to use the original charger whenever possible to prolong battery life and ensure optimal charging.
Charging Your Fujifilm Waterproof Camera: A Step-by-Step Guide
You may want to see also
![]()
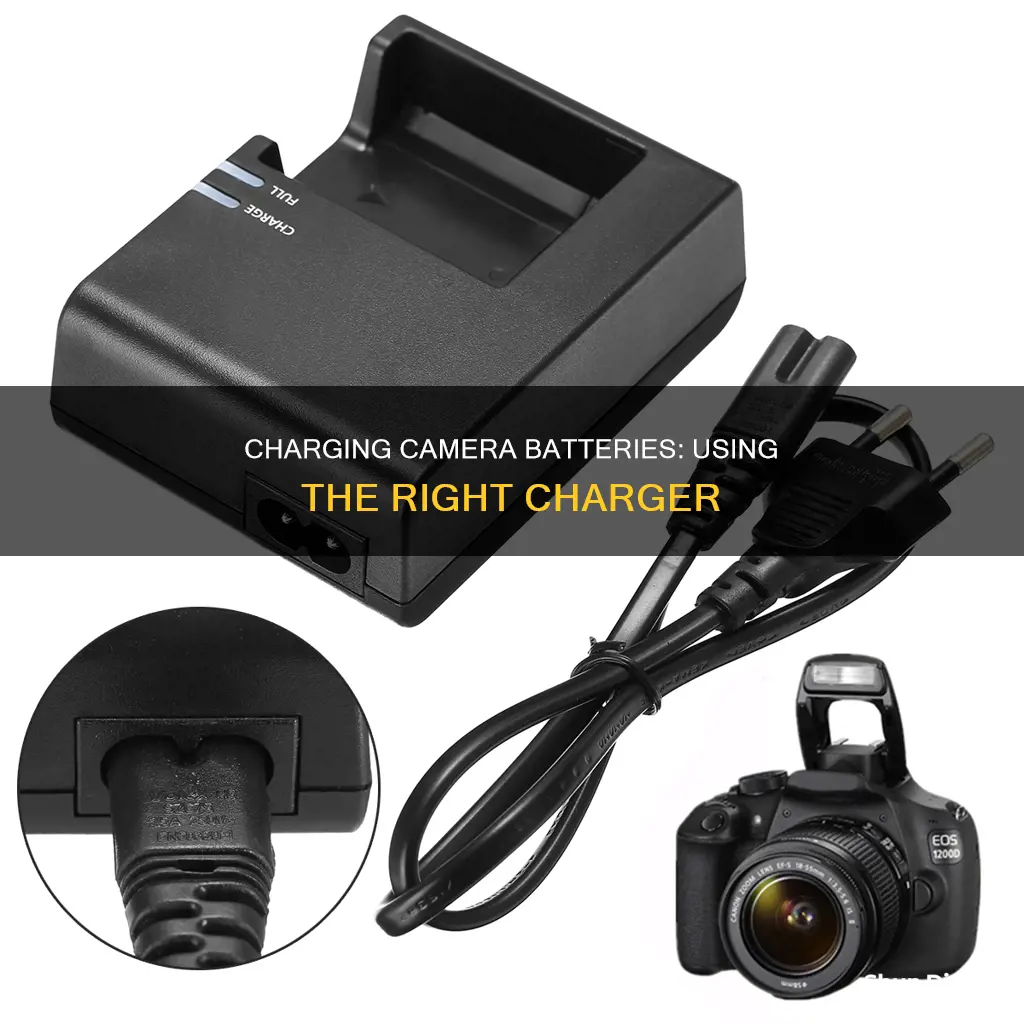
Charging a camera battery with a third-party charger
Step 1: Confirm Compatibility
Before using a third-party charger, it is crucial to ensure that it is compatible with your camera battery type. Check the voltage and current specifications of the charger to make sure they match those of your camera battery. Using a charger with incorrect specifications can damage your battery or camera.
Step 2: Prepare the Battery
Remove the camera battery from your camera and insert it into the third-party charger. Some chargers may require you to place the battery in a specific orientation, so refer to the instructions provided with the charger.
Step 3: Connect the Power Supply
Connect the power supply to the third-party charger. This could be a USB cable, an AC adapter, or another type of connector, depending on the charger. Once connected, confirm that the charging indicator on the charger is on, indicating that charging has started.
Step 4: Wait for Charging to Complete
Allow the battery to charge fully. The charging indicator on the charger may change colour or turn off once the battery is fully charged. It is important not to interrupt the charging process or remove the battery before it is fully charged.
Step 5: Reinsert the Battery
Once the battery is fully charged, remove it from the third-party charger and reinsert it into your camera. Your camera battery is now ready to use.
Additional Tips:
- When using a third-party charger, always confirm compatibility to avoid damage to your equipment.
- Frequent use of third-party charging methods may affect battery life, so it is recommended to use the original charger whenever possible.
- Choose reliable third-party chargers from reputable manufacturers to avoid potential issues.
- Do not expose the camera and battery to high temperatures or humidity during charging.
- If you notice any abnormalities, such as the battery overheating, stop charging immediately.
Alone: Keeping Cameras Charged for Long-Term Survival
You may want to see also
![]()
Charging a camera battery via USB-C
To charge your camera battery via USB-C, you will need a USB-C cable and a power source, such as a power bank, smartphone charger, or laptop. Simply connect the USB-C cable to the power source and then to your camera. Some cameras may also require a USB charging converter, so it is important to consult your camera's handbook or specifications to determine the correct cable or adapter.
It is also important to use a high-quality USB cable and a reliable power source to ensure safe and effective charging. While USB-C charging is convenient, it may not be the best option if you need to charge your camera quickly, as it is slower than using a specialised charger. Additionally, not all cameras accept USB-C charging, so be sure to verify that your camera supports this method before attempting to charge.
When charging your camera battery via USB-C, follow these steps:
- Connect the USB-C cable to the power source.
- Connect the other end of the USB-C cable to your camera.
- Turn on the power source, if necessary.
- Check the charging indicators on your camera or the power source to ensure charging has begun.
- Leave the camera to charge.
- Once charging is complete, disconnect the USB-C cable from your camera and power source.
By following these steps, you can confidently charge your camera battery via USB-C, ensuring you're always ready to capture the moment.
Samy's Camera: Tax-Free Shopping Experience
You may want to see also
Frequently asked questions
You can charge your camera battery with a wall plug if you don't have a battery charger. First, ensure that the power cord you decide to use is compatible with your camera. Then, install the battery in your camera and turn it off. Connect your USB cable to your camera and to your USB wall adapter, and plug it into the wall. The light will turn off once the battery is fully charged.
You can charge your camera battery with a power bank. First, check that your power bank has enough power to charge your camera. Then, install your camera battery in your camera and turn the camera off. Connect your USB cable to your camera and to the power bank. Depending on your camera, you may be able to observe the LCD window on the top part that shows a battery icon. It should take a couple of hours to charge your battery. Once the battery is charged, the green light will go out, and the battery icon on the top of the camera will show it is charged to full capacity.
You can charge your camera battery with a computer. First, insert the battery in your camera and have a memory card installed. Then, turn the camera off. Connect your USB cable to your camera and to a USB plug in your computer. There may be a light at the connection point that will light up while it’s charging. It may take about three hours to charge your battery. The light will turn off after the battery is fully charged.
Charging time will depend on the remaining capacity of the battery pack and the charging conditions. The charging time for a full charge is approximately 150 minutes using the AC Adaptor. However, this may differ depending on the conditions of use and the environment.
Do not expose the camera and battery to high temperatures or humidity for charging. Observe during use and stop charging immediately if you notice the battery overheating or any abnormalities. It is recommended to use the original charger for charging whenever possible to prolong battery life.