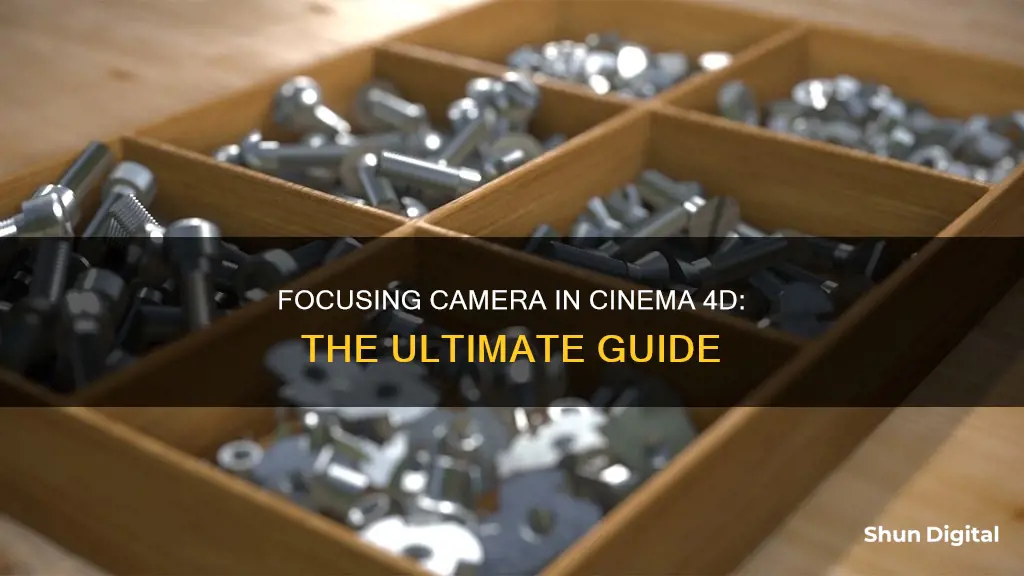
Learning how to focus a camera in Cinema 4D can be challenging, but there are several ways to do it. One way is to use the focus picker and camera parameters to shift the camera focus. Another way is to use other objects in the viewport to control the focus. Additionally, you can centre the camera on an object by selecting the object and hitting O for an overview, then using the coordinates and attributes to zero out the rotation and frame the object.
| Characteristics | Values |
|---|---|
| Focal length | Defines how wide or narrow the camera view is. Small focal length (10mm-15mm) is super wide, while a long focal length (100-200mm) is telephoto. |
| Camera position | Longer focal lengths require the camera to be farther away from the subject to fit it in the frame. Shorter focal lengths require the camera to be closer. |
| Dolly zoom effect | Animating a short focal length while simultaneously moving the camera closer to the subject. |
| F-Stop | Controls the size of the lens opening and the amount of light entering the camera. Lower F-Stops produce a shallower depth of field, while higher F-stops increase the depth of field. |
| Depth of field (DOF) | The range of the image that is in focus. Can be adjusted by using the Physical Renderer in Cinema 4D (except Lite and Prime versions). |
| Focus distance | Can be defined numerically or by selecting the object in the viewport that needs to be in focus. |
| Focus object | Dragging an object into the focus field to 'lock in' the focus, ensuring the object stays in focus regardless of camera movement. |
| Exposure | Can be enabled in the camera's Physical tab to adjust exposure using F-Stop values. Higher F-Stop values under-expose, while smaller F-Stop values over-expose the image. |
| Shutter speed | Controls the amount of motion blur in the image. Higher shutter speed reduces motion blur. |
| Camera movement | The camera can be moved by selecting it in the Object Manager or the viewport menu, and then using navigation tools to move, rotate, or zoom. |
| Camera rig | A simple camera rig involves using null objects to separate what the camera is pointed at and what it orbits around. This provides more control over the camera's movement and animation. |
| Camera path | A camera path can be created using splines, allowing the camera to follow a specific trajectory. |
What You'll Learn

Using the focus picker
The focus picker is one of the multiple ways of controlling camera focus in Cinema 4D. It allows you to shift the camera focus using the camera parameters.
To use the focus picker, create a Cinema 4D camera object by going to the Create menu and selecting Camera and then Camera. You can then find the focal length under the object properties in the Attribute Manager. A small focal length, such as 10mm-15mm, is considered super wide, while a long focal length, such as 100-200mm, is considered telephoto.
With longer lenses, you will need to position the camera farther away to fit the subject in the frame, and with shorter lenses, you will need to move the camera closer. You can also adjust the focus distance numerically or by selecting the object in the viewport you want to focus on by hitting the pick arrow icon.
However, if you start animating the camera, you will need to animate the focus distance to maintain the focus. This is where the Focus Object comes in, allowing you to 'lock in' your focus by dragging an object into the field. Using a Null object as your focus object gives you even more flexibility, as you can animate it and get visual feedback directly in the viewport as to where your focus is.
You can also add a shortcut to the focus picker. 3D Artist Lasse Clausen has shared a script that will allow users to set a hotkey for the focus picker. With the script, you can quickly pick and adjust the focus and see the updates live in the render view.
Achieving Flawless Skin Tone in Camera Raw
You may want to see also

Using the camera parameters
In Cinema 4D, you can control the focus of your camera by using the camera parameters. This can be done by going to the Render menu and editing the render settings. First, make sure that 'Physical' is selected from the drop-down menu. Then, under the Physical options, go to the Basic tab and enable Depth of Field.
To define the focus distance, go to the Object tag of the camera object. Here, you can enter the focus distance numerically or use the pick arrow icon to select the object in the viewport that you want to focus on.
If you want to maintain focus while animating your camera, you can use a Null object as your focus object. This will allow you to animate the camera and get visual feedback directly in the viewport as to where your focus is.
Additionally, you can enable depth of field in the Viewport and use the focus picker to shift the camera focus.
Car Mode: How Your Camera Adapts for Clearer Photos
You may want to see also

Using the Viewport
The viewport is an essential tool when working with cameras in Cinema 4D, as it allows you to control the camera's focus and depth of field. Here are some detailed instructions on using the viewport to achieve the desired results:
Enabling Depth of Field in the Viewport
To create a cinematic look with a shallow or deep depth of field, you need to enable depth of field in the viewport. This can be done by following these steps: Go to the Render menu, select Edit Render Settings, and choose Physical from the drop-down menu. Then, under the Physical Options tab, enable "Depth of Field". This will give you more control over the focus and blur effects in your scene.
Shifting Camera Focus
The viewport also allows you to shift the camera focus using the camera parameters and the focus picker. You can adjust the focus distance numerically under the Object tag of the camera object, or you can use the pick arrow icon to select the object in the viewport that you want to focus on. However, when animating the camera, these methods may become less practical, as you will need to animate the focus distance to maintain focus.
Using a Focus Object
To overcome the limitations of the previous methods, you can use a Focus Object. Simply drag an object, such as a Null object, into the focus field, and the camera will "lock in" on that object. This means that no matter where you move the camera, the focus will remain on the selected object. Using a Null object gives you even more flexibility, as you can animate it or leave it stationary, and you'll have visual feedback directly in the viewport regarding your focus point.
Controlling Depth of Field
The F-stop value in your camera settings controls the depth of field, or the range of what's focused and blurry, in your scene. Lower F-stop values result in a shallower depth of field, with more blur in the background and foreground, while higher F-stop values create a deeper depth of field with less blur. To achieve photorealism, use the Physical Renderer in any version of C4D except Lite and Prime. Additionally, creating your scenes at a real-world scale will yield more predictable results.
Charging the Kitmesh Camera: A Quick Guide
You may want to see also

Using a camera target tag
To start, create two new null objects and rename one 'Target' and the other 'Parent'. Select your camera and right-click to add a 'Target' tag. This tag will point the camera to the target object, so drop the 'Target' null into this field. Now, make the camera a child of the 'Parent' null. This means that when you move the parent, the camera will follow but stay aimed at the target. If you rotate the 'Parent' null, the camera will create clean arcs that orbit around the parent position. This setup gives you the freedom to animate the camera, target, and parent objects independently.
The advantage of this camera rig is that you can easily adjust the camera's position and orientation by animating the target and parent nulls. For example, if you want the camera to orbit around a specific object, you can simply move the target null to that object's position. Additionally, you can create smooth arcs by using B-Splines to draw the path for the parent null to follow.
Another benefit of this rig is that you can separate the timing of the camera move from the shape of the move itself. By using the 'Align to Spline' tag, you can control the camera's position along the spline path independently from the speed and timing of the move. This allows for more flexibility and easier adjustments to your camera animations.
Understanding Camera Raw: Unlocking the Luminance Power
You may want to see also

Using null objects
Null objects can be used to help separate out tasks when working with cameras in Cinema 4D. Here are some ways to use them:
Simple Camera Rig (2 Node)
This involves using two null objects to separate what the camera is pointed at and what the camera orbits around. First, add two new null objects and rename one "Target" and the other "Parent". Then, select your camera and right-click to add a "Target" tag. Drop the "Target" null into the target object tag, and the camera should now point to it. Next, make the camera a child of the "Parent" null. Now, when you move the parent, the camera will follow but stay aimed at the "Target" null. You can also rotate the "Parent" null to create clean arcs that orbit around the parent position. This setup gives you the freedom to animate the camera object itself after animating the target and parent nulls.
Aligning Null to the Center of Camera View
To align a null to the center of the camera view, first select the camera. Then, shift-click "Add Null Object". The null will be generated in the same position as the camera. Next, drag the null forward in Z, and it will be perfectly centered in the camera view. Alternatively, you can select the null, go to "Tools > Axis > View Center", and it will place the object in the center of the viewport, which is also the center of the camera's view when the camera is active.
Simple Camera Rig (Splines)
This rig uses splines to draw out the path the camera will follow. First, draw out a path using the pen tool. Then, add a "Cinema 4D Align to Spline" tag to your camera and drop your spline object into the spline path. Now, all you need to do is animate the "Position" property of the tag to make the camera move along the spline. If you want smooth arcs, draw your path using B-Splines, which will smooth out as much as possible between two points. Additionally, if you don't have a target tag on your camera, you can make the camera look down the path by hitting the "Tangential" button on the "Align to Spline" tag.
Extend Trail Camera Battery Life with These Tips
You may want to see also
Frequently asked questions
Select the object in the viewport or inspector and press "O" for Overview. This will frame the object in your active camera. Then, use the coordinates/attributes to zero out your rotation and frame your object.
There are multiple ways to control camera focus in Cinema 4D. One way is to enable depth of field in the Viewport and shift the camera focus using the camera parameters and the focus picker. You can also control the focus using other objects in the viewport.
Create a couple of null objects to separate what the camera is pointed at and what it orbits around. Add a "Target" tag to your camera, which will point the camera to the "Target" null object. Make the camera a child of the "Parent" null object. Now, when you move the parent, the camera will follow but stay aimed at the target.


