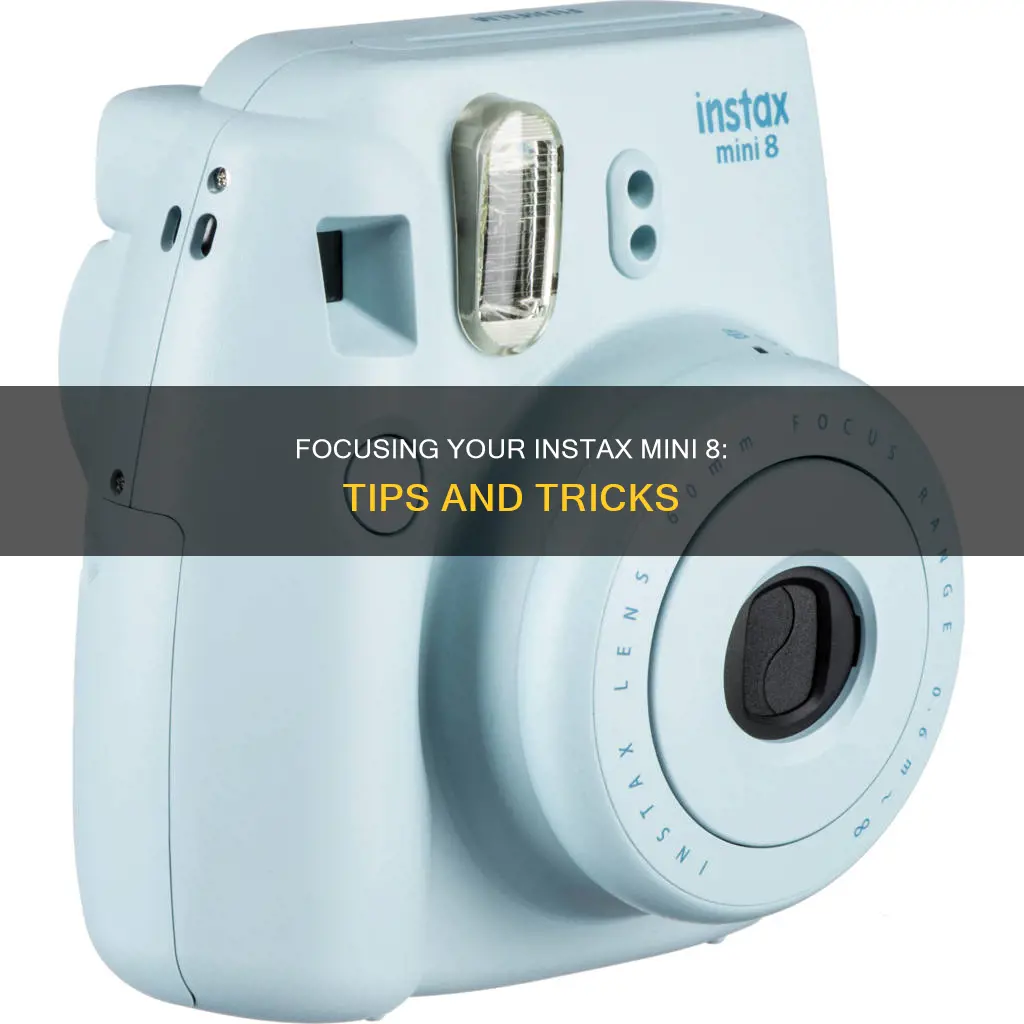
The Fujifilm Instax Mini 8 is a stylish and user-friendly instant camera that is perfect for beginners. It is a basic, easy-to-use, point-and-shoot camera that develops photos instantly, just like the classic Polaroid cameras. The Instax Mini 8 has a few key features that users should be aware of to ensure they get the best results when taking pictures. These include understanding the flash settings, the camera's lens and shooting distance, and how to adjust the exposure. Additionally, it is important to give the film enough time to process and dry, and to experiment with different angles and lighting conditions to improve your instant photography skills.
| Characteristics | Values |
|---|---|
| Film Type | Instax Mini |
| Batteries | 2 x AA |
| Battery Compartment Location | Side of the camera |
| Battery Life | 100 pictures |
| Film Loading | Open the back of the camera, align the yellow marks on the camera and cartridge, close the flap |
| Turning On | Press the power button beside the lens |
| Flash | Always fires |
| Lens | 60mm wide angle, fixed focus range of 0.6m to infinity |
| Exposure Settings | Manual slider, 5 settings |
| Shutter Speed | 1/60 seconds |
| Viewfinder | Top right of the camera |
| Self-timer | Yes |
| Selfie Attachment | Mini 9 only |
| Film Development Time | 90 seconds |
What You'll Learn

Inserting batteries
To insert batteries into your Fujifilm Instax Mini 8, follow these steps:
Firstly, locate the battery compartment of your Instax camera. The battery slot is on the side of the camera. Slide the battery cover down to open it. You will need to insert two AA batteries. These should be alkaline AA batteries. The camera may come with batteries included, in a separate package. If not, any AA batteries will do.
Before inserting the batteries, check that they are not too cold. Cold batteries may affect the camera's performance. If they are cold, warm them up with your hands before putting them into the camera.
Once the batteries are inserted, replace the battery cover.
A fresh set of batteries should allow you to take approximately 100 pictures. Remember to remove the batteries if you are not planning on using the camera for a few weeks.
Now that you have inserted the batteries, you can press the power button to turn the camera on and start shooting!
Charging 12V Camera Batteries: A Step-by-Step Guide
You may want to see also

Turning the camera on
To turn on the Fujifilm Instax Mini 8, start by loading the camera with two fresh AA batteries. Ideally, these should be of the same brand and unused—rechargeable batteries may not be powerful enough to fully charge the flash.
Once the batteries are loaded, press the power button located beside the lens. This will cause the lens to pop out, and you may hear a faint high-pitched noise. A red light will appear by the viewfinder as the camera warms up. Once the camera is ready, an orange light will appear on one of the exposure settings on the upper portion of the lens.
If the camera fails to turn on, try inserting the batteries the other way round. This has been a solution for many users. Alternatively, try warming the batteries up in your hands before inserting them—cold batteries may affect the camera's performance.
Camera Tickets: Valid in Florida?
You may want to see also

Loading the film
Loading film into the Instax Mini 8 is a straightforward process, but it can be intimidating if you're not used to film cameras. Here is a detailed, step-by-step guide on how to load film into your Instax Mini 8:
Step 1: Load the batteries
Before loading the film, ensure your camera has a fresh pair of AA batteries, preferably of the same brand. Rechargeable batteries are an option, but they may not be powerful enough to fully charge the flash. The battery compartment is located on the left-hand side of the camera body. To open the battery compartment, push down on the door until it slides open. Place the batteries inside and slide the door back into place.
Step 2: Open the film pack
Open your Instax Mini film pack, being careful to hold it by the edges at all times. Do not touch or press down on the areas of the cartridge featuring a finger with a line through it, as you may damage the film. Avoid opening the film in very cold, hot, humid, or well-lit places, as this could damage the film.
Step 3: Place the film inside the film compartment
To open the film compartment, press down on the latch, and the door will pop open. Gently place the film inside, ensuring the yellow markers on the film and the camera body are aligned. Close the film door and do not open it again until all ten slides of the film have been used.
Step 4: Turn the camera on
Turn on the camera by pressing the button located directly beside the lens. The lens will pop out of the camera body, and one of the brightness settings will light up on the brightness adjustment dial after a few seconds.
Step 5: Eject the black slide
Press the shutter button to eject the black slide covering the film. The shutter button is found on the grip of the camera below the viewfinder. Gently pull the slide out of the film ejection slot and dispose of it. The film counter will now show that the camera is ready to use, with the number changing from 'S' to '10'.
And that's it! You're now ready to start taking pictures with your Instax Mini 8. Remember to keep your camera away from direct sunlight, as this can damage your film.
Focus Camera's Grey Market Sales: What You Need to Know
You may want to see also

Adjusting brightness
Adjusting the brightness on your Fujifilm Instax Mini 8 is simple. First, you need to point the lens at the centre of your subject to determine the brightness. The camera will then suggest a brightness setting.
The brightness of the picture depends on how wide the camera's aperture opening is. The larger the opening, the more light it lets in. Aperture is measured by f-numbers; the smaller the number, the larger the opening.
The Instax Mini 8 has five brightness settings:
- Hi-Key – the brightest setting, which makes your photo softer and brighter
- Indoors, Night – the second brightest setting, with an aperture of f/12.7
- Cloudy, Shade – the third brightest setting, with an aperture of f/16
- Sunny, Slightly Cloudy – the fourth brightest setting, with an aperture of f/22
- Sunny and Bright – the fifth brightest setting, with an aperture of f/32
You can choose to follow the camera's suggested setting, or you can manually adjust the brightness yourself. To do this, turn the dial on the lens until the dot aligns with the lamp that corresponds to your chosen setting.
If you're shooting outdoors on a very bright day, the camera will suggest the lowest brightness setting. If you want a brighter photo, you can "trick" the camera by choosing the sun or cloud icon.
On the other hand, if the camera suggests the cloudy setting but you want a darker photo, choose the sun icon for a more dramatic effect.
Simplisafe Cameras: Battery-Powered or Direct Plug-in?
You may want to see also

Taking the photo
The Fujifilm Instax Mini 8 is a stylish, user-friendly instant camera, perfect for beginners. Here is a detailed, step-by-step guide on how to take a photo with this camera:
Turning the Camera On
First, press the power button located beside the lens to turn the camera on. This will cause the lens to pop out. The camera is now ready to be used.
Determining Brightness
Point the lens at the centre of your subject to determine the correct brightness setting. The camera will automatically choose the best setting for your chosen subject or lighting situation. The Instax Mini 8 has five brightness settings:
- Hi-Key – brightest setting; creates a softer, brighter impression
- Indoors, Night – second brightest setting; aperture of f/12.7
- Cloudy, Shade – third brightest setting; aperture of f/16
- Sunny, Slightly Cloudy – fourth brightest setting; aperture of f/22
- Sunny and Bright – fifth brightest setting; aperture of f/32
Turn the dial on the lens until the dot aligns with the lamp that corresponds to the suggested setting. The camera will indicate the chosen setting by lighting up the corresponding lamp.
Look through the viewfinder and point the camera at your subject. It is important to note that the viewfinder is not aligned with the lens, so you must shift the camera slightly to the right for close-up pictures. When you are ready, press the shutter button to take the photo.
Developing the Photo
Wait for the film to eject itself from the camera's film slot. Remove the ejected film from the camera, being careful to only hold it by the edges. Place the film on a flat surface and wait for it to develop. Do not shake the film.
Additional Tips
- The Instax Mini 8 has a built-in flash that fires with every photo. This cannot be turned off, so be careful not to take photos of windows or other reflective surfaces.
- The recommended shooting distance for this camera is 3 to 20 feet. The flash effective range is up to 9 feet, so photos taken indoors of objects that are farther away will be dark.
- The Instax Mini 8 has a fixed shutter speed of 1/60 seconds. The camera recommends a brightness setting, but you can manually adjust this according to your desired outcome.
- The Instax Mini 8 is a point-and-shoot camera, so you won't have much control over the outcome. Experiment with different compositions, angles, and vantage points to improve your photos.
- The Instax Mini film is very stable, so you don't need to worry about protecting it from sunlight or flapping it to dry.
Understanding Camera Raw's Native Resolution
You may want to see also
Frequently asked questions
Press the power button beside the lens to turn the camera on.
First, open the back of the camera and pull out any empty film cartridge inside. Then, unwrap a new film cartridge and place it inside the camera, ensuring the yellow marks on the camera and the cartridge are aligned. Close the back flap and you're ready to start taking photos.
The flash on the Fujifilm Instax Mini 8 always fires and cannot be turned off. When taking photos indoors, avoid shooting windows or other reflective surfaces as this will harm the photo's quality.
The manufacturer recommends a shooting distance of 3 feet and up. However, objects that are more than 20 feet from the camera will not be in focus. Therefore, the practical recommended shooting distance is 3-20 feet.
The camera will recommend a suitable setting by lighting up the corresponding lamp. You can adjust the brightness adjustment dial to the position of the lit lamp.


