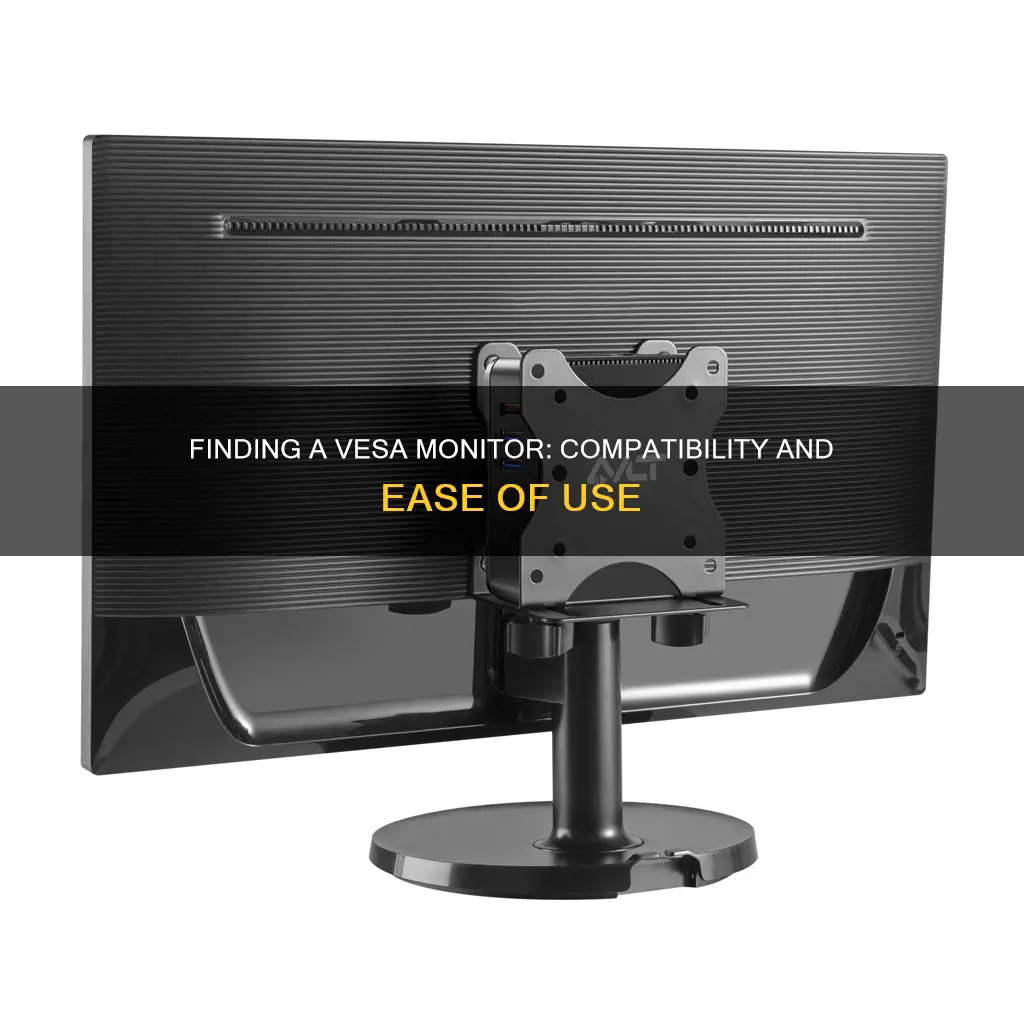
If you're looking to mount your monitor, you'll need to find out if it's VESA-compatible. VESA stands for the Video Electronics Standards Association, which is an organisation that has created technical standards for computer displays and monitors. To find out if your monitor is VESA-compatible, you can either consult the specification sheet or look at the back of the monitor for four screw holes. If your monitor is VESA-compatible, you can then find a mount that fits your VESA size.
| Characteristics | Values |
|---|---|
| Number of holes | 4 |
| Hole pattern | 75x75mm, 100x100mm, 200x100mm, 200x200mm, 400x400mm, 600x400mm, 300x300mm |
| Hole measurement | Measure the horizontal and vertical distance between the holes |
| Monitor weight | Up to 14kg, up to 23kg, or larger than 23kg |
| Monitor size | 12"-32" diagonal, or larger than 32" |
What You'll Learn

Check the back of your monitor for four screw holes
To determine if your monitor is VESA-compatible, the simplest method is to check the back of your monitor for four screw holes. The VESA mounting is usually in the middle of the back of the monitor, and the base column of the screen is often fixed at the VESA mounting. The four holes are typically drilled directly into the steel frame of the monitor.
If your monitor has an attached stand or rear panel, you may need to remove it to reveal the screw holes. You can refer to your monitor's user manual for instructions on how to do this. Once you have removed any obstructions, you should be able to see the four-hole screw pattern if your monitor is VESA-compatible.
The most common patterns for the screw holes are 75 x 75 mm, 100 x 100 mm, and 200 x 100 mm for larger monitors. If you are unable to find four screw holes on the back of your monitor, it is likely that your monitor is not VESA-compatible and will require an adapter to be mounted.
It is important to note that some monitors may have screw holes that are not compatible with VESA mounts, so it is recommended to refer to your monitor's user guide or contact the manufacturer directly to confirm VESA compatibility.
Destroying an LCD Monitor: Step-by-Step Guide
You may want to see also

Measure the distance between the holes
To measure the distance between the holes of a VESA-compatible monitor, you'll first need to locate the four threaded holes on the back of the monitor. These holes are usually drilled directly into the steel frame of the monitor and are located in the middle of the unit's backside.
Once you've found the holes, grab a measuring tape and measure the horizontal and vertical distances between the centres of the holes. That is, measure the distance between the centres of the left and right holes, and then the distance between the centres of the top and bottom holes. These measurements should be taken in millimetres, but if you're measuring in inches, be sure to convert to millimetres (1 inch = 25.4 mm).
For example, if the distance between the mounting holes is 400mm horizontally and 200mm vertically, the VESA size is 400 x 200mm. This measurement is important to ensure you purchase a compatible mount for your monitor.
It's worth noting that some monitors may have hidden holes, especially if they come with their own stands or mounts. In such cases, refer to the user manual for instructions on how to remove the attached mount or rear panel to access the holes.
Monitors for Graphic Design: Choosing the Perfect Display
You may want to see also

Check the user manual or manufacturer's website for VESA standard size
When it comes to finding a VESA monitor, one of the most straightforward methods is to refer to the user manual or the manufacturer's website. Here are some detailed instructions to guide you through the process:
Start by locating the user manual for your monitor. It may be included in the box or provided as a digital copy when you purchase the monitor. If you don't have physical access to the manual, try searching for it online. Most manufacturers make their product manuals available on their websites.
Once you have the user manual, thoroughly examine it for any mention of "VESA," "mounting," or "mounting specifications." These terms often indicate whether the monitor is VESA-compatible and, if so, provide the specific VESA standard size. The VESA standard size is typically represented by two numbers, such as "75x75" or "100x100", indicating the horizontal and vertical distances between the mounting holes.
In case you're unable to find the user manual or if it doesn't specify the VESA standard, your next step is to visit the manufacturer's website. Look for a support or product specifications section on the site. Here, you can search for your specific monitor model and navigate to its dedicated product page. The product page should provide detailed information about the monitor, including its VESA compatibility and standard size, if applicable.
Some manufacturers may even provide a list of compatible mounts or adapters, making it easier for you to find the right mounting solution for your monitor. It's worth noting that VESA standards are typically associated with specific screw-hole patterns, so knowing the standard size will help ensure compatibility with mounts or adapters.
If you're unable to find the information you need on the manufacturer's website, you can try contacting their customer support team directly. They should be able to provide you with the VESA standard size or any other relevant mounting information for your specific monitor model.
By following these steps and referring to the user manual or manufacturer's website, you can easily determine the VESA standard size for your monitor and make an informed decision when choosing a compatible mount or adapter.
Recognizing Monitor Brands: A Step-by-Step Guide to Identification
You may want to see also

Use an adapter if your monitor is not VESA-compatible
If your monitor is not VESA-compatible, you can still mount it using an adapter kit. This is a good option if your screen was manufactured before the VESA standard was introduced, or if you have had the system for a long time.
VESA adapter kits are readily available and generally easy to use. Some adapters, like those provided for Apple computers, act as an aftermarket VESA plate and screw onto the back of the monitor, allowing you to then attach a mount or monitor stand as usual. Other adapters essentially clamp onto your monitor so that you don't need to screw anything directly into it.
When choosing an adapter kit, it's important to select one that is an exact fit for your monitor. Note down the measurements and weight of your monitor, and check that the specifications of the adapter kit match. If in doubt, get in touch with the brand to find the product that matches your requirements.
Once you have your adapter kit, you'll need a screwdriver and a wrench to attach it to your monitor. First, remove the base of your monitor, then attach the VESA adapter to the VESA monitor arm stand. Finally, attach your monitor to the converted monitor arm.
Troubleshooting TCP Port Monitor 1801 Unavailability
You may want to see also

Choose the right mount for your monitor
Choosing the right mount for your monitor is a crucial step to ensure a secure and efficient setup. Here are some detailed instructions to help you select the appropriate mount:
Determine the VESA Standard:
Start by identifying the VESA standard of your monitor. Look for threaded holes on the back of your monitor, typically found in the middle where the base column is fixed. Measure the horizontal and vertical distances between the centres of these holes. This measurement, usually in millimetres, will determine your VESA standard. Common VESA standards include VESA MIS-D (75x75 mm or 100x100 mm), VESA MIS-E (200x100 mm), and VESA MIS-F (200x200 mm or larger).
Consider Screen Size and Weight:
Ensure that the mount you choose can support the size and weight of your monitor. This is crucial for the stability and safety of your setup.
Mounting Pattern:
Match the VESA pattern on your monitor with the mount. The VESA pattern refers to the arrangement of the four mounting holes on the back of your monitor. It is important that the mount you choose accommodates this pattern.
Adjustability:
Decide on the level of adjustability you require. Mounts can be fixed, tilting, or offer full-motion adjustability. Consider whether you need to adjust the height, tilt, swivel, or rotation of your monitor for optimal viewing angles.
Installation Location:
Think about where you want to install your monitor. Will it be on a wall, ceiling, floor, or desk? Check the carrying capacity of the wall and the electrical cable layout. Also, consider the wall material and the desired viewing angle.
Desk Space and Setup:
If you're installing your monitor on a desk, determine the available desk space and choose between a clamp, grommet, or freestanding mount. Consider whether you need a single or multi-monitor setup.
Cable Management:
Look for mounts with integrated cable management systems to keep your workspace tidy and organised.
Colour and Aesthetics:
If parts of the mount will be visible, consider choosing a colour that fits with your interior design.
By following these steps and considering your specific requirements, you can select the right mount for your monitor, ensuring a secure, functional, and aesthetically pleasing setup.
Monitoring Data Usage on Xbox One: What You Need to Know
You may want to see also
Frequently asked questions
If your monitor is VESA-compatible, it will have four screw holes on the back. The most common pattern for the screw holes is either 75 x 75 mm or 100 x 100 mm, while larger monitors will be 200 x 100 mm. You can also check the monitor's user guide, which should provide information on VESA compatibility.
You can either look at the back of your monitor for the threaded holes, or you can refer to the data sheet of your monitor. Alternatively, you can enter the model number of your monitor on the manufacturer's website to find the information you need.
Once you've determined the VESA standard of your monitor, you can choose a compatible mount. Pay attention to the screen size and weight ratings of the mount to avoid potential damage to your monitor.


