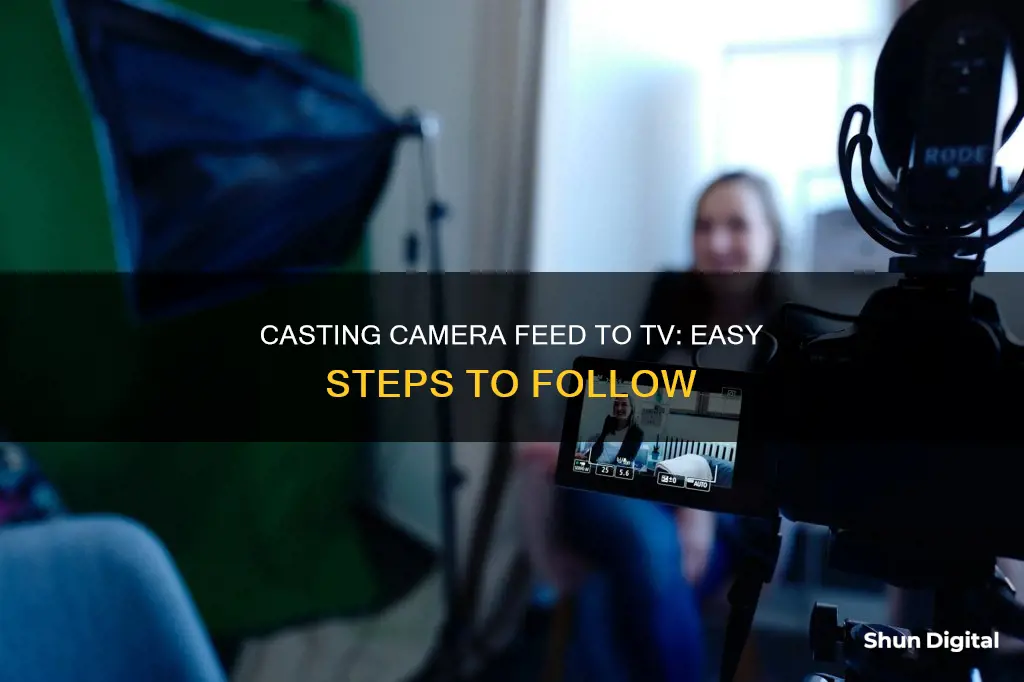
There are several ways to cast a camera feed to a TV, and the best method for you will depend on the type of camera and TV you have. If you're using a wireless security camera, you can connect it to your TV by linking it to the same Wi-Fi network and using a streaming device such as a Chromecast or Amazon Firestick. For other types of cameras, you can use an HDMI or RCA cable to connect to the TV, or use screen mirroring or casting from a phone or tablet.
| Characteristics | Values |
|---|---|
| Camera Type | Security Camera, Photographic Camera, Wireless Camera, Wi-Fi Camera, Phone Camera |
| Connection Type | Wireless, Cable, HDMI, USB, RCA, Composite, SD Card |
| Devices | Google Chromecast, Smart TV, Computer Monitor, Google Home, Google Assistant, Google Nest, CCTV Multiplexer, Google Chromecast with Google TV, Amazon Fire Stick |
| Steps | Connect camera and TV to the same Wi-Fi network, use screen mirroring or casting, insert SD card, download camera app, use voice commands |
What You'll Learn

How to cast a wireless camera feed to a TV
There are several ways to cast a wireless camera feed to a TV. Here is a step-by-step guide:
Check Compatibility:
First, ensure that your wireless camera and TV are compatible. Different cameras require different methods for connecting to TVs due to their unique technical features. Check if your camera supports wireless connectivity, such as Wi-Fi or Bluetooth, and ensure your TV has the necessary input ports, such as HDMI.
Use a Compatible Display:
Connect your camera to a smart display that works with your camera's ecosystem. For example, if your camera works with Amazon Alexa or Google Assistant, you can use devices like the Amazon Echo Show or Google Nest Hub. Check your camera's mobile app or the smart hub's app to link your camera to the display.
Set Up Your Camera:
Follow the instructions provided by your camera manufacturer to set up your wireless camera. This may involve downloading a mobile app or connecting the camera to a power source and your Wi-Fi network.
Connect to the Same Network:
Ensure that your wireless camera and smart display are connected to the same Wi-Fi network. This is necessary for seamless casting and streaming of your camera feed.
Use Voice Commands or Apps:
Depending on your setup, you can use voice commands or apps to stream your camera feed to your TV. For example, with Google Nest, you can say, "Ok Google, show [camera name]" or use the Google Home app to cast your screen to the TV. Similarly, with Amazon Alexa, you can say, "Alexa, show [camera name/location]."
Use Streaming Devices:
If you have a streaming device like a Google Chromecast, Apple TV, or Amazon Fire TV, you can connect it to your TV and use it to view your camera feed. Follow the instructions for your specific device to set it up and connect it to your camera.
Screen Mirroring:
If your wireless camera feed is accessible on your smartphone or tablet, you can use screen mirroring to cast it to your TV. For iOS devices, use AirPlay to mirror your screen to an Apple TV or compatible smart TV. For Android devices, you can use apps like Apower Mirror or Google Home to cast your screen.
Use a Converter or Decoder:
If your camera uses a different output format or resolution than your TV, you may need a converter or decoder. For example, if your camera has a mini-HDMI connection, you'll need an HDMI adapter to connect to a TV with standard HDMI ports.
Remember to refer to your camera and TV user manuals for specific instructions and compatibility information. Additionally, ensure that your camera and TV are powered on and connected to the same Wi-Fi network throughout the setup process.
Is the OLED65C8P TV Watching You?
You may want to see also

How to cast a phone camera feed to a TV
There are several ways to cast your phone camera feed to a TV, and the method you choose will depend on the type of phone and TV you have. Here is a step-by-step guide on how to do it:
Using Chromecast:
If you have a Chromecast dongle or a smart TV with built-in Chromecast support, you can cast your phone camera feed to your TV. First, make sure that your phone and Chromecast device are connected to the same Wi-Fi network. Then, follow these steps:
- Open the Google Home app on your phone.
- Find and select the Chromecast device you want to cast to.
- Tap the "Cast my screen" or "Cast screen" button.
- Open your phone's camera app.
- You should now be able to see your phone camera feed on your TV.
Using a Cable:
If you don't have a Chromecast device, you can use an HDMI cable and adapter to connect your phone to your TV. The specific adapter you need will depend on the type of port your phone has. Here are the options:
- USB-C to HDMI adapter: If your phone has a USB-C port, you can use this adapter to connect to an HDMI cable, and then plug the other end of the cable into your TV. Your phone will need to support HDMI Alt Mode.
- Micro USB to HDMI adapter: If your phone has a Micro USB port, you will need this adapter to connect to an HDMI cable and then to your TV. Your phone will need to support a protocol called MHL.
Using Screen Mirroring:
Screen mirroring is another option to cast your phone camera feed to your TV. This method works with both Android and iOS devices. Here are the steps:
- Make sure your phone and TV are connected to the same Wi-Fi network.
- For Android devices, open the Google Home app and select the TV you want to mirror to. Then, tap "Cast my screen" or "Cast screen". For iOS devices, open the Control Center and tap the "Screen Mirroring" option.
- Select the TV you want to mirror to.
- Open your phone's camera app.
- Your phone screen, including the camera feed, should now be mirrored on your TV.
It's important to note that while screen mirroring is simple and widely supported, it may not optimize the content for your TV screen, and it may drain your phone's battery.
Exploring F1 Onboard Cameras: A Spectator's Guide
You may want to see also

How to connect a camera to a TV using HDMI
There are several ways to connect your camera to your TV, and one of the most popular methods is by using an HDMI cable. Here is a step-by-step guide on how to connect your camera to a TV using HDMI:
Step 1: Gather the necessary equipment
You will need an HDMI cable and an HDMI adapter. Most cameras have a Micro HDMI port, so you will need an adapter that connects your camera to the HDMI cable.
Step 2: Connect the camera and the HDMI cable
Plug the Micro HDMI to HDMI adapter into your camera. Then, connect the adapter to the longer HDMI cable. Ensure that the cable is securely attached to the camera and the adapter.
Step 3: Connect the HDMI cable to the TV
Take the other end of the HDMI cable and plug it into an HDMI port on your TV. Again, make sure the connection is secure.
Step 4: Power on both devices
Turn on your TV and then turn on your camera. Ensure that both devices are properly powered and functioning.
Step 5: Select the correct HDMI source input on your TV
Use your TV remote to select the correct HDMI source input. Press the "Input" or "Source" button on the remote and choose the corresponding HDMI port you connected the cable to.
Step 6: Access the camera's playback menu
On your camera, navigate to the playback menu. This may be labelled as "Play", "Playback", or "Player", depending on your camera brand and model. From here, you will be able to view and play back your videos and images on your TV.
Using an HDMI cable to connect your camera to your TV offers several advantages. It provides a stable signal and can transfer more data than a USB cable, allowing you to view all metadata, including histogram, exposure, shutter speed, ISO, date, time, and white balance. Additionally, it is widely compatible with most cameras and TVs, making it a convenient and reliable option for connecting your camera to your TV.
Vine Camera: Reliving the Vines
You may want to see also

How to connect a camera to a TV using USB
There are a few ways to connect a camera to a TV, and the most suitable method will depend on the type of camera and the TV model. Here is a step-by-step guide on how to connect a camera to a TV using a USB cable:
First, ensure that your camera is compatible with your TV. Most modern smart TVs have USB ports that allow users to connect USB devices. Check your TV for a USB input jack, and also ensure that your camera has a USB output. If your camera doesn't have a USB output, you may need to use an adapter or another type of connection, such as HDMI.
Once you have confirmed that your camera and TV are compatible, follow these steps:
- Connect a USB cable to the USB jack on your camera.
- Connect the other end of the USB cable to the USB input jack on your TV.
- Turn on your camera and put it into playback mode.
- On your TV, select the USB input source to receive the signal from the camera. You can do this by pressing the 'Source' or 'Input' button on your TV remote and then cycling through the input sources until you see the camera's picture on your TV screen.
If you are having trouble viewing the images from your camera, consult your TV's instruction manual or contact the manufacturer for additional information about USB input signal compatibility.
It is important to note that while this guide provides general steps, specific instructions may vary depending on the make and model of your camera and TV. Always refer to the manufacturer's instructions for the most accurate and safe guidance.
Building a Pinhole Camera to View an Eclipse
You may want to see also

How to cast a camera feed to a TV using a streaming device
Streaming a camera feed to your TV using a streaming device is a straightforward process. Here's a step-by-step guide to help you get started:
Step 1: Choose the Right Streaming Device
First, you need to select a streaming device that is compatible with your TV and camera. Popular options include Google Chromecast, Amazon Fire TV, Apple TV, and Samsung Smart TV. Make sure your camera is also compatible with the streaming device.
Step 2: Set Up Your Camera
If you're using a Nest camera, follow the instructions provided in the box and the app. For other compatible cameras, refer to the device maker's instructions. Ensure that your camera is set up correctly and connected to the same Wi-Fi network as your streaming device and TV.
Step 3: Connect Your Streaming Device
Connect your chosen streaming device to your TV and set it up according to the manufacturer's instructions. Make sure the streaming device is also connected to the same Wi-Fi network as your camera.
Step 4: Link Your Camera to the Streaming Device
The process for linking your camera will vary depending on the devices you're using. If you're using a Google Home or Google Assistant-compatible device, you may need to add your camera to the Google Home app. For other devices, such as Amazon Alexa or Apple Home, you may need to link your camera through their respective apps. Refer to the manufacturer's instructions for detailed steps.
Step 5: Stream Your Camera Feed
Once your camera and streaming device are linked, you can start streaming your camera feed to your TV. This can often be done using voice commands. For example, with Google Assistant, you can say, "OK, Google" or "Hey, Google," followed by "Show [camera name] on [TV or streaming device name]." For other devices, you may need to use a similar voice command or access a menu option on your remote control or TV interface.
Additional Tips:
- If you're using an older TV that doesn't have HDMI or USB ports, you can try using an RCA cable for the connection.
- For wireless cameras, you may need to connect them to a network video recorder, and then plug the recorder into your TV using an HDMI cable.
- Some cameras may require additional adapters or cables, such as an HDMI adapter or a USB-C to HDMI cable.
- Always refer to the manufacturer's instructions and compatibility information to ensure a smooth setup process.
Exploring Global Camera Feeds: A Step-by-Step Guide
You may want to see also
Frequently asked questions
You can use an HDMI cable to connect your camera to your TV. Look for the HDMI output port on the camera, and if it has a mini-HDMI connection, you will need an HDMI adapter. Then, plug the other end of the cable into the HDMI input on your TV and turn on both devices.
Yes, most cameras come with a USB cable that can be used for this purpose. Plug the USB connector into your TV and the Micro-B connector into your camera, then turn on both devices.
If you have an older TV without HDMI or USB ports, you can try using an RCA cable. Match the colours of the cable to the receiving ports on the TV and connect the other end to your camera.
If you are using an Android phone, go to the Notification area, pull down the config shortcuts, and select "Cast Screen". Then, open your camera app. For iPhones, you can use AirPlay if you have Apple TV or a smart TV that supports AirPlay 2. Open the control centre, tap on "Screen Mirroring", and select your device.
Yes, first, connect your WiFi camera and TV to the same WiFi network. Then, install the app for your camera on your TV and open it to select the camera you want to stream. You may need to adjust the settings to get the best picture quality.


