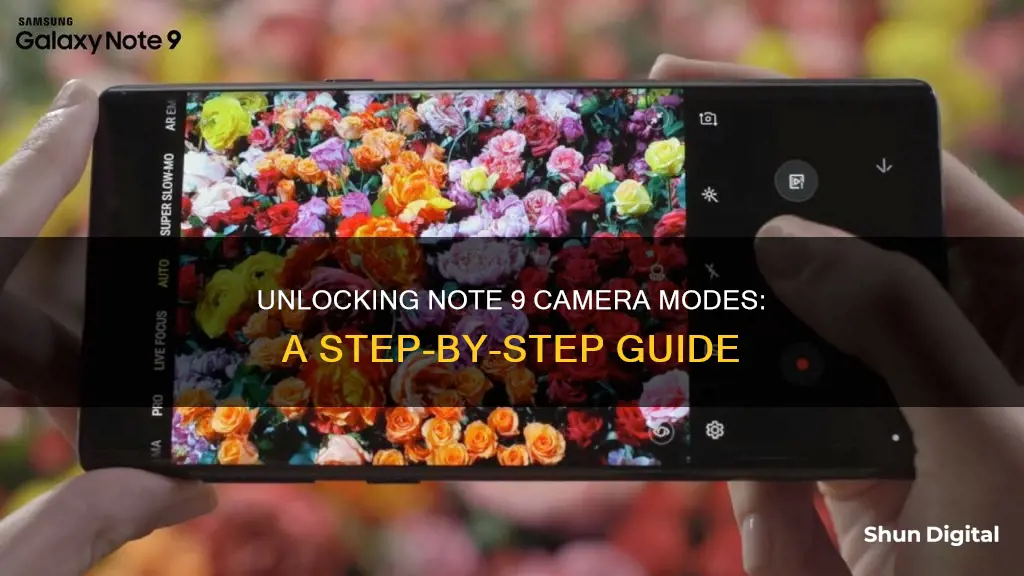
The Samsung Galaxy Note 9 has one of the best smartphone camera setups on the market. It offers a range of camera modes to help you capture unforgettable moments. The available modes will depend on your device and operating system, but you can swap between them by dragging or swiping left and right on the camera screen. On some devices, you can download additional modes from the Galaxy Store. Here's a guide on how to activate some of the camera modes on the Note 9.
What You'll Learn
![]()
Activating the Slow-Motion mode
The Samsung Galaxy Note 9 has a Super Slow-mo mode that allows you to record events and actions happening quickly so you can see them in slow motion later. This feature is great for capturing special moments or funny reactions. When you play the video back, any part recorded in super slow motion will automatically play slower.
To activate the Slow-motion mode on your Note 9, first, open the camera app. Then, swipe to switch to the Super Slow-mo mode. You can also go into the camera settings and scroll down to find "Edit camera modes". From there, you can enable and reposition the Slow-motion mode to change how it shows up in the camera app.
Here's a step-by-step guide to enabling the regular Slow-motion mode on your Note 9:
- Open the camera app, then go into the camera settings by tapping the gear icon at the bottom left.
- Scroll down to the "Common" section and tap the "Edit camera modes" option.
- Tap "Rear camera".
- Scroll down to find the "Slow motion" option and tap it to enable it. You can also reposition the mode by tapping and holding the arrow icon next to it, then dragging it to the desired position.
Now, you can access the standard Slow-motion mode in the camera app, in addition to Super Slow-mo.
Note: Remember to use this feature in a well-lit place as the Super Slow-mo mode is not suitable for scenes with poor lighting.
Dispose of Your Camera's Lithium Battery the Right Way
You may want to see also
![]()
Using the Hyperlapse mode
Hyperlapse is a feature on the Samsung Galaxy Note 9 that allows you to create your own time-lapse video. It records at various frame rates that automatically adjust depending on the scene and movement of your phone. This mode is only available when using the back camera and is only available on specific devices.
To set up Hyperlapse mode, follow these steps:
- From the home screen, choose Apps or swipe up to access your apps.
- Depending on your device, choose MODE or swipe across the screen to select Hyperlapse mode.
- Tap the record button to start recording your time-lapse video.
You can adjust the speed of the Hyperlapse video by following these steps:
- From the home screen, choose Apps or swipe up to access your apps.
- Depending on your device, choose MODE or swipe across the screen to select Hyperlapse mode.
- Tap the Hyperlapse speed icon. On some devices, you may need to tap the arrow icon before choosing the Hyperlapse speed icon.
- Choose the desired speed for your time-lapse video.
- Tap the record button to start recording.
- To view the captured Hyperlapse video, select the preview thumbnail.
You can also enable or disable a timer for your Hyperlapse videos. Here's how:
- From the home screen, choose Apps or swipe up to access your apps.
- Depending on your device, choose MODE or swipe across the screen to select Hyperlapse mode.
- Tap the settings cog or the arrow icon to access the timer settings.
- Tap Timer or the timer icon, depending on your device.
- Choose the duration for your timer.
- Tap the back icon to exit the settings. Your chosen timer will now be displayed on the screen.
It's worth noting that some users have reported issues with exposure fluctuations, especially during sunsets. While there doesn't seem to be a native way to lock the exposure, you can try using third-party apps like Framelapse Pro, which offers this feature.
Charging BP-511A Camera Batteries: Picking the Right Charger
You may want to see also
![]()
Using the AR Emoji mode
The AR Emoji mode on the Samsung Galaxy Note 9 allows you to create a digital cartoon version of yourself and then animate it using the phone's camera. This feature is similar to Apple's Animoji but focuses more on a personalized experience. Here's a step-by-step guide on how to use the AR Emoji mode:
Step 1: Launch the Camera Application
Open the camera app on your Samsung Galaxy Note 9. Ensure that you switch to the front-facing camera by tapping the camera switch icon.
Step 2: Access the AR Emoji Option
Once you're on the front camera, you'll see various options at the top of the screen. Tap or swipe to select the AR Emoji mode.
Step 3: Prepare for the Face Scan
At the bottom of the screen, tap the face symbol, then select the "Create my Emoji" option. Position your head so that it is centred in the on-screen circle or viewfinder. The app will provide instructions, such as removing glasses or hair that may be blocking your face, and smiling with closed lips.
Step 4: Take a Selfie
Snap a photo of yourself by tapping the shutter button. This photo will be used to create your digital cartoon avatar.
Step 5: Select Your Gender
After taking the photo, the app will ask you to choose between male and female options. This selection is important for determining the default clothing and hairstyle choices for your avatar. Tap "Next" to continue.
Step 6: Customize Your Avatar
The software will now create your cartoon version. You can then customize your avatar's appearance, including hairstyle, hair colour, skin tone, sunglasses, and outfit. Make your selections from the available options.
Step 7: Save and Share Your AR Emoji
Once you're done customizing, tap "OK" to save your AR Emoji. You can now use your AR Emoji in various ways. You can send your avatar as stickers directly from the keyboard in messaging apps or save them in your gallery. Additionally, you can create animated GIFs or videos using your AR Emoji, expressing different emotions and sharing them with your friends.
Cleaning Camera Battery Terminals: A Step-by-Step Guide
You may want to see also
![]()
Activating the Flaw Detection mode
The Flaw Detection mode on the Samsung Galaxy Note 9 is an intelligent camera feature that provides reshooting notifications when an error is detected. This feature is designed to help you capture flawless photos by alerting you to issues that may impact the quality of your image.
To activate the Flaw Detection mode on your Note 9, follow these steps:
- Open the Camera app on your device.
- Tap the Settings gear icon located at the bottom left of the camera screen.
- In the Settings menu, you will see options for front, rear, and common camera settings.
- Look for the "Common" section, which may be listed under "Galaxy Note 9 front, rear, and common camera settings."
- In the "Common" section, you will find the Flaw Detection option. Tap to enable it.
- Once Flaw Detection is turned on, you can exit the Settings menu and return to the Camera app.
With Flaw Detection enabled, you will receive notifications if the camera detects any issues with your photos. This includes notifications for blurry images, smudges on the lens, someone blinking, or poor backlighting affecting image quality. This feature ensures that you can quickly identify and rectify any problems, allowing you to capture the perfect shot without missing the moment.
The Flaw Detection mode is a valuable tool for anyone looking to improve their photography skills and ensure they don't miss out on memorable moments due to common issues. By providing real-time feedback, this mode helps you make the necessary adjustments to capture clearer and more flawless photos with your Note 9.
London Congestion Charge Cameras: Locations and How They Work
You may want to see also
![]()
Using the Pro mode
The Pro mode on the Samsung Galaxy Note 9 allows you to adjust camera settings manually, unlocking advanced adjustments like ISO and aperture settings. This gives you control over almost every aspect of the photography experience.
To access Pro mode, open the camera app on your phone. Along the top of the viewfinder area, you will see several presets. Slide over to the "Pro" preset to access it. If you don't see these settings, you may have an older model of the phone. In this case, slide over to the leftmost panel in the viewfinder and click the "Pro" preset there.
Once you are in Pro mode, you can adjust the following settings:
- ISO: Adjusts the light sensitivity of the image sensor. Lower settings make the sensor less sensitive to light, while higher settings increase sensitivity. Lower ISO settings will result in clearer images, so the lower you can set it while still getting a clear image, the better.
- Aperture: Changes the size of the hole in the lens that lets light in. This is used in conjunction with ISO adjustments to achieve a shallow depth of field, as seen in portrait photography.
- Filter: Preset filters that can be applied before you take the picture.
- Focus Mode: Switch between Auto Focus and Manual Focus.
- White Balance: Adjusts for the lighting in your environment. This is typically controlled with presets like "Daylight", "Cloudy", and "Fluorescent".
- Exposure: Controls the brightness of your photo.
- Settings: Access basic camera settings.
- View Mode: Toggle full view mode, which uses the entire screen and overlays the controls.
- Flash: Turn the flash on or off, or set it to automatic.
- Metering: Measures the amount of light in the shot. There are three modes: Spot, Center, and Center-weighted.
- AutoFocus Area: Tells the camera whether to focus on the entire shot or just the center.
- Camera Select: Switch between the front- and rear-facing cameras.
Most of these settings have an Auto mode, so you can leave the settings you don't want to adjust on automatic and only tweak the settings that are important to you. This makes Pro mode accessible to beginners while still offering advanced controls for more experienced photographers.
Exploring Adobe Camera Raw: Mastering the Undo Functionality
You may want to see also
Frequently asked questions
The different camera modes available on your device can be accessed within your camera app. You can swap between camera modes by dragging the camera modes left and right or by swiping left and right on the camera screen.
To activate Slow-Motion mode, open the camera app and choose Slow-motion. The camera will automatically zoom in. Tap the record icon to begin filming and once you're done, tap the stop icon.
To activate AR Emoji mode, open the camera app and tap AR Emoji. This mode creates an animated version of yourself which can be used to record your movements and facial expressions.