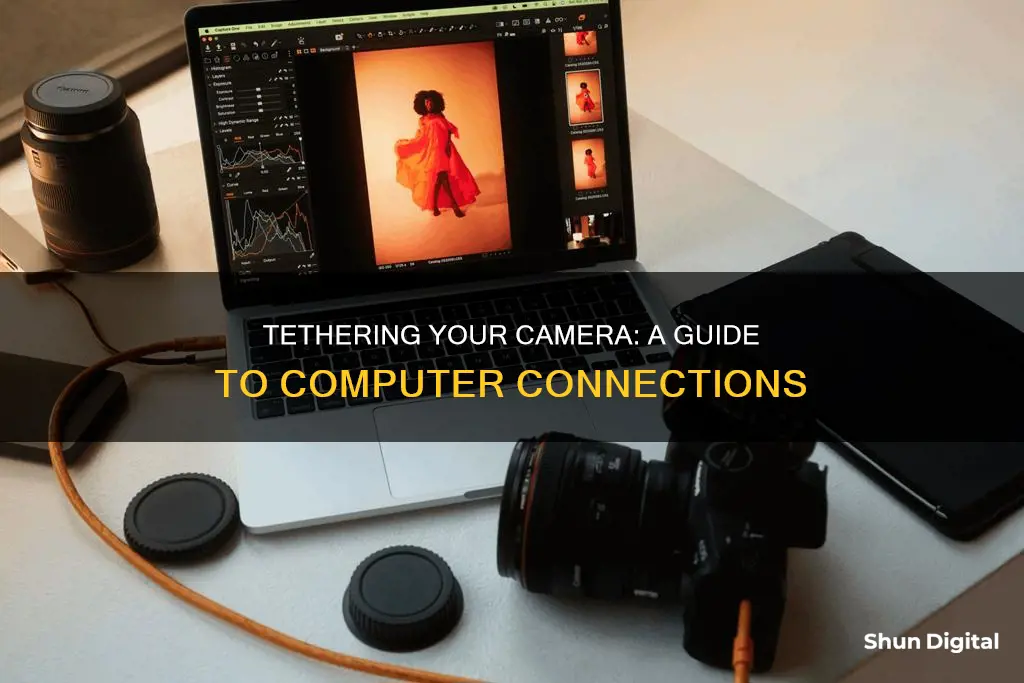
Tethered photography is the process of connecting your camera to a computer, tablet, or smartphone via a cable or wireless app. This allows you to instantly view and edit your photos on a larger screen, adjust camera settings remotely, and organise your images as you go along. To get started with tethered photography, you will need a USB cable, tethering software, and a laptop or desktop computer. In this article, we will provide a step-by-step guide on how to set up tethered photography and discuss the benefits and drawbacks of this technique.
| Characteristics | Values |
|---|---|
| Connection type | Wired or wireless |
| Wired connection | Connect camera to computer using a USB cable |
| Wireless connection | Connect camera to computer using Wi-Fi or a wireless transmitter |
| Tethering software | Adobe Lightroom, Capture One, Canon EOS Utility |
| Camera power | Mains power adapter or alternative power supply |
What You'll Learn

Wired vs. wireless tethering
Wired tethering is when a camera is physically connected to a computer or mobile device using a cable, usually USB. Wireless tethering, on the other hand, involves connecting a device like a CamRanger to your camera, which then creates a wireless network that other devices can join.
Wired Tethering
Wired tethering is generally the cheapest and most efficient way to shoot tethered. It is simple to set up: all you need is a standard USB cable and tethering software such as Capture One, Adobe Lightroom, or DSLR Controller. It is also extremely quick, with practically no delay between pressing the shutter on your camera and seeing the image on your screen.
However, the main disadvantage of wired tethering is the cable itself. It can easily get unplugged from your camera or laptop, disrupting the connection. The cable can also be a hazard on set, causing people to trip over it.
Wireless Tethering
Wireless tethering is a good option if you are shooting on location and want to avoid the limitations imposed by a cable. Wireless connections also allow you to control the camera settings remotely, without having to adjust them on the camera itself. This means you can place the camera in locations that would be impossible with a wired connection. Wireless tethering is also more portable, as it does not require you to bring a computer, and you can move around more freely while shooting.
However, wireless tethering is generally slower than wired tethering, with a delay of 15-30 seconds (or more) while images transfer to the computer. Wireless connections are also less reliable, with risks of wifi signals being blocked or dropped, and batteries being drained quickly. Wireless connections are also more vulnerable to cyber-attacks.
Boosting Wi-Fi for Surveillance Cameras: Tips and Tricks
You may want to see also

Required equipment
The equipment you will need to tether your camera to your computer will depend on whether you choose to connect via cable or wirelessly.
Wired Connection
- Cable: The cable you use will depend on your camera's USB port. Older devices may feature a Mini-A or B port, while newer versions may have a Type C or a Micro B port. Check your camera's USB port to identify which cable is compatible with your device. Most professionals opt for longer cables (at least 15 feet) to allow for more flexibility in the studio.
- Tethering software: You will need tethering software to connect your camera to your computer. Some cameras come with basic tethering software, but if you need to connect your device regularly, you may want to opt for a more professional option, such as Capture One or Adobe Lightroom.
- Laptop or desktop computer: You will need a computer to connect your camera to. A laptop is a good option if you require portability, while a powerful desktop computer is a better choice if you are shooting in a studio or another consistent environment.
- Portable table: You will need a portable table to hold your laptop. The Tether Tools Aero Table is a lightweight, durable, aluminium platform that attaches to almost any tripod or light stand.
- Jerkstopper: This is a device that prevents your USB cable from being yanked out of your camera.
Wireless Connection
Laptop, table, and tethering software: If you opt for a wireless connection, you will still need a laptop, a table, and tethering software.
Understanding Camera Raw's Profile Tab
You may want to see also

Step-by-step instructions
Tethering your camera to your computer can be done either wired or wirelessly. Wired tethering is done using a USB cable, while wireless tethering can be done using Wi-Fi or a wireless transmitter.
Wired Tethering:
Step 1: Turn off your camera.
Step 2: Connect one end of the USB cable to your camera and the other end to your computer.
Step 3: Turn on your camera. Your computer should automatically recognise your device.
Wireless Tethering:
Wireless tethering can be done in several ways, depending on your camera model and the wireless functionality it supports.
Using Wi-Fi:
Step 1: Turn on your camera's Wi-Fi.
Step 2: On your computer, connect to your camera's Wi-Fi network.
Step 3: Open your web browser and enter your camera's IP address. This will take you to your camera's control panel, where you can adjust settings and take photos.
Using a Wireless Transmitter:
Some cameras, such as Nikon models, can use wireless transmitters such as the WT-7 or WT-6 to connect to a computer.
Step 1: Connect the wireless transmitter to your camera.
Step 2: Configure the wireless transmitter to connect to your computer using a host profile.
Step 3: Follow the instructions in your camera's manual to complete the wireless setup.
Using Tethering Software:
Once your camera is connected to your computer, you can use tethering software to control your camera and transfer photos. Popular tethering software includes Adobe Lightroom, Capture One, and Canon EOS Utility.
Step 1: Open Lightroom.
Step 2: Go to File > Tethered Capture > Start Tethered Capture.
Step 3: In the Tethered Capture Settings dialog box, enter a session name, select a file naming template, choose a file destination, and apply metadata and keywords.
Step 4: Click OK. Your camera should now be connected, and you can adjust your camera settings and take photos from within Lightroom.
Understanding Camera Mode FX1: The Basics
You may want to see also

Benefits of tethering
Tethering your camera to your computer or tablet has many benefits, especially if you are a professional photographer. Here are some of the advantages:
Large Monitor Preview
A major benefit of tethering is the ability to preview images on a large monitor. This allows you to see your images clearly and in high resolution as soon as you capture them. You can check for issues with focus, lighting, composition, and other details that may be hard to spot on a small camera screen. This can help you get the perfect shot in fewer attempts.
Instant Feedback
Tethering provides instant feedback on your photos, allowing you to make any necessary adjustments to your camera settings or lighting. You can also edit your photos on the spot, making changes to exposure, colour, and composition. This can improve your workflow and save time in the long run.
Collaboration and Client Satisfaction
With tethering, you can collaborate more effectively with assistants, stylists, and subjects. Your clients can also view the photos in real-time and provide immediate feedback, ensuring that you capture the shots they are looking for. This can enhance client satisfaction and streamline the photography process.
Organisation and File Management
Tethering allows you to organise and manage your images as you shoot. You can add notes, ratings, keywords, and other metadata to each photo, making it easier to find and sort your files. This can save time and effort in the post-production phase.
Backup and Security
When tethering, your photos are saved directly to your computer's hard drive or a designated folder. This provides an instant backup of your files, reducing the chance of image loss. You can also easily transfer images between devices, such as from a laptop to a desktop, ensuring your files are secure and accessible.
While tethering offers these benefits, it is important to consider potential drawbacks, such as increased setup complexity, battery drain, and the need for additional equipment. However, for many photographers, the advantages of tethering outweigh the potential downsides.
The Evolution of Minolta Cameras: A Global Journey
You may want to see also

Downsides of tethering
While tethering your camera to your computer has its benefits, there are some downsides to this method of photography.
Firstly, the photographer or their client might get too caught up in the little details while inspecting the photos, which can stall a photoshoot. It is important to set expectations with your client and let them know your workflow to maintain a steady pace.
Secondly, tethering consumes more battery life from both your camera and your computer. It is recommended to always carry extra batteries and shoot near a power source in case you need to plug in your laptop.
Thirdly, tethering software can be unreliable and may stop working for no apparent reason. It is advisable to get set up and take some test shots before the photoshoot to allow time for troubleshooting. Having a backup plan is also a good idea.
Lastly, tethering requires additional equipment, such as a long cord and a laptop or desktop computer. This setup may not be ideal for on-location shoots, especially if it involves hauling expensive electronics to outdoor or remote areas.
Tethered photography can be a great way to improve the final product, but it can also slow down the process and introduce more complexities. Therefore, it may not be suitable for fast-paced or outdoor shoots.
iPad Camera: What Materials Make It?
You may want to see also
Frequently asked questions
Tethering your camera to your computer allows you to see the photos as you take them, which is ideal for commercial shoots that require meticulous inspection. It also enables remote control of your camera and immediate transfer of images for editing and review.
You will need a USB cable or Wi-Fi connection, tethering software such as Adobe Lightroom or Capture One, and a laptop or desktop computer.
First, turn off your camera and connect it to your computer using a USB cable or Wi-Fi connection. Then, turn on your camera. Open your tethering software and select "Start Tethered Capture". Enter your desired settings, such as session name and file destination, and click OK.


