The manufacturing process of a camera involves several steps, from design to prototyping to final assembly. Here is a step-by-step guide on how cameras are made:
1. Design: The designer creates an electronic sketch using CAD (Computer-Aided Design) software, detailing the camera's parts and inner workings. They select the materials, electronics, mechanics, and interfaces with lenses and attachments.
2. Simulation and Testing: The design is tested in a computer simulation to ensure it aligns with the original concept and marketing goals. If successful, the camera proceeds to the prototyping stage.
3. Prototyping and Testing: A prototype camera is produced to evaluate performance and prepare for mass production. It undergoes general use, special feature, and stress tests. If selected for mass production, engineers use the CAD file to develop the necessary tools and processes.
4. Chassis or Casing: The camera's chassis or casing is created using a durable polycarbonate compound, typically through injection molding. The casing is trimmed, smoothed, and assembled to serve as the base for other components.
5. Shutter and Film Transport System: The shutter assembly and film transport system are manufactured separately, with the latter including an electronic chip to verify film speed. The shutter is constructed using brand-specific materials to ensure photo quality.
6. Viewfinder: A viewfinder, made of glass, plastic, or a combination of both, is added to help photographers compose their shots. A small reflective mirror is included to increase visibility.
7. LCD Screen and Electronics: Modern cameras include an LCD screen to display lens images and photography information. The screen consists of a thin sheet of glass and liquid crystals, illuminated by LEDs.
8. Final Assembly and Packaging: Once all components are added, the camera is packaged and shipped to retail outlets.
| Characteristics | Values |
|---|---|
| Design | An electronic "sketch" using CAD (computer-aided design) software |
| Components | Electronics, materials, mechanics, and features like lens and flash unit interfaces |
| Testing | Computer simulation to check against the original concept and marketing goals |
| Prototyping | Test camera produced to check performance and prepare for mass production |
| Testing | General use, special features, and stress tests (case durability, lifetime, etc.) |
| Chassis/Casing | Polycarbonate plastic, produced through injection moulding |
| Shutter Assembly and Film Transport System | Mechanical with an electronic chip to verify film speed |
| Shutter | Constructed with brand-specific materials |
| Viewfinder | Glass, plastic, or a combination of both, with a small reflective mirror |
| LCD Screen and Electronics | Displays lens image and photo information; made of a thin sheet of glass and liquid crystals |
What You'll Learn
![]()
Camera design
The next step is to test the design in a computer simulation environment. The design is checked against the original concept and marketing goals, and if it passes, it can be approved for prototype production. A prototype is necessary to test the camera's performance and prepare it for mass production. The prototype undergoes rigorous field and laboratory tests, including general use, special features, and stress tests.
If the prototype is selected for manufacture, engineers use the CAD file to prepare design details, specifications, and manufacturing processes. They also use CAM (computer-aided manufacturing) systems to aid in the production of any additional systems or accessories that interface with the camera.
The first step in the manufacturing process is creating the camera chassis or casing, which serves as the base for the rest of the components. The casing is typically made through injection moulding using a polycarbonate compound that is durable, lightweight, shock-resistant, and tolerant of humidity and temperature changes. After the chassis is assembled, other parts of the camera, such as electrical connections and the autofocus module, are attached.
The shutter assembly and film transport system are then manufactured separately. While the film transport system is mainly mechanical, it includes an electronic chip to verify the film speed. The shutter is a critical component for photo quality, and its construction materials are often kept secret by brands.
After the shutter is added, the viewfinder is installed. This piece is made of glass, plastic, or a combination of both, and includes a small reflective mirror to increase visibility for the photographer.
In modern devices, the final step is the addition of the LCD screen and electronics. The LCD screen displays the lens image and provides information about the photo, such as shutter speed and light settings. The screen is made of a thin sheet of glass and liquid crystals, with LEDs causing the crystals to light up and show the image.
Once the camera is assembled, it is packaged and shipped to retail outlets.
Labeling Camera Batteries: A Quick Guide to Best Practices
You may want to see also
![]()
Testing and prototyping
Prototyping:
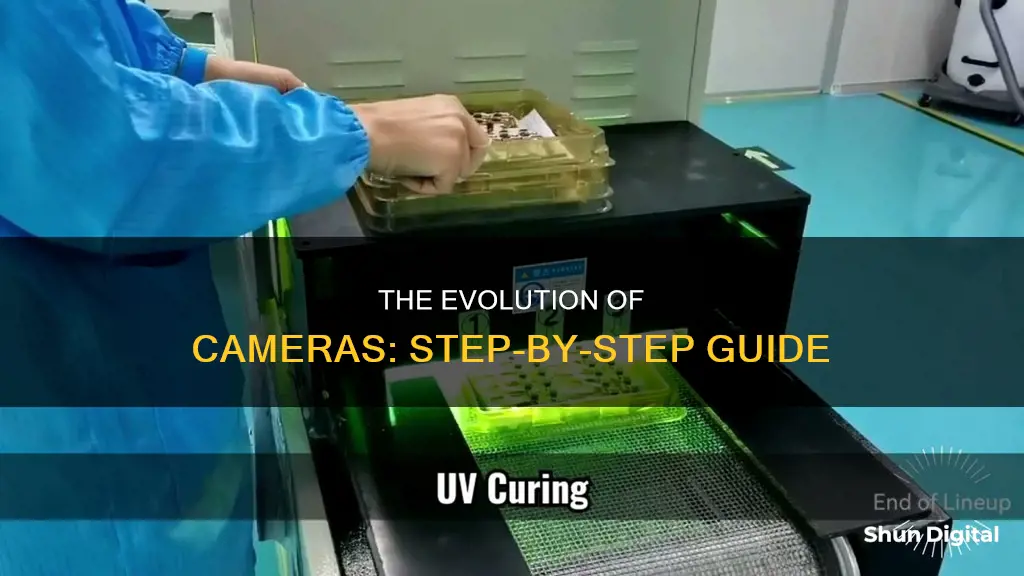
The prototyping phase involves creating a preliminary model or sample of the camera to evaluate its functionality and design. This stage is essential to identify any potential issues and make necessary improvements before mass production. There are various tools and methods available for prototyping, such as:
- Computer-Aided Design (CAD): CAD software allows designers to create detailed three-dimensional models of the camera, visualising its configuration, mechanics, electronics, and interface with accessories.
- Origami: Origami is a prototyping tool that enables access to the device's camera and supports live video input. It is based on visual programming techniques and does not require coding, offering a straightforward approach to prototyping.
- Framer: Framer is a code-based prototyping tool that provides unlimited customisation options. However, it may present challenges when using the device's camera due to browser limitations.
- CNC Machining: CNC (Computer Numerical Control) machining involves automated cutting, drilling, and shaping of materials to create camera prototypes. This technique accommodates various materials and cutting options, such as water jet cutting and laser cutting.
Testing:
The testing phase involves rigorous field and laboratory tests to evaluate the performance and reliability of the camera prototype. This includes:
- Functional Testing: This ensures that all features of the camera, such as the shutter, film transport system, and electronic components, function correctly and meet the desired specifications.
- Durability Testing: The prototype is subjected to various environmental conditions to assess its durability, shock resistance, and tolerance to humidity and temperature changes.
- Image Quality Testing: Evaluating the image quality produced by the camera under different lighting conditions and subject matter is essential to ensure it meets the expected standards.
- User Experience Testing: Usability tests are conducted to gather feedback from potential users, assessing the camera's ease of use, ergonomics, and overall user satisfaction.
The data and insights gathered from these tests are then used to refine and improve the camera design, leading to the final product ready for mass production and market release.
Toy Camera Mode: Creative Photography with a Vintage Twist
You may want to see also
![]()
Chassis and casing
The chassis or casing is the first component to be created after the prototype has been tested and approved. The casing is typically made of a polycarbonate compound, which includes 10-20% glass fibre. This material is highly durable, lightweight, and shock-resistant, making it ideal for protecting the camera's internal components. It is also tolerant of humidity and temperature changes, although it is not resistant to chemicals.
The process of creating the casing involves injection moulding. This involves filling a mould with a liquid form of the polycarbonate compound and heating it until it hardens. Once removed from the mould, the edges of the casing are trimmed and smoothed to ensure they fit together evenly. The casing then serves as the base for the rest of the camera's components.
The design of the chassis is crucial as the internal workings of the camera must fit precisely within it. The chassis provides protection for the camera's sensitive mechanical and electronic parts. It acts as a frame to which other parts, such as electrical connections and the autofocus module, are attached.
The chassis plays a vital role in the overall function and protection of the camera. Its precise design and assembly ensure that the camera is not only functional but also protected from external factors such as jarring and shocks.
Slowing Camera Movement in Blender: Walk Mode Tips
You may want to see also
![]()
Shutter and film transport system
The shutter and film transport system are manufactured on a separate assembly line. These parts are mostly mechanical, although the film transport system has electronic components to read the film speed. The film transport system must be able to read the DX film coding, which appears as silver bands on the roll of film. More advanced cameras have microchips that read the data imprinted in the silver bands and automatically adjust the shutter speed, flash, and other camera actions accordingly.
The shutter functions like a curtain that opens and closes. It must operate with precision to expose the film for the correct length of time and to coordinate with other functions such as the flash. The shutter is made of different materials depending on the type of camera and manufacturer. It works in conjunction with the film transport system to ensure that the film is exposed to light for the correct amount of time.
In a motion-picture camera, the film transport system is the chief element that differentiates it from a still camera. The unexposed film is housed in a completely dark chamber called the forward magazine. One or both edges of the film are lined with regularly spaced perforations, or sprocket holes. Sprocket-driven gears grip these perforations, feeding the film into an enclosed exposure chamber. A mechanical claw then pulls the film into position behind the shutter, locking it momentarily in place. The shutter opens, exposing an image onto the film, and then closes. The claw then advances the film for the next exposure with an automatic pulldown movement.
The shutter and film transport system work together to control the amount of light that reaches the film and the duration of the exposure. The shutter speed can be adjusted to suit different lighting conditions and subject matter. For example, moving objects can be captured with clarity using fast shutter speeds.
Unlocking Kik Camera: Modding for Creative Freedom
You may want to see also
![]()
LCD screen and electronics
The LCD (liquid crystal display) screen is a crucial component of modern cameras, providing photographers with valuable information and functionality. These screens are typically found on advanced cameras and most compact models, offering a range of features that enhance the photography experience.
How LCD Screens Work
LCD screens utilise a layer of molecules known as the liquid crystal substance, which is sandwiched between two transparent electrodes. By applying an electrical charge to these electrodes, the alignment of the liquid crystal molecules can be altered, resulting in different colours on the display. Additionally, a backlight is used to illuminate the liquid crystal layer, ensuring the image is visible.
The display screen is composed of millions of pixels, each containing a distinct colour. These pixels, akin to individual dots, are arranged and aligned to form the final image presented on the screen.
Features and Benefits of LCD Screens
The LCD screen in a camera serves multiple purposes. Firstly, it acts as a viewfinder, allowing photographers to frame their shots accurately. Secondly, it enables menu navigation, providing access to various settings and options. Lastly, it facilitates photo review, giving users the ability to assess their captured images and make necessary adjustments.
Technical Specifications
The sharpness of an LCD screen is dictated by the number of pixels it can display. A higher pixel count generally results in a sharper and more detailed image. Camera specifications typically include this information, allowing consumers to make informed decisions about the quality of the LCD screen.
It is worth noting that while the term "LCD" is predominantly associated with camera display screens, some cameras may utilise alternative display technologies. Additionally, certain camera models incorporate touchscreens or articulated displays that offer flexibility in movement.
Integration with Electronics
The electronics within a camera are integral to its functionality, and they work in tandem with the LCD screen. These electronics comprise the "electronic brains" of the camera and are constructed as subassemblies, ensuring optimal performance. The electronics also facilitate the various features offered by the LCD screen, such as menu navigation and photo review.
In conclusion, the LCD screen and electronics are vital components of modern cameras, working in harmony to provide photographers with a wealth of features and functionalities that enhance their creative pursuits.
Understanding Camera Exposure Modes: Unleashing Your Photography Skills
You may want to see also
Frequently asked questions
A still film camera is made of three basic elements: an optical element (the lens), a chemical element (the film), and a mechanical element (the camera body itself).
The manufacturing process begins with the design. A designer creates an electronic sketch using CAD (computer-aided design) software, deciding on the camera's components, materials, mechanics, and features. Once the design is complete, it is tested in a computer simulation. If it passes, a prototype is produced and tested. If the prototype performs well, it is approved for mass production.
First, the chassis or casing is created using a durable polycarbonate compound. Then, the shutter assembly and film transport system are manufactured. The viewfinder is added, followed by the LCD screen and electronics for modern devices.
A camera lens collects and focuses light, which is then recorded by the film or digital sensor. The light-sensitive materials in the film react to light, capturing the image. In a digital camera, the sensor converts light into energy, and a built-in computer reads and processes the information to create the final image.