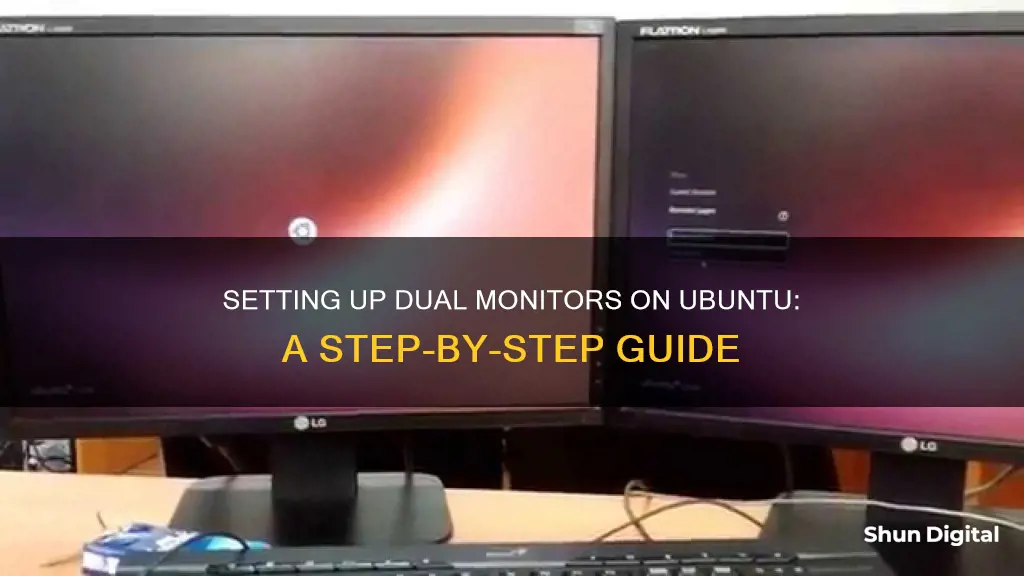
Setting up dual monitors on Ubuntu is a straightforward process, but issues may arise that require some troubleshooting. First, ensure that you have the correct hardware and software installed, including the necessary video outputs and cables, and that your graphics drivers and software are up to date. Connect your second monitor to your computer, and Ubuntu should automatically configure the new monitor. If not, you can manually adjust the settings by going to System Settings > Display. Here, you can modify the settings of your monitors, including their arrangement, resolution, rotation, and launcher placement. If you encounter issues with Ubuntu not detecting your second monitor, check your physical connections, reboot your system, or try installing additional drivers.
| Characteristics | Values |
|---|---|
| How to set up an additional monitor | Connect the monitor to your computer. If the system does not recognize it, open the Activities overview and start typing Displays. Click Displays to open the panel. Drag your displays to the relative positions you want. Click Primary Display to choose your primary display. Click Apply. |
| How to use multiple displays | Join Displays: screen edges are joined so things can pass from one display to another. Mirror: the same content is shown on two displays, with the same resolution and orientation for both. |
| Hardware requirements | More than one display or monitor. The computer has more than one video output: for a laptop, this could be a VGA and either a DisplayPort or HDMI connector; for a desktop, this could be VGA or DVI and either DP or HDMI connector on the Motherboard. |
| Software requirements | An operating system that supports multiple displays. Install the correct drivers and software. |
| Display settings | Detect Displays: click this button to make Ubuntu scan for connected monitors. Drag and drop monitor icons in the layout view to arrange your physical displays. Set resolutions and refresh rates for each monitor. |
| Troubleshooting | Check physical connections. Install the latest Ubuntu patches and graphics drivers. Check Ubuntu's display settings area. Install additional drivers. Use terminal commands. Edit configuration files. |
What You'll Learn

Check physical connections
Before diving into complex configurations, it is always a good idea to check the basics first. This can solve the problem quickly without much effort.
First, make sure your second monitor is securely plugged into your graphics card or motherboard video output. A loose cable could be the culprit. Reseating all display connectors firmly often fixes sudden monitor detection failures.
If your dual-monitor setup was working fine earlier, try rebooting your Ubuntu desktop or laptop. A quick restart has been known to resolve quirky display issues, such as only one monitor working even though two are connected. Rebooting reinitializes all devices and often sorts out any software glitches.
If you are already using an external monitor and want a better experience, try to get a second external monitor that is the same size as the other one. Ideally, consider getting the same model. That way, when you put them next to each other, the mouse won't "jump" as you move the cursor from one monitor to another, and the picture quality and clarity will be much more consistent.
If you have an older monitor that can only use VGA and your system only has HDMI ports, you will need an adapter to hook it up.
Connecting Microsoft Surface Pro to a Monitor: Easy Steps
You may want to see also

Update Ubuntu and graphics drivers
To update Ubuntu and graphics drivers, follow these steps:
First, check your current driver version by opening a terminal and using the following command:
Cat /proc/driver/nvidia/version
Next, open 'System Settings' and click on 'Additional Drivers' under the 'Hardware' section. Ubuntu will automatically search for available drivers and prompt you to install any updates.
If you have an Nvidia GPU, you can switch to the free Linux driver, Nouveau, by going to "Software & Updates", selecting "Additional Drivers", and choosing the Nouveau driver.
For Radeon graphics cards, use the following link:
Https://launchpad.net/~kisak/+archive/ubuntu/kisak-mesa
For Nvidia graphics cards, use:
Https://launchpad.net/~graphics-drivers/+archive/ubuntu/ppa
Additionally, for Radeon cards, you can install this app:
Https://www.google.com/amp/s/ubuntuhandbook.org/index.php/2020/08/mainline-install-latest-kernel-ubuntu-linux-mint/
You can also use the stable PPA to stay updated with your drivers:
Sudo add-apt-repository ppa:ubuntu-x-swat/x-updates
Sudo apt-get update
Sudo apt-get install nvidia-current
Finally, reboot your system.
Note: If you don't use Intel graphics or open-source versions of Nvidia or AMD graphics drivers, you may encounter issues with Ubuntu's tool for managing monitors. In this case, you'll need to use your proprietary graphics driver's configuration utility to make changes.
Monitoring Employee Web Usage: Strategies for Effective Surveillance
You may want to see also

Configure display settings
To configure display settings on Ubuntu with dual monitors, you need to ensure that your system recognises both monitors.
First, connect the second monitor to your computer. If your system does not recognise the monitor, or you want to adjust the settings, open the Activities overview and start typing 'Displays'. Click on 'Displays' to open the panel.
In the display arrangement diagram, drag your displays to the relative positions you want them in. The numbers on the diagram are shown at the top-left of each display when the Displays panel is active.
Click 'Primary Display' to choose your main monitor. The primary display is the one with the top bar, and where the Activities overview is shown.
Click on each monitor in the list and select the orientation, resolution or scale, and refresh rate.
Click 'Apply'. The new settings will be applied for 20 seconds before reverting back. That way, if you can't see anything with the new settings, your old settings will be automatically restored. If you are happy with the new settings, click 'Keep Changes'.
With two screens, you can choose from two display modes: 'Join Displays' or 'Mirror'. 'Join Displays' joins the screen edges so things can pass from one display to another. 'Mirror' shows the same content on both displays, with the same resolution and orientation for both.
Matte LCD Monitor: Cleaning Tips for Perfect Clarity
You may want to see also

Install additional drivers
If you're using onboard video, you must have the correct software or driver installed from the GPU manufacturer (usually Intel or AMD). If you're using a discrete or add-on video card, you need the appropriate software from the GPU manufacturer (usually NVIDIA, Radeon, or Matrox).
If you're using an NVIDIA card, you can try installing the drivers by entering the following into the terminal:
Sudo apt-get install nvidia-current
If you're using Intel graphics or open-source versions of the NVIDIA or AMD graphics drivers, you may encounter issues with Ubuntu's tool for managing monitors. In this case, you'll need to access your proprietary graphics driver's configuration utility to make the required changes.
To switch to the free Linux driver, Nouveau, go to "Software & Updates", then under "Additional Drivers" and choose the Nouveau driver.
Connecting Studio Monitors to a Receiver: A Comprehensive Guide
You may want to see also

Use terminal commands
Setting up dual monitors on Ubuntu is a straightforward process and can be done using terminal commands. Here are the steps you can follow:
Step 1: Install the Hardware
Before you begin, ensure you have the necessary hardware, such as an external monitor or displays that are compatible with your system. If you have an older monitor with different ports than your system, you may need an adapter.
Step 2: Connect the Monitors
Turn on your system and boot into your Ubuntu desktop. After the desktop has loaded, connect your additional monitor(s) to your computer. Ubuntu should automatically detect the new monitors and attempt to configure them.
Step 3: Configure Display Settings
If Ubuntu does not automatically configure your displays correctly, you can adjust the settings manually. Open the Activities overview, start typing "Displays," and click on "Displays" to open the panel. Here, you can modify the settings for each monitor:
- Drag the displays in the arrangement diagram to position them relative to each other.
- Click on each monitor to select the orientation, resolution, scale, and refresh rate.
- Choose your primary display by clicking on "Primary Display."
Step 4: Test and Apply Settings
Once you've made your adjustments, click "Apply." Ubuntu will apply the new settings for 20 seconds. If you're happy with the changes, click "Keep Changes." If not, your previous settings will be automatically restored.
Step 5: Manage Display Modes
With two screens, you have the option to choose between two display modes:
- Join Displays: This mode joins the screen edges so that you can move things from one display to another.
- Mirror: This mode displays the same content on both displays with the same resolution and orientation.
You can also enable or disable individual monitors as needed.
Advanced Troubleshooting with Terminal Commands
In some cases, you may need to use terminal commands to troubleshoot display issues or configure specific settings. Here are some examples:
- Xrandr: This command is used to manage screen rotation and positioning. For example, `xrandr --output VGA1 --auto --rotate left --left-of LVDS1` rotates a specific monitor and positions it to the left of another monitor.
- Lspci: This command lists all the devices and their bus IDs, which can be useful for identifying graphics cards and their configurations.
- Sudo dpkg-reconfigure -phigh xserver-xorg: If your X server fails and drops to the terminal, this command can be used to reconfigure the X server and set up drivers for your monitors.
- Sudo gedit /etc/X11/xorg.conf: This command opens the xorg.conf file for editing, allowing you to configure multiple screens, monitors, and screen layouts.
Remember to replace `
Monitoring Power Usage: Breakers in Your Home
You may want to see also
Frequently asked questions
First, ensure you have the correct hardware, such as an external monitor and the right video output and cables for your laptop or desktop. Then, connect your additional monitor(s) and Ubuntu will try to automatically configure the new setup. If it doesn't, go to System Settings > Display to configure the monitors yourself. Here, you can modify settings such as resolution, rotation, launcher placement, and sticky edges.
Check that your second monitor is securely plugged into your graphics card or motherboard video output. If it is, reboot your Ubuntu device as this can resolve quirky display issues. If that doesn't work, open the display settings dialog by pressing the Super key on your keyboard or clicking the Ubuntu menu icon, and then type "Displays" and select the Displays option. Here, you can click the "Detect Displays" button to make Ubuntu scan for connected monitors again.
With two screens, you can choose between "Join Displays", where screen edges are joined so things can pass from one display to another, and "Mirror", where the same content is shown on both displays with the same resolution and orientation.


