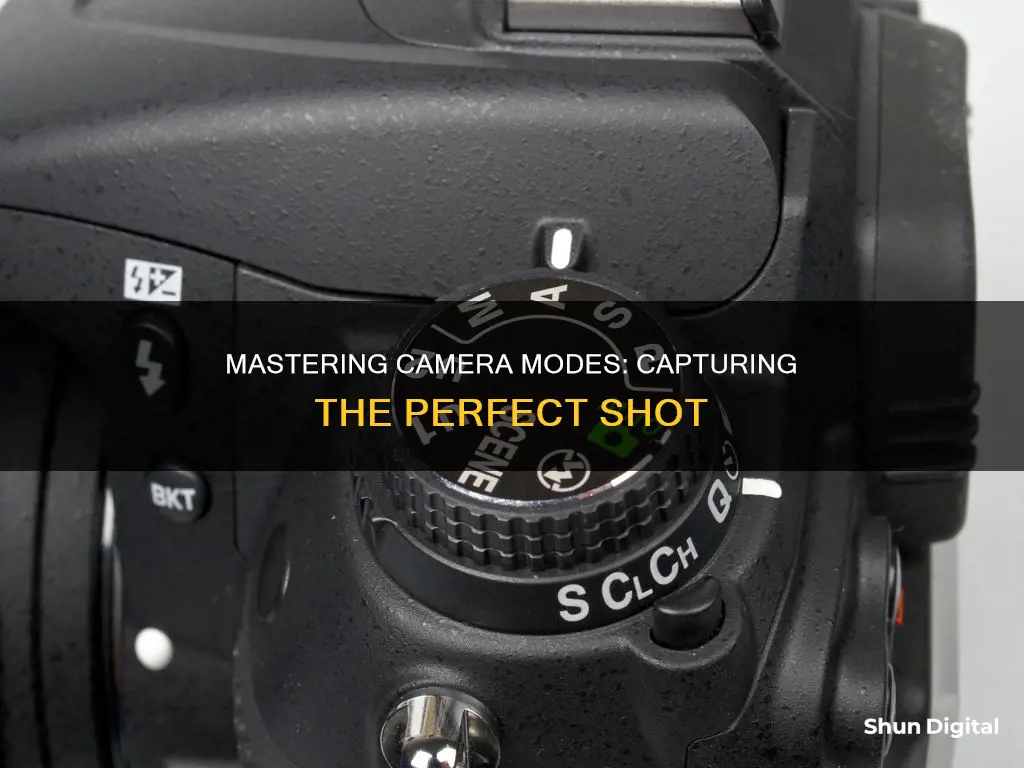
Photography can be a daunting task for beginners, especially when it comes to choosing the right camera mode. While automatic modes are a great starting point, they often produce unpredictable results and limit creative expression. The best mode to use depends on the desired effect and lighting conditions. Aperture Priority mode is a popular choice as it allows control over the depth of field while the camera adjusts shutter speed. Shutter Priority mode is useful for freezing or blurring motion by manually setting the shutter speed. Program mode is similar to Auto but offers more control over settings like ISO and white balance. Manual mode gives complete control but requires careful monitoring of exposure. Ultimately, the choice depends on the photographer's comfort and desired level of control.
| Characteristics | Values |
|---|---|
| Camera mode for quick pictures | Auto Mode |
| Camera mode for control over aperture and shutter speed | Manual Mode |
| Camera mode for control over shutter speed | Shutter Priority Mode |
| Camera mode for control over aperture | Aperture Priority Mode |
| Camera mode for beginners | Program Mode |

Aperture Priority Mode
To enter Aperture Priority Mode, the user typically turns the PASM dial on their camera to the "A" or "Av" setting. This mode is particularly valuable as it gives the photographer control over the aperture, which is considered the most important setting in photography. It also allows for faster adjustments compared to manual mode, making it ideal for changing light conditions.
In Aperture Priority Mode, the photographer manually sets the aperture (f-stop) while the camera automatically selects a shutter speed to achieve proper exposure based on lighting conditions. This mode is often used to control the focus on objects in the frame, making it useful for landscape and portrait photography. For example, in landscape photography, a small aperture is selected to achieve a large depth of field, ensuring that objects in the foreground, middle distance, and background are all in focus. In contrast, portrait photography may favour a wide aperture to create a shallow depth of field, blurring the background and drawing attention to the subject.
Cleaning Exploded Camera Batteries: Step-by-Step Guide
You may want to see also

Shutter Priority Mode
In Shutter Priority Mode, you have control over the shutter speed, which determines how long the shutter stays open and how much light reaches the camera sensor. A faster shutter speed will result in less light reaching the sensor, while a slower shutter speed will allow more light to enter. This mode is particularly useful when photographing moving subjects, as it allows you to freeze the action with a fast shutter speed or create motion blur with a slower shutter speed.
When using Shutter Priority Mode, you can set the shutter speed and ISO based on your desired image quality. The camera will then select the appropriate aperture to achieve the correct exposure. This mode is advantageous when you need to maintain a consistent shutter speed, such as when photographing action or working in rapidly changing lighting conditions.
To use Shutter Priority Mode, set your camera dial to "S" or "Tv". Choose your desired shutter speed and, if needed, adjust the ISO. Your camera will automatically select the aperture to complement your chosen shutter speed and ensure proper exposure. Remember to review your images and make adjustments as needed.
Camera Batteries: Airplane Safety and Legalities Explored
You may want to see also

Manual Mode
ISO controls your camera's sensitivity to light. By adjusting the ISO, you can increase your camera's light sensitivity, resulting in a brighter image. A lower ISO setting will decrease the sensitivity, leading to a darker image. However, it is important to note that higher ISO settings can introduce noise or graininess to your images.
Aperture refers to the opening in your camera lens. A wider aperture (lower f-stop number) allows more light to enter, resulting in a brighter image. It also creates a shallower depth of field, leading to a blurry background. Conversely, a narrower aperture (higher f-stop number) lets in less light and produces a sharper background.
Shutter speed refers to the amount of time the shutter remains open, controlling how long light hits the camera sensor. A faster shutter speed (higher fraction) results in a darker image and freezes motion, while a slower shutter speed (lower fraction) lets in more light and can create motion blur.
To use manual mode, adjust the mode dial on your camera to "M." Then, set your aperture based on the desired depth of field. If you want a blurry background, choose a wide aperture (lower f-stop number). For a sharp background, select a narrower aperture (higher f-stop number). Next, set your shutter speed to ensure sharpness. For stationary subjects, a slower shutter speed may be sufficient, while faster-moving subjects require a higher shutter speed to avoid blur. Finally, adjust your ISO to achieve the desired exposure. Start with the lowest ISO setting and gradually increase it if needed, being mindful of potential noise issues at higher ISO levels.
Charging the Kodak Easyshare C1450: A Simple Guide
You may want to see also

Auto Mode
It Usually Just Works
It Will Stop You From Missing Critical Shots
It Can Help You Understand Your Camera
Shooting in auto mode and then examining the EXIF data of your photos can be a great way to learn about the technical aspects of photography. You can see the aperture, shutter speed, ISO, metering mode, and other settings used for each shot, helping you understand how different settings impact the final image.
It's Great for Certain Types of Shots
In conclusion, while auto mode may not offer the same level of creative control as manual modes, it has its place and can be very useful, especially for beginners or when you need to capture a moment quickly.
Storing Camera Batteries: Safe Container Options
You may want to see also

Program Mode
In Program mode, you can choose your camera's ISO setting, and the camera will then automatically select the appropriate aperture and shutter speed to achieve a correct exposure. Aperture refers to how wide the camera lens opens when taking a shot, and it affects the depth of field in your image, or how much of it is in focus. Shutter speed, on the other hand, is the time that the shutter is open for, and it influences how much motion blur you'll see in your photos. A faster shutter speed will freeze quick-moving objects, while a slower one will allow more light to enter the camera when it's dark.
The ISO setting amplifies the brightness of your photos and is written in round numbers like ISO 100, ISO 200, and so on. Program mode lets you choose this setting, and it's a valuable tool because a lower ISO will give you better-quality photos with less noise or grain. By choosing a low ISO, you can improve your photos while letting the camera handle the aperture and shutter speed.
While Program mode is a great starting point, it does have limitations. You don't have careful control over the aperture and shutter speed, which can be important in certain situations. Once you're comfortable with Program mode, you can explore other modes like Aperture Priority, Shutter Priority, and Manual mode to gain even more creative control over your photography.
Activating Camera Mode in Kingdom Hearts 3 on Xbox
You may want to see also
Frequently asked questions
Manual mode gives the photographer the most control. In this mode, you can manually set the aperture, shutter speed, and ISO.
Aperture Priority mode is best for low-light photography. You can manually set the lens aperture, while the camera automatically chooses the right shutter speed to properly expose the image.
Shutter Priority mode is best for sports photography. You can manually set the shutter speed, while the camera automatically chooses the right aperture. This helps to freeze motion.
Aperture Priority mode is best for landscape photography as you can manually set a smaller aperture to ensure the entire scene is in focus.
Auto mode is the best option for beginners as the camera will choose all the settings for you.


