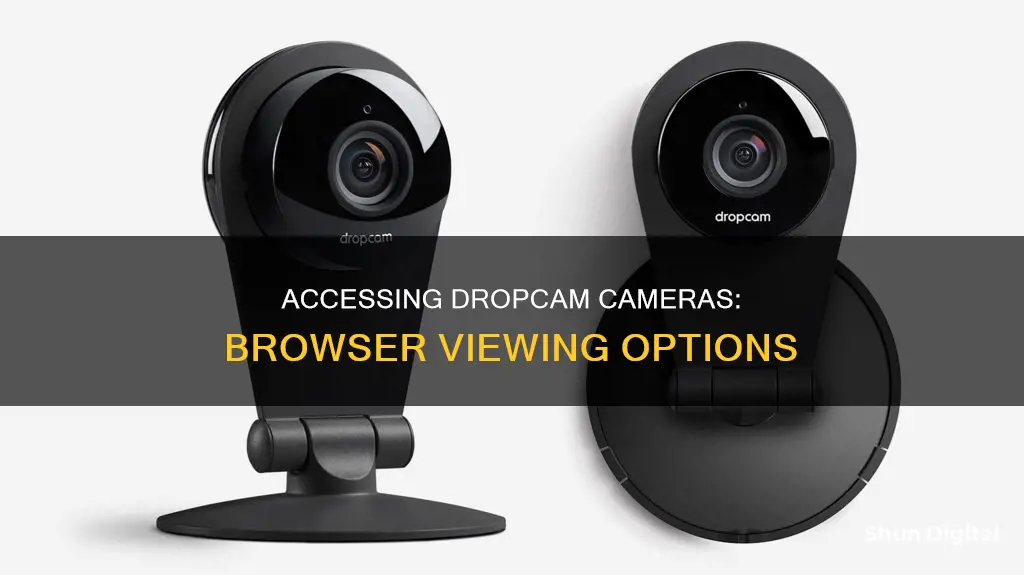
Dropcam cameras are easy to install and set up, taking approximately 5 to 10 minutes to complete the configuration. The Dropcam HD and Dropcam Pro come with Wi-Fi features that enable flexible placing and remote viewing on mobile devices such as iPhones and Android smartphones using a downloadable app. There is also an online interface that allows users to watch streaming videos through a computer or laptop connected to the internet through a Dropcam account. The Dropcam setup can be done using mobile devices without a computer through Bluetooth, however, this requires Bluetooth LE.
| Characteristics | Values |
|---|---|
| Camera Quality | High-quality video, 720p HD, night vision, two-way audio, digital pan and zoom |
| Ease of Setup | Easy to set up, can be done via computer or mobile device |
| Connectivity | Requires Wi-Fi, can be viewed through a web browser or mobile app |
| Alerts | Motion and sound alerts can be sent to your smartphone or other devices |
| Value for Money | Requires additional monthly fee for cloud recording |
What You'll Learn

Initial Dropcam setup
Setting up your Dropcam camera is a straightforward process that can be completed in approximately 5 to 10 minutes. Here is a step-by-step guide to help you with the initial Dropcam setup:
Assemble the Parts:
Place the camera on its base mounting to ensure it stands upright on a flat surface. This step is necessary when configuring the camera using a computer or laptop via the provided USB cable.
Connect to Power:
Use the micro-USB cable to connect the camera to a power source, such as the supplied AC adapter. If the camera is functioning correctly, a yellow light will illuminate.
Begin Installation:
An auto-run popup should appear, prompting you to run the installer application and initiate the Dropcam installation. If this doesn't happen, locate and double-click on the "Dropcam installer" or "Dropcam Setup" file on your computer. Follow the prompts to configure the Dropcam software and establish a Wi-Fi connection.
Create or Log into Your Account:
Once the initial configuration is complete, open your preferred web browser and log in to your existing Dropcam account or create a new one if you don't have one already. You will need to know your SSID and password to connect to your Wi-Fi network. It is also recommended to give your camera a unique name.
Mobile Device Setup (Optional):
Alternatively, you can set up your Dropcam using a mobile device without a computer. This method requires Bluetooth LE, so ensure your device supports this technology. Turn on Bluetooth and ensure your device is discoverable. Plug the Dropcam into a power source, and the yellow blinking light should be visible near your mobile device. Scan for available devices, select the camera, and follow the prompts to complete the setup. Ensure you have an active Wi-Fi network connection.
Download the Mobile App (Optional):
You can enhance your Dropcam experience by downloading the dedicated mobile app, available on the Google Play Store. The app offers features like customizable alerts, footage review, and live video streaming. It also enables remote access and control, allowing you to turn the Dropcam on and off and communicate with people or pets directly.
Placement:
Once the initial setup is complete, you can place your Dropcam anywhere with a strong Wi-Fi signal, whether on a flat surface or mounted on a wall, depending on your preferences and monitoring needs.
By following these steps, you should be able to quickly and easily set up your Dropcam camera and start using it to monitor your home, office, or any other location.
Weighty Matters: TV Cameras and Their Heft
You may want to see also

Setup using a mobile device
Setting up Dropcam cameras using a mobile device is a straightforward process and can be done in approximately 5 to 10 minutes. The Dropcam HD and Dropcam Pro come with Wi-Fi features that enable flexible placing and remote viewing on mobile devices. Here's a step-by-step guide to setting up your Dropcam using a mobile device:
Step 1: Assemble the Parts
Place the camera on its base mounting to ensure it's in a standing position on a flat surface. This step is necessary for when you start configuring your camera using a computer or laptop via the USB cable.
Step 2: Connect to a Power Source
Use the provided micro USB cable to connect the camera to a power source. If done correctly, a yellow light will come on, indicating that the camera is ready for setup.
Step 3: Run the Installer Application
An auto-run popup should appear, prompting you to run the installer application and initiate the Dropcam installation process through your default browser. If this doesn't happen, locate and double-click on the "Dropcam installer" or "Dropcam Setup" on your computer.
Step 4: Follow the Prompts
Follow the on-screen prompts to configure the Dropcam software and Wi-Fi connectivity. It's important not to unplug the camera from your computer or laptop until you receive an alert prompting you to do so.
Step 5: Log In or Create a Dropcam Account
Once you're on the browser, log in to your existing Dropcam account or create a new one if you don't have one already. The camera will automatically detect accessible Wi-Fi networks, but you'll need to know your SSID and password to complete the configuration. It's also recommended to give your camera a unique name.
Step 6: Enable Bluetooth on Your Mobile Device
For this step, ensure your mobile device supports Bluetooth LE (Low Energy). Turn on Bluetooth and make sure your device is discoverable.
Step 7: Scan for Available Devices
With your Dropcam plugged into a power source and the yellow blinking light on, use your mobile device to scan for available devices. Select the camera from the list of discovered devices and follow the prompts to complete the setup process.
Step 8: Ensure an Active Wi-Fi Network
Make sure there is an available and active Wi-Fi network for the setup process to be successful.
Step 9: Download the Dropcam App (Optional)
You can enhance your Dropcam experience by downloading the official Dropcam app from the Google App Store or the Apple App Store, depending on your device. The app offers features such as customizable alerts, footage review, and live video streaming. It also enables you to turn the Dropcam on and off and even talk to people or pets directly.
Step 10: Set Up Cloud Recording (Optional)
Setting up cloud recording is beneficial if you want to save large amounts of video footage for later review.
Once you've completed these steps, you can place your Dropcam anywhere with a strong Wi-Fi signal, whether on a flat surface or mounted on a wall.
Can Your TV Spy on You?
You may want to see also

Download the Dropcam app
To view your Dropcam cameras via a browser, you will first need to download the Dropcam app. The app is available for both Apple and Android devices.
The Dropcam app is easy to use. Once you sign in with your Dropcam account, it will connect directly to the camera. There are also public cameras you can view if you want. The video quality in the Dropcam app depends on your network connection. While the camera transmits in 720p, a slow connection will not give you the same quality, and there may be a lot of buffering of the video feed.
If you are using an Apple device, you can also download the Cams for Dropcam app to view your Dropcam cameras from your Apple Watch. This app allows you to choose which camera is shown, turn your cameras on and off, see the last time your cameras were updated, and view the status of your cameras. Note that this app is not endorsed by or affiliated with Dropcam.
Unlocking Camera Access for Chrome: A Step-by-Step Guide
You may want to see also

Set up cloud recording
To set up cloud recording for your Dropcam camera, you can follow these steps:
Firstly, it is important to note that Dropcam offers an optional Cloud Video Recording (CVR) service that allows you to save up to 30 days (720 hours) of continuous video. This service is available for a monthly or yearly fee, with the option to save 7 days of video for $9.95/month or $99/year, or 30 days of video for $29.95/month or $299/year.
Now, to set up cloud recording:
Step 1: Check your camera brand's compatibility with the cloud service. In this case, ensure that your Dropcam camera is compatible with cloud storage services.
Step 2: Order a cloud adapter and create your cloud plan. You may need to purchase a cloud adapter that is compatible with your camera brand and the cloud service you intend to use.
Step 3: Download the necessary apps or software. Download the cloud service app or software and connect the Cloud Adapter. Alternatively, you can set it up via the web.
Step 4: Connect your cameras to the cloud. Find your cameras on the network and connect them to the cloud.
Step 5: Configure your camera settings. Ensure that your camera is connected to power and the network. You may need to configure the camera's IP address, create user accounts, and set up passwords.
Step 6: Test your cloud connection. Once your camera is set up and connected to the cloud, test the live feed to ensure it is working. Additionally, check that motion-activated events are being recorded, and adjust any other settings as required.
By following these steps, you should be able to set up cloud recording for your Dropcam cameras successfully.
How Teleprompter Beam Splitters Affect Camera Images
You may want to see also

Place your Dropcam
The Dropcam HD is a camera that can be placed on a table or mounted on a wall. It has a three-axis tilt/swivel/camera rotation feature and twelve infrared LED illuminators around the lens that provide night vision. The camera can be snapped out of its housing for more freedom in how it is used.
The Dropcam Pro is the second iteration of the camera, featuring improved resolution, easier setup, and better night vision. It has been praised for its ease of use, functionality, and attractive design. The Dropcam Pro can be mounted virtually anywhere with the provided mount and third-party options, and the ability to use your own Micro USB cable at any length (1ft+) is great for clean installations.
Unlocking Focal Point Camera Data: A Step-by-Step Guide
You may want to see also
Frequently asked questions
The Dropcam is very easy to install and set up. The Dropcam HD and Dropcam Pro come with Wi-Fi features that enable flexible placing and remote viewing on mobile devices such as compatible iPhones (4S or later versions) and Android smartphones using a downloadable app. You can also set up your Dropcam using a mobile device without a computer through Bluetooth. First, put your Bluetooth on and make sure your device is discoverable. The Dropcam should be plugged into a power source and the yellow blinking light is on and near the mobile device. Scan for available devices through your mobile device and select the camera if it shows on the discovered devices list and follow prompts to complete the process.
Start with the Nest app. Turn on your phone’s Bluetooth and Wi-Fi. Scan the QR code and pick a location name. The app will ask you to scan your camera’s QR code with your phone. Plug in your camera and connect it to Wi-Fi. Check your camera’s video stream.
Nest Cameras cannot be used as fully-functioning webcams. However, a Nest camera’s live stream can be shared with others online using a link or embedded in a webpage.


