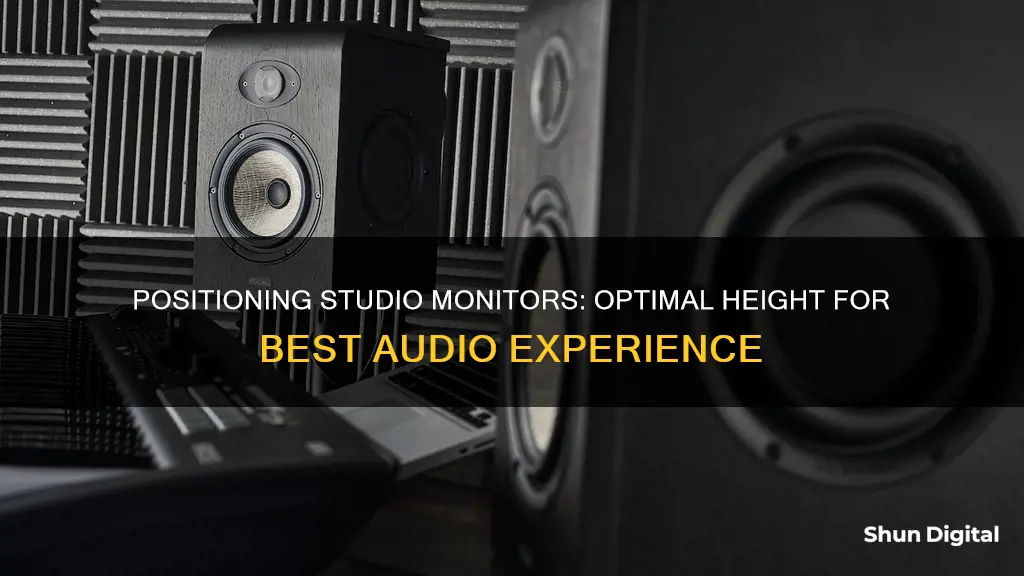
Studio monitors are speakers designed for use in recording studios, radio stations, and other professional audio environments. They are used to mix music, dialogue, and sound effects during the recording, mixing, and mastering processes. The placement and listening position of studio monitors are crucial for achieving an accurate frequency response and a solid stereo image. Ideally, the monitors should be placed on stands or a mixing console, with the listener seated a few feet away, forming an equilateral triangle with the two monitors. The height of the monitors should be adjusted so that the tweeters are at ear level when the listener is seated. The distance between the monitors and the listener's head should be equal, and the monitors should be angled slightly behind the listener's head to ensure accurate sound reproduction.
The volume level of studio monitors depends on various factors, including room size, music style, and personal preference. A common recommendation for monitoring levels is around 85 dB SPL, but this may be too loud for smaller home studios. It is suggested that a more appropriate target for home studios is between 73 and 76 dB SPL. Additionally, it is important to calibrate studio monitors to ensure accurate sound reproduction. This can be done using pink noise, which consists of every frequency band at the same level, and an SPL meter to measure the acoustic sound pressure level produced by the monitors. By adjusting the volume of the monitors until the SPL meter reads the desired level, one can ensure consistent and accurate sound reproduction.
What You'll Learn
- Studio monitors should be placed on stands or a mixing console
- Monitors should be at the listener's ear level
- Monitors should be slightly behind the listener's head
- The distance between the left and right speakers and the listener should be equal
- The ideal wattage for studio monitors is 50-75 watts per channel

Studio monitors should be placed on stands or a mixing console
Studio monitors are usually placed on stands or a mixing console, with the listener seated a few feet away, and the speakers positioned at the listener's ear level. This setup allows the engineer to hear the audio in a relatively neutral listening environment.
Monitor stands are recommended as they separate the monitors from the rest of the setup, allowing for easier adjustments to their distance and orientation. They also help to reduce unwanted vibrations and reflections. If stands are not an option, decouplers or isolation pads can be used to isolate monitors and mitigate vibrations and resonances.
When placed on a mixing console, monitors should be positioned on stands behind the desk, ensuring the bass driver is not obscured. Mounting monitors vertically can help to reduce sound coloration caused by desk reflections.
The placement of studio monitors in relation to the room and the listener's ears can significantly impact the sound quality. It is important to avoid placing monitors directly on hard surfaces, such as a console or desktop, as this can cause unwanted reflections and vibrations.
Leaving Monitor On: Safe to Remove HDMI Cable?
You may want to see also

Monitors should be at the listener's ear level
Studio monitors should typically be positioned at the listener's ear level. This is to ensure that the engineer hears the audio in a relatively neutral listening environment. The tweeters of the studio monitors should be at the same height as the listener's ears when seated, which is usually about 47-55 inches (120-140 cm) from the floor.
The placement of the monitors is crucial to achieving an accurate frequency response and a solid stereo image. Ideally, the listener's position and the two monitors should form an equilateral triangle, with the distance between the left and right speakers and the distance from each speaker to the back of the listener's head being equal. This allows the listener to be inside the triangle, creating a natural stereo "sweet spot" where they can move around and collaborate with others.
To achieve the optimal geometry, studio monitors should be placed on stands or a mixing console. Stands help position the monitors at the correct height and aim them towards the listener's position, while also reducing vibrations and providing stability. Isolation pads can also be used to decouple the speakers from their stands or surfaces, minimising vibrations and enhancing sound accuracy.
Transforming CNC CRT Monitors to LCD Displays
You may want to see also

Monitors should be slightly behind the listener's head
Studio monitors should be placed in a way that ensures the listener can hear audio in a relatively neutral listening environment. The ideal setup is to have the listener's head and the two monitors form an equilateral triangle, with the monitors pointing directly at the listener's head or slightly behind it. This ensures a natural stereo "sweet spot", allowing the listener to move around a bit without losing the sweet spot.
The tweeters of the studio monitors should ideally be at the same height as the listener's ears when seated, typically about 47-55 inches (120-140 cm) from the floor. If the monitors need to be placed above a computer monitor, they can be positioned slightly higher and tilted downwards. However, care must be taken to avoid the speakers toppling over.
High frequencies are more directional than lower frequencies, so pointing the monitors directly at or slightly behind the listener's head ensures accurate listening. This also minimises high frequencies bouncing off side walls.
The distance between the left and right speakers and the distance from each speaker to the back of the listener's head should be equal. This geometry produces a natural stereo image, and the sound will seem to exist in the room rather than coming directly from the speakers.
Monitoring API Performance: Strategies for Success
You may want to see also

The distance between the left and right speakers and the listener should be equal
When setting up studio monitors, it is important to consider the placement and listening position of the speakers relative to the listener. An equilateral triangle setup is ideal, where the distance between the left and right speakers and the listener is equal. This ensures a natural stereo "sweet spot", allowing the listener to move around a bit without compromising the sound quality.
To achieve this setup, use a tape measure, a piece of string, or even a guitar cable to ensure that the distance from each speaker to the listener's head is the same. The specific measurements can vary depending on the size of the room and the type of speakers, but the key is to maintain equal distances on both sides of the triangle.
Additionally, the height of the speakers should be adjusted so that the tweeters are at the same height as the listener's ears when seated. This typically places the tweeters around 47-55 inches (120-140 cm) from the floor. If necessary, the speakers can be placed slightly higher and tilted downwards towards the listener to clear any obstacles, such as a computer monitor.
By following these guidelines, you can create an optimal listening environment that ensures accurate sound reproduction and a solid stereo image.
Removing Scratches from Monitor Coating: DIY Solutions and Tips
You may want to see also

The ideal wattage for studio monitors is 50-75 watts per channel
Studio monitors are an essential part of any audio engineer or music producer's setup. They are designed to provide an accurate reproduction of the original recording, allowing users to mix and master their audio to ensure the finished product sounds as impressive as possible across all playback systems.
When it comes to the ideal wattage for studio monitors, 50-75 watts per channel is a good starting point, especially for beginners or those working in small to medium-sized rooms. This wattage range will provide adequate sound levels without distortion, allowing you to control your audio's sound without experiencing distortion.
However, it's important to note that the quality of the studio monitor is more critical than its wattage. A well-designed, high-quality studio monitor with a lower wattage rating can often sound better than a cheaper one with a higher wattage rating. The best way to determine the ideal wattage for your needs is to test the monitors in your room and listen to your material. If you require more volume or are working in a larger commercial studio, you may need to consider studio monitors with higher wattage, such as 100 watts or more per channel.
Adobe RGB vs sRGB: Which Monitor Should You Buy?
You may want to see also
Frequently asked questions
The ideal level for studio monitors depends on the size of the room and the loudness of the music you want to create. For a small home studio, a monitoring level of around 73-76dB SPL C is recommended, while for larger spaces such as cinemas, 83-85dB SPL is more appropriate.
It is recommended to maintain a distance of at least 3 feet from large, professional-grade studio monitors to avoid hearing damage. Near-field monitors, designed for close-range use, should be placed within 2 feet of the listener.
The ideal height for studio monitors is typically between 47-55 inches from the floor, with the tweeters positioned at ear level. This ensures the sound is focused on the listener and reduces the need for tilting the monitors.
Studio monitors should ideally be placed at least 2-3 feet away from the wall to reduce bass buildup and improve sound clarity. If space is limited, aim for as much distance as possible, even if it's just a foot.


