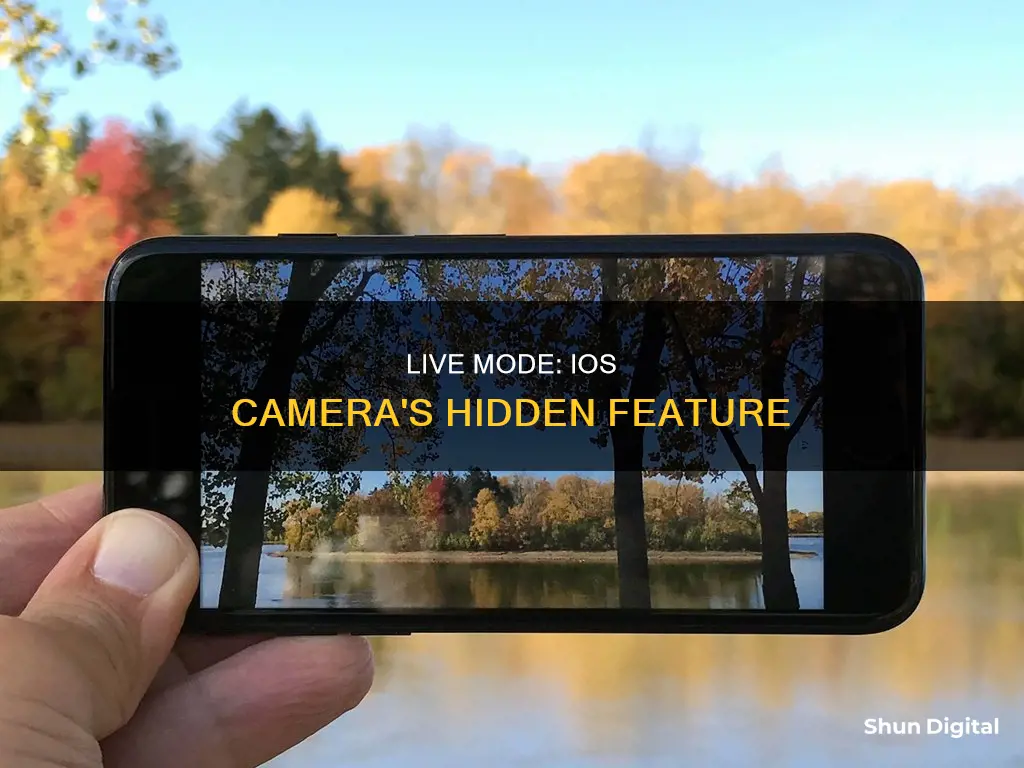
Live Mode, or Live Photos, is an Apple technology that brings your photos to life by capturing a short video with motion and sound. When you take a Live Photo, your iPhone records what happens 1.5 seconds before and after you tap the shutter button, resulting in a 3-second moving image. This feature is available on iPhone 6s and newer models, as well as on most iPads. Live Photos can be edited, shared, and even converted into videos or static images.
| Characteristics | Values |
|---|---|
| Recording time | 1.5 seconds before and after the picture is taken |
| Video format | MOV |
| Video length | 3 seconds |
| Video quality | Not ultra-high-resolution |
| Audio | Yes |
| Editing | Yes |
| Effects | Loop, Bounce, Long Exposure |
| Sharing | iMessage, AirDrop, iCloud Photo Sharing |
| Supported devices | iPhone 6S and newer, 5th generation iPad and newer, 3rd generation iPad Air and newer, 5th generation iPad mini and newer, iPad Pro models from 2016 and newer |
What You'll Learn

How to turn on Live Mode
Live Photos is an Apple technology that brings your photos to life by capturing a short video with motion and sound. It's on by default, but you can turn it off if you want to. Here's how to turn on Live Mode:
First, open the Camera app on your iPhone. Make sure your camera is set to photo mode by selecting it at the bottom of the screen.
Next, look for the Live Photos icon, which looks like three concentric circles or a bullseye, usually at the top of the screen. If it has a line through it, Live Photos is turned off. Tap the icon to turn it on—you'll know it's on when it lights up or turns yellow.
Now, you're ready to take a Live Photo! Simply tap the shutter button as you normally would, and your iPhone will capture 1.5 seconds of video and sound before and after you press the shutter.
To view your Live Photo, open the Photos app or tap the photo icon in the bottom left corner of the Camera app. Tap the Live Photo you want to view, and it will fill the screen. Tap and hold the screen to play the Live Photo and see it come to life!
You can also edit your Live Photos, add effects, and share them with others. To edit a Live Photo, open it in the Photos app and tap "Edit." You can adjust the colour, exposure, and sharpness, or add filters, crop, and rotate your photo.
Remember, Live Photos take up more storage space than regular photos, so keep that in mind if you plan on taking a lot of pictures. Enjoy capturing memorable moments with Live Mode!
Mastering Camera Modes: Switching for Better Shots
You may want to see also

How to turn off Live Mode
Live Photos is a feature on iPhones that records 1.5 seconds of action before and after you tap the shutter button. It captures image, sound, and movement, and allows you to edit and share your photos. However, Live Photos can take up a lot of space, so you may want to disable the feature.
How to Turn Off Live Photos Temporarily
- Launch the Camera app.
- Look for the Live Photos bullseye icon in the top right corner of your screen.
- Tap on the bullseye.
- A slash through a white bullseye button means the feature is off.
How to Disable Live Photos Permanently
- Tap Settings.
- Click Camera.
- Click Preserve Settings.
- Toggle on the switch next to Live Photos.
- Open the Camera app and turn off Live Photos.
Additional Tips
- Tapping the arrow icon in the middle top of the Camera app gives you a range of controls over various camera functions, including Live Photos.
- You can also tap the Live Photos bullseye to change the setting to Live Off, Live On, or Auto.
- If you have already taken photos with Live Photos enabled, you can disable the feature by opening the photo, tapping Edit, and then tapping the yellow Live tag.
Charging the Kitmesh Camera: A Quick Guide
You may want to see also

How to edit Live Photos
Live Photos is an Apple technology that allows a single photo to be both a still image and a short video with motion and sound. It was introduced in 2015 alongside the iPhone 6S series and has since expanded to other devices.
- Open the Photos app and tap the Albums tab. Go to Live Photos under Media Types.
- Tap the Live Photo that you want to edit.
- Tap Edit, then make your desired adjustments.
- If you edit your Live Photo in a third-party app, you may lose any Live Photo effects that you've applied.
How to Change the Key Photo:
- Open the Live Photo and tap Edit.
- Tap the Live Photos icon at the bottom of the screen (three circles within each other).
- Slide through the frames within the Live Photo to choose your alternative frame.
- Tap 'Make Key Photo'. A small white dot will appear above the original selected image if you want to go back.
- Tap 'Done' to save your changes.
How to Add Live Photo Effects:
There are three effects that can be applied to Live Photos: Loop, Bounce, and Long Exposure.
- Open the Live Photo.
- Tap the Live Photos button near the top of the screen.
- Choose your desired effect: Loop, Bounce, or Long Exposure.
How to Share Live Photos:
You can share Live Photos via iMessage, AirDrop, or iCloud Photo Sharing.
- Open the Live Photo in the Photos app, then tap the Share icon.
- Select the sharing option you want to use, such as Messages or Airdrop.
- Note that you cannot email a Live Photo; if you do, it will be sent as a still JPEG image.
How to Turn Off Live Photos:
To turn off Live Photos temporarily, tap the Live Photos button in the Camera app. To keep Live Photos off permanently, follow these steps:
- Tap Camera > Preserve Settings.
- Make sure that the switch next to Live Photo is turned off.
The Best Camera Grip Battery Options and Their Lifespans
You may want to see also

How to add effects to Live Photos
Live Photos is an iPhone camera feature that captures a 3-second moving image, recording 1.5 seconds of footage before and after you press the shutter button. You can add effects to your Live Photos in the Photos app. Here's how:
- Open the Photos app and select a Live Photo to open it.
- Swipe up on the photo to reveal the Effects section.
- Choose from one of the three effects: Loop, Bounce, or Long Exposure.
- Tap the effect you want to apply to your Live Photo.
- You can change your mind by tapping on a different effect or selecting "Live" to return to the original version without any effects.
Here's a brief description of each effect:
- Loop: Turns your Live Photo into a continuous video loop. It plays the video and then repeats it with a smooth transition.
- Bounce: Plays the Live Photo forward and then immediately in reverse, repeating this until you stop the video.
- Long Exposure: Creates a blurred image by combining the frames of the video. This effect is great for capturing moving water, such as waterfalls, seas, or rivers.
Unveiling Camera Brick Battery's Inner Workings
You may want to see also

How to share Live Photos
Live Photos are a fun way to relive memories, but they can be tricky to share with non-Apple users. Here's a detailed guide on how to share Live Photos on iOS:
Sharing Live Photos on iOS
To share your Live Photos with family and friends, open the Live Photo in the Photos app and tap the Share button. You can then select your preferred sharing method, such as Messages, AirDrop, or iCloud Photo Sharing. Note that you cannot share Live Photos via email as they will be sent as still JPEG images.
Converting Live Photos to Videos
If you want to share your Live Photos more widely, you can convert them into videos. Open the Photos app, tap the Share button, and scroll down to select "Save as Video." This will allow you to share your Live Photo as a video to platforms like Facebook and Instagram.
Sending Live Photos as GIFs
Another option for sharing Live Photos is to convert them into GIFs using third-party apps. On iOS 13 and later, you can turn Live Photos into GIFs and share them via various apps like Mail, Messages, WhatsApp, Snapchat, and Instagram.
Using Third-Party Apps
To share Live Photos on unsupported platforms like Instagram, you can use third-party apps such as Lively. With Lively, you can convert Live Photos into videos or GIFs and then upload them to Instagram. However, the free version of Lively adds a watermark to your GIFs, which can be removed with an in-app purchase.
Sharing Live Photos on Social Media
When sharing Live Photos on social media, it's important to note that some platforms may not support Live Photos. For example, Instagram only allows Live Photos to be shared as Stories or direct messages. Facebook also only supports Live Photos on iPhones and iPads, so you'll need to convert them into videos for other devices.
GW2 Camera Modes: Which One is Best?
You may want to see also
Frequently asked questions
Live Mode, or Live Photos, is an Apple technology that allows you to capture a 3-second moving image that combines a video clip and a still image. It brings your photos to life by recording 1.5 seconds of video and sound before and after you press the shutter button.
To turn on Live Photos, open the Camera app and look for the Live Photos icon (three concentric circles or a bullseye). If it doesn't have a line through it, Live Photos is already on. If it does, tap the icon to turn it on.
To play a Live Photo, open the Photos app and tap on the Live Photo you want to view. You will see the word "LIVE" at the top of the photo. Tap and hold the screen to play the Live Photo.


