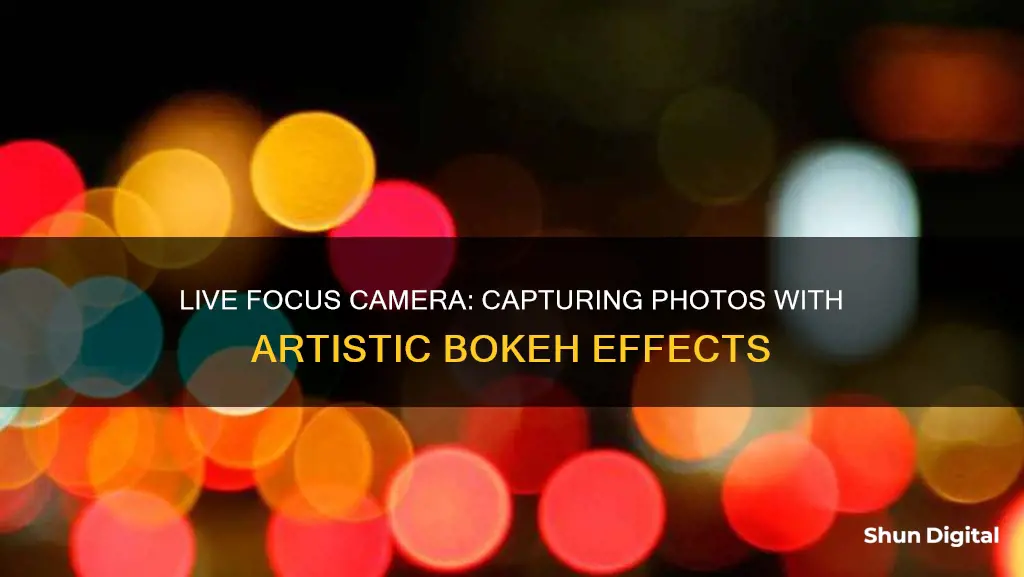
Live Focus is a camera mode that enables the dual-camera handset to add a blur to the background and foreground while focusing only on the subject. This is known as the bokeh effect, which was previously only possible on DSLR cameras. Live Focus mode is available on Samsung's Galaxy Note 8, Galaxy S10, Galaxy S8, and Galaxy S8+ models.
| Characteristics | Values |
|---|---|
| What is it? | A camera feature that allows you to view the sensor's feed on the rear LCD screen. |
| How does it work? | It takes the view captured by the sensor and transmits it to you live via the LCD screen or the viewfinder if you have an electronic viewfinder. |
| What are the benefits? | Exposure simulation, an array of shooting aids (e.g. rule of thirds grid, focus peaking, histogram), improved accuracy of autofocus, improved manual focus, preview depth of field in real-time, histogram display, composition grid. |
| What are the drawbacks? | Longer shutter blackout times, slower burst rates, reduced battery life. |
What You'll Learn
![]()
Live Focus mode on Samsung Galaxy devices
Live Focus is a feature on Samsung Galaxy devices that allows you to take photos with a blurred background, mimicking the effect achieved by professional photographers. This feature has been available on Galaxy smartphone cameras for some time and is known for its iconic filters.
To use Live Focus, open the Camera app and tap on the dynamic focus option next to the shutter. You can then adjust the background blur using a sliding bar. The Live Focus mode will automatically apply your chosen filter to whatever you are photographing. You can use it with the front camera for selfies or with the rear camera to capture photos of friends and family.
In addition to the original Live Focus feature, Samsung has introduced Portrait mode on newer Galaxy devices with One UI 4 and later software, such as the Galaxy S21, S22, S23, and S24 lineups. Portrait mode includes Live Focus and offers additional effects and filters to enhance your selfies. To access Portrait mode, open the Camera app and tap "Portrait." You can then tap the circle in the bottom right of the viewfinder to adjust the options using the slider.
- Blur: Blurs the background around the subject, similar to Live Focus.
- Studio: Brightens the subject without brightening the background, making the subject stand out.
- High-key mono: Creates a black-and-white effect with high brightness.
- Low-key mono: Similar to High-key mono but with low brightness.
- Backdrop: Grays out the background with a gradient effect while keeping the subject in colour.
- Colour point: Adjusts the sharpness of colours around the subject, making everything else appear darker.
Charging the Olympus SZ-14 Camera: A Step-by-Step Guide
You may want to see also
![]()
Live View on DSLRs
Live View is a feature in some digital DSLR cameras that allows you to see a live view on the rear LCD display, rather than using the traditional viewfinder. This feature was first introduced to the market by the Olympus E-330 in 2006.
Advantages of Live View:
- It is easier to get a sharp focus.
- You can see how much depth of field you have.
- It is much easier to focus on.
- You can see real-time previews of the camera effects.
- It facilitates photo composition.
- It is more convenient in low-light situations.
Disadvantages of Live View:
- It is relatively slower to focus when using the live view feature.
- It is difficult to see clearly through your LCD during sunny days.
- Using Live View drains the batteries much faster than using the viewfinder.
- Live View is most useful when shooting static subjects.
When to Use Live View:
- When you're trying to capture images from tricky angles (e.g. low-angle landscapes).
- When you're working with tricky exposure conditions and you want to be sure you've captured plenty of detail (e.g. outdoor portrait photography).
- When you want to make sure you've nailed your composition.
- When doing long-exposure photography with a tripod (e.g. blue-hour cityscape photography).
When Not to Use Live View:
- When tracking moving subjects.
- When handholding in low light.
- When hoping to really immerse yourself in a scene.
The Origin Story of Nextbase Cameras
You may want to see also
![]()
Live View's exposure simulation
Live View exposure simulation is a feature that allows a digital camera's display screen to be used as a viewfinder, providing a preview of framing and exposure before taking a photograph. The preview is generated by continuously projecting the image formed by the lens onto the image sensor, which then feeds the electronic screen or viewfinder with a live preview image.
The first interchangeable-lens DSLR to use a live preview for framing was the Fujifilm FinePix S3 Pro, launched in October 2004. Its "Live Image" mode displayed a live, black-and-white framing preview that could be magnified for manual focusing. The first DSLR to use live view for both framing and exposure simulation was the Canon EOS 20Da, a special version of the Canon EOS 20D with modifications for astrophotography, released in early 2005.
There are two types of live preview: autogain/framing live view and exposure simulation live preview. The first type is more basic and displays the overall framing, allowing a preview of what the camera's sensor will detect. This type of live preview is useful when lighting conditions are too dark for an optical viewfinder. The second type is more advanced and displays the exact exposure 'look', allowing photographers to alter the exposure via adjustments to parameters such as shutter speed, film speed, ISO, and aperture before taking the photograph. This type of live preview eliminates the need for traditional light metering.
Many modern bridge and compact cameras with movie mode only have automatic exposure and limited exposure compensation control, and live view that is primarily for framing only. Live-preview-only cameras include compact digital cameras, bridge digital cameras, and mirrorless interchangeable lens cameras.
Some issues have been encountered with Live View exposure simulation. For example, when using flash, the apparent brightness of the image displayed on the monitor automatically increases, which can ruin the shot. Additionally, in low-light conditions, the live view can become extremely dark, making it difficult to compose and focus.
Dash Cam Power Drain: How to Protect Your Car Battery
You may want to see also
![]()
Live View's shooting aids
Live View is a camera feature that allows you to see what the camera's lens and sensor are recording on the LCD screen, instead of through the optical viewfinder. This offers several benefits when it comes to shooting aids:
Larger Picture
Live View provides a much larger picture of what your camera sees compared to the viewfinder. This is especially beneficial for genres like landscape photography, where a more detailed perspective helps you achieve perfect exposures, composition, and focus.
Improved Autofocus
Autofocus is more accurate in Live View as it happens directly on the imaging sensor. You can also focus on objects closer to the edges of the frame. Newer cameras may also offer object-recognition focusing like face or eye-detection. While autofocus accuracy increases, focus speed may decrease.
Manual Focus
Live View makes it easier to focus manually thanks to the larger screen. Some cameras offer "focus peaking", which highlights areas of high contrast so you can visually identify where the focus is sharpest.
Preview Depth of Field
Live View lets you preview depth of field in real-time, a feature that will be appreciated by anyone who loves creamy background bokeh. Combined with improved focusing accuracy, this results in better performance at wide apertures with shallow depth of field.
Histogram Display
Live View provides an immediate histogram reading, helping you identify if adjustments to the exposure are needed. This is faster than continuously taking shots and reviewing them.
Composition Grid
Most cameras with Live View will allow you to see a composition grid, making it easier to follow the rule of thirds when composing your shot.
Lorex Camera Mirror Mode: What's the Deal?
You may want to see also
![]()
Live View's touch-focusing
Live View is a camera feature that allows you to see a live feed of what the camera sensor sees on the rear LCD screen. In other words, it lets you preview how your images will turn out before you take them. Live View is available in most modern cameras, including DSLRs, smartphones, point-and-shoot models, bridge cameras, and mirrorless cameras.
When using Live View, you can utilise the touch-focusing feature to quickly and accurately set the focus on your subject. Touch-focusing allows you to tap on the portion of the screen that you want to be in focus, and the camera will automatically adjust the lens to focus on that area. This feature is especially useful when dealing with tricky focusing situations, such as low-light conditions or when you are very close to your subject.
To enable touch-focusing in Live View, you may need to adjust certain settings on your camera. For example, on the Canon 5D Mark IV, you need to enable ":-) + Tracking" under Live View AF mode, switch to Servo AF, and disable the touch shutter. Other camera models may have different procedures, so be sure to refer to your camera's manual for specific instructions.
It's important to note that touch-focusing may not be suitable for fast-moving subjects or certain types of photography, such as sports, action, or wedding photography. In those cases, traditional autofocus methods or manual focus may be more effective. Additionally, touch-focusing can drain your camera's battery more quickly, so it's important to keep an eye on your battery levels.
Overall, Live View touch-focusing is a valuable tool that can help you improve your focusing accuracy and composition, especially in challenging shooting situations. By taking advantage of this feature, you can ensure that your images are tack-sharp and perfectly focused.
Charging Multiple Camera Batteries: Efficient Methods to Explore
You may want to see also
Frequently asked questions
Live Focus is a camera mode that enables the dual camera to add a blur to the background and foreground while only focusing on the subject.
First, open the camera by double-pressing the power button. Frame your shot, select Live Focus, and stay about 4 feet away. You will see when the Live Focus feature is available. Focus on your subject if necessary and adjust the background blur by moving the slider. Then, take your photo.
Live Focus allows you to achieve DSLR-like bokeh effects, adding a blur to the background and foreground while keeping the subject in focus. It also enables object-recognition focusing like face or eye-detection.
Devices that use Live Focus include the Samsung Galaxy Note 8, Galaxy S8, Galaxy S10, and Galaxy A8 (2018).