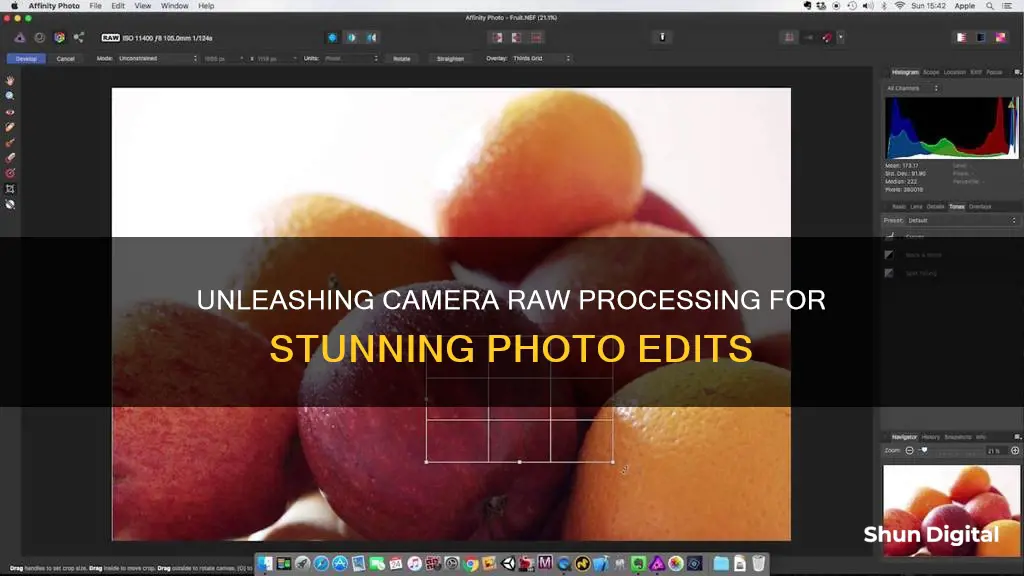
In-camera raw processing is a feature available on some DSLR cameras that allows you to process raw image files directly in the camera, without the need for a computer. Raw files are the image as seen by the camera's sensor, similar to unprocessed film. By shooting in raw, you gain more control over the final image as you can process it according to your preferences. In-camera raw processing options typically include adjustments to white balance, exposure, picture style, noise reduction, and more. This feature is useful when you want to quickly share an image, as you can process the raw file and save it as a JPEG directly from your camera.
What You'll Learn
- In-camera raw processing allows you to shoot raw and then process the raw file in the camera to get a JPEG image
- You can adjust settings like brightness, white balance, picture style, noise reduction, resolution, and colour space
- Shooting in raw gives you total control over your images in post-processing
- You can recover image detail in case something goes wrong, like blown-out exposure
- In-camera raw processing is useful if you want to shoot raw files but also be able to quickly share a JPEG
![]()
In-camera raw processing allows you to shoot raw and then process the raw file in the camera to get a JPEG image
In-camera raw processing is a feature available on some DSLR cameras, such as the Canon 60D, that allows you to process a raw file in the camera to get a JPEG image. This can be useful if you need to quickly share or print a photo without access to a computer. The benefit of shooting in raw is that it gives you more information to work with during the post-production stage, allowing you to have complete control over the settings of your image.
When you shoot in raw format, your camera saves a bunch of data without processing it inside the camera. This results in larger file sizes compared to JPEGs, but it gives you more flexibility in editing as you have access to all the information captured by the camera sensor. With JPEGs, the camera quickly compresses the data and makes some decisions about the image, such as white balance and temperature, which can sometimes affect the picture adversely.
In-camera raw processing allows you to process your raw files directly on your camera, giving you some control over the final image without needing a computer. The level of control you have varies depending on your camera model. Some cameras offer basic adjustments, such as white balance, exposure compensation, and picture style, while others provide more advanced tools, such as noise reduction and lens correction.
One advantage of in-camera raw processing is that you can get the colours and tonal renditions that match the in-camera JPEGs. Third-party raw converters, like Adobe Camera Raw or Lightroom, use their own conversion process, which may not always match the camera's intended look. In-camera raw processing ensures you get the colour and tonal reproduction as intended by the camera maker.
However, in-camera raw processing also has its limitations. You don't get the same depth of control as you would with a dedicated raw converter on a computer. Additionally, the user experience and ergonomics of adjusting settings on a camera can be less intuitive and more time-consuming than working on a larger computer screen with more advanced software.
Understanding the Size of Raw Camera Files
You may want to see also
![]()
You can adjust settings like brightness, white balance, picture style, noise reduction, resolution, and colour space
In-camera raw processing allows you to adjust various settings, including brightness, white balance, picture style, noise reduction, resolution, and colour space. These adjustments can enhance the visual aspects of your image and make it more faithful to the original scene.
Brightness adjustments control the overall image brightness, making the image lighter or darker. This is similar to adjusting the aperture on your camera.
White balance adjustments remove unrealistic colour casts, ensuring that objects that appear white are rendered as such in your photo. This process involves altering the colour temperature and tint of your image to match the lighting conditions under which it was captured.
Picture style adjustments can enhance the visual appeal of your image. For example, you can change the style of a blue sky from cyan to purple or increase the saturation of a red jacket.
Noise reduction techniques minimise image noise, which includes luminance (grayscale) noise and chroma (colour) noise. Luminance noise makes an image look grainy, while chroma noise appears as coloured artefacts. Noise reduction algorithms sharpen the image and reduce these unwanted elements.
Resolution adjustments can improve the overall quality of your image, ensuring it has the desired number of pixels and maintaining a faithful representation of the original scene.
Colour space adjustments allow you to work within a specific colour profile, ensuring accurate and consistent colours across different devices and platforms.
These in-camera raw processing adjustments provide you with powerful tools to refine and enhance your images, all without the need for a separate computer or editing software.
Unleashing Camera Raw's Power: From Basics to Advanced Techniques
You may want to see also
![]()
Shooting in raw gives you total control over your images in post-processing
This means that you have total, blissful control of your entire image. However, this also means that you will have to put in some work of your own. RAW files need to be imported into a computer program like Adobe Lightroom or Adobe Camera Raw and then either instantly exported as JPEGs or perfected according to your vision for the image with editing and then exported as a JPEG or other printer-friendly format.
A RAW file is not an image. It is information gathered by the sensor and delivered to you on a memory card. It is totally your job to then do what you want with that information before compressing it into an 'image'.
A RAW file won't usually have included the in-camera sharpening that JPEG compression provides. So don't fret when you think your image isn't as sharp as it should be – this also needs to be done by you in the post-production editing process.
Shooting in RAW also means that you keep all the image data. This is particularly useful when, for example, the sky in your image is too bright, or the subject too dark. With a JPEG file, it is very hard to do much about that, as the image is essentially already in a final state and allows only for a small amount of editing. With a RAW file, there is a massive amount of image information available, meaning you can recover skies that are too bright by reducing their brightness and increase the shadows so they are brighter.
Another advantage of shooting in RAW is that you can make white balance adjustments. When you shoot in JPEG, the camera has to figure out the white balance and apply it to the image. When you shoot in RAW, you can change the white balance after the fact much more easily, meaning it is a great deal easier to adjust the tone of the image in post-processing and "fix" an image so it looks more natural and similar to reality.
Finally, when you shoot in JPEG, the camera applies a number of edits to the image data as part of the conversion process to give the final JPEG image a particular look. This includes adjustments to colour saturation and contrast, as well as noise reduction and sharpness. Whilst the camera software is generally okay at these adjustments, you get a lot finer control over sharpness and noise reduction if you use a dedicated image editing tool like Adobe Lightroom. So, for example, for darker scenes, like indoor shots where you can't use a flash or night photography, shooting in RAW and adjusting the noise and sharpness in post-processing will get you better results, resulting in a cleaner image overall.
Charging Camera Batteries: How Long is Too Long?
You may want to see also
![]()
You can recover image detail in case something goes wrong, like blown-out exposure
In-camera raw processing allows you to shoot raw and then process the raw file in the camera, eliminating the need for a computer. This is especially useful when you need to quickly share or publish an image. You can process the raw image into a JPEG format according to your desired settings.
One of the benefits of in-camera raw processing is the ability to recover image detail in case of blown-out exposure. Blown-out highlights are common in photography, especially when shooting outdoors or in changing lighting conditions. This occurs when the brighter values in the image merge into a white blob, resulting in a loss of detail.
To identify blown-out highlights, you can use clipping warnings, which are usually found in the Histogram panel of your camera or editing software. When enabled, these warnings highlight areas in the image that are close to losing detail due to overexposure. The more red an area is, the less likely you will be able to recover the missing information.
Once you have identified the blown-out areas, you can attempt to recover the lost details. This can be done by adjusting the appropriate sliders in the Basic Panel of your editing software, such as Exposure, Highlights, and Whites. It is important to work from the top of the panel down, as the order of adjustments can influence how other controls work. For example, adjusting the Exposure slider will also affect the highlights and whites.
When reducing blown-out highlights, it is important to find a balance. Attempting to recover all highlights, including those of the sun, can result in an unnatural-looking image. Leaving a little pure white in the sun's tones and making small, incremental adjustments to the sliders will help create a more realistic effect.
In-camera raw processing allows you to quickly and conveniently recover image detail in case of blown-out exposure, without the need for a computer. By adjusting the relevant settings, you can salvage images that may have otherwise been lost due to overexposure.
Simplisafe Camera Costs: When Do You Get Charged?
You may want to see also
![]()
In-camera raw processing is useful if you want to shoot raw files but also be able to quickly share a JPEG
In-camera raw processing is a feature offered by some DSLR cameras, such as the Canon 60D, that allows for the conversion of RAW image files into JPEGs without the need for a computer. This is done through the camera's built-in raw converter, which processes the image according to its settings.
RAW files are essentially digital negatives that capture all the data from a camera's sensor without any compression or processing. They offer greater flexibility in post-processing due to their uncompressed nature, allowing for extensive adjustments to exposure, white balance, and colour correction. However, they require additional storage space and time for editing.
On the other hand, JPEGs are processed and compressed image formats. They are smaller in size, making them easier to store and share, and are widely accepted as the standard format for web and social media. JPEGs are ideal for quick sharing and situations where turnaround time is crucial, such as event or sports photography.
In-camera raw processing combines the benefits of both formats. It enables photographers to capture images in RAW, retaining the highest image quality and flexibility, while also providing the option to quickly generate JPEG versions for immediate sharing. This feature is particularly useful for photographers who want to capture the moment with the best possible image quality and quickly share their work without spending extra time on post-processing.
However, in-camera raw processing may have limitations in terms of the depth of control offered when compared to dedicated photo editing software. Additionally, the user experience and ergonomics of performing in-camera raw processing may not be as refined as working on a computer with a larger screen and more intuitive controls.
Stealth Trail Cameras: What Batteries Do They Use?
You may want to see also
Frequently asked questions
In-camera raw processing allows you to process a raw image file in your camera, without needing a computer.
In-camera raw processing can be useful if you want to quickly share a JPEG image, but also want to shoot in raw format. It can also be a good way to get the exact colour and tonal reproduction the camera maker intended.
This varies depending on the camera, but common adjustments include white balance, exposure compensation, and picture style.
No, you cannot crop an image using in-camera raw processing.
Yes, you can apply film simulation profiles after you take the picture using in-camera raw processing.