Expert mode in a camera allows the photographer to take control of settings such as ISO and exposure, and in some cases, shutter speed and aperture. This mode is recommended by many advanced and professional photographers as it gives them full control over how movement and depth of field are captured. Expert mode is available on some smartphone cameras, such as the Chrome OS camera app, and certain Samsung and Oppo models.
What You'll Learn
![]()
Manual control over settings like ISO and exposure
Manual mode gives the photographer full control over all camera settings. It allows you to adjust the three key exposure variables: ISO, aperture, and shutter speed. These settings determine the overall brightness of your photos (exposure) and affect your photos in other ways, such as by adjusting the sharpness, depth of field, and overall quality of your files.
ISO controls your camera’s sensitivity to light. A lower ISO, such as 100, needs more light but gives you more detail. A higher ISO needs less light but may result in a noisier image.
Aperture refers to the opening in the lens through which light reaches the sensor. It is measured in f-stops, which range from f/22 to f/1.4. The wider the aperture, the more light enters the camera, and the brighter the exposure. Aperture also controls the depth of field, or how much of your shot is in focus. A wider aperture creates a shallower depth of field, resulting in a blurry background, while a narrower aperture produces a deeper depth of field with more of the image in focus.
Shutter speed refers to the length of time the camera shutter is open and capturing light. A slower shutter speed allows more light to reach the sensor and creates a brighter image, while a faster shutter speed results in a darker image. Shutter speed also affects image sharpness, with faster shutter speeds generally producing sharper images and slower shutter speeds creating motion blur.
By manually controlling these settings, you can make your photos appear exactly as dark or light as you want, ensure perfect sharpness, create different depth-of-field effects, and maintain high-quality images even in low-light conditions.
Extending On-Board Camera Battery Life: Tips and Tricks
You may want to see also
![]()
Face detection
When you switch on a camera with face detection activated, the autofocus (AF) system and usually the autoexposure (AE) system link with a microprocessor that analyses the scene, looking for areas that are shaped like human faces. The most common camera systems use two procedures:
- Identifying regions in the subject that contain skin colour, using a skin filter that detects colour and texture.
- Scanning these areas for patterns that could represent eyes, eyebrows, nostrils, and a mouth.
More sophisticated processing algorithms can detect more faces in a scene. The systems used in most recent digital cameras can identify up to 10 faces and adjust the focus and exposure to provide the best average result. In most cases, the face detection system will confirm detection by overlaying a rectangle on each face in the scene displayed on the camera’s LCD. Some systems use a different colour to identify the face that will be used as the focusing target.
Understanding the Note 8 Camera's Unique Mode
You may want to see also
![]()
Custom video parameters
The "Custom Video Parameters" feature in Expert Mode allows users to manually adjust various settings to optimise video quality and file size. This is particularly useful when recording videos, as it helps reduce the amount of storage space required.
One of the key settings that can be customised is the video bitrate, which determines the quality of each recorded frame. A higher bitrate results in larger file sizes, so it's important to consider the available storage space on your device. The bitrate setting is specific to each camera, and the number of megabits per second (Mbps) used can vary depending on the device. It's worth noting that a higher bitrate generally means less compression on your resolution, improving video quality.
Additionally, Expert Mode may offer a selection of h.264 video profiles to choose from, such as baseline, main, and high. Videos encoded with baseline use a low compression ratio and are suitable for weaker hardware and phones. The "main" profile offers improved frame prediction algorithms and compression, while the "high" profile provides the most video compression but may not be compatible with all devices.
Another critical consideration is the video resolution. It is recommended to set the resolution to 1920x1080 pixels or higher if your camera supports it. While 4K resolution is not yet widely available, it is approaching consumer-grade status. However, it is important to keep in mind the storage capacity of your memory cards and the capabilities of your computer when shooting in high resolution.
The frame rate, measured in frames per second (FPS), also plays a crucial role in video quality. The standard frame rate for the NTSC region (the Americas) is 30 FPS, which is suitable for most situations, including YouTube uploads. For a more cinematic appearance, you can lower the frame rate to 24 FPS, matching the frame rate typically used in movies. Higher frame rates, such as 60p or 120p, are typically reserved for slow-motion footage.
By manually adjusting these custom video parameters, users can fine-tune their video recordings to achieve the desired balance between video quality and file size, making the most of the Expert Mode capabilities of their camera.
RAW vs DNG: Why You Should Make the Switch
You may want to see also
![]()
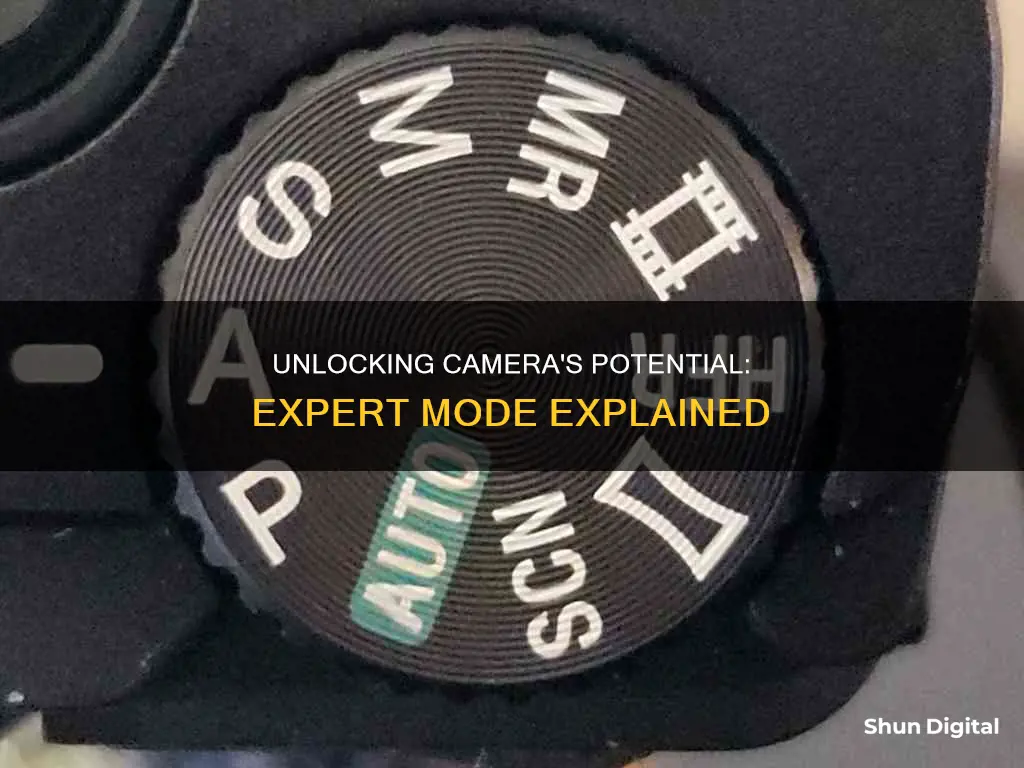
Shooting modes
The four main types of camera modes are:
- Program mode ("P"): The camera automatically adjusts the aperture and shutter speed based on the light values in the scene. This is a good mode for beginners to use after they have mastered the full auto mode.
- Shutter Priority mode ("Tv" or "S"): The photographer manually sets the shutter speed, and the camera automatically chooses the aperture based on the available light. This mode is useful for sports or fast-moving objects, as well as for freezing motion or creating blur.
- Aperture Priority mode ("Av" or "A"): The photographer manually sets the aperture, while the camera automatically adjusts the shutter speed to properly expose the image. This mode is popular among photographers as it allows them to control the depth of field and ensures the image is properly exposed.
- Manual mode ("M"): The photographer has full control over both the aperture and shutter speed settings. This mode is useful in extreme lighting situations or when consistency is required across multiple exposures, such as when stitching a panorama.
In addition to these basic modes, many cameras offer additional options such as Full Auto, Landscape, Sports, Close-Up, Portrait, and Night modes. These modes adjust settings like ISO, white balance, and flash to optimize the camera for specific shooting scenarios.
It is important to note that the labels and availability of certain shooting modes may vary depending on the camera manufacturer and model.
The Ultimate Camera Companion: Understanding Battery Packs
You may want to see also
![]()
Manual mode vs. flexible priority mode
Manual mode and flexible priority mode are two of the most common modes used by photographers. While manual mode is a valuable tool for taking total control over the creative process, there are situations in which allowing the camera to make some decisions can be beneficial.
Manual Mode
Manual mode is a camera setting that allows you to have full control over the exposure of your images. In this mode, you manually set the shutter speed, aperture, and ISO sensitivity. This mode is often used by professional photographers who want to have precise control over the depth of field, motion blur, and overall exposure of their images.
Manual mode is particularly useful in situations where the lighting conditions are consistent, but the subject may have high contrast. It is also commonly used for astrophotography, flash photography, and when using filters that significantly darken the amount of light entering the lens. Additionally, manual mode is ideal when you need to use the same camera settings for a series of photos, such as in panorama or focus stacking.
Flexible Priority Mode
Flexible priority mode, also known as Fv mode, is a camera setting that gives you the option to choose between auto and manual control of the shutter speed, aperture, and ISO sensitivity. It provides a balance between manual control and camera assistance.
In flexible priority mode, you can easily switch between different parameters without changing the mode dial. For example, if you want to adjust the aperture, you can simply scroll the top wheel to select the desired setting. This mode is particularly useful when you need to make quick adjustments to your camera settings without changing modes.
Flexible priority mode is well-suited for situations where the lighting conditions are changing, such as wedding photography or wildlife photography. It allows you to have control over specific settings while letting the camera adjust the others automatically.
Comparison
The main difference between manual mode and flexible priority mode lies in the level of control and flexibility they offer. Manual mode provides complete control over the camera settings, while flexible priority mode allows you to choose which settings to control manually and which to leave to the camera.
Manual mode is ideal when you want full control over the exposure and when lighting conditions are consistent. On the other hand, flexible priority mode is useful when you need to make quick adjustments or when lighting conditions are changing. It provides a balance between manual control and camera assistance, making it a good choice for various photography genres.
Is Your SQ8 Camera Charged? Check This Way
You may want to see also
Frequently asked questions
Expert Mode in a camera app gives the photographer manual control over settings like ISO and exposure. It also provides other quality-of-life improvements, such as face detection and custom video parameters.
To access Expert Mode on your phone, open your Camera app. By default, the camera will open in the standard Photo mode. You can switch to Expert Mode by swiping left or right on the screen.
Expert Mode gives photographers full control over their camera settings, allowing them to capture movement and depth of field as they desire. It also enables manual adjustments to shutter speed, aperture, and ISO.
Consider factors like lighting and composition. For example, take advantage of natural light sources like windows when shooting indoors. Additionally, use the rule of thirds by enabling grid lines in your camera app for more compelling compositions.