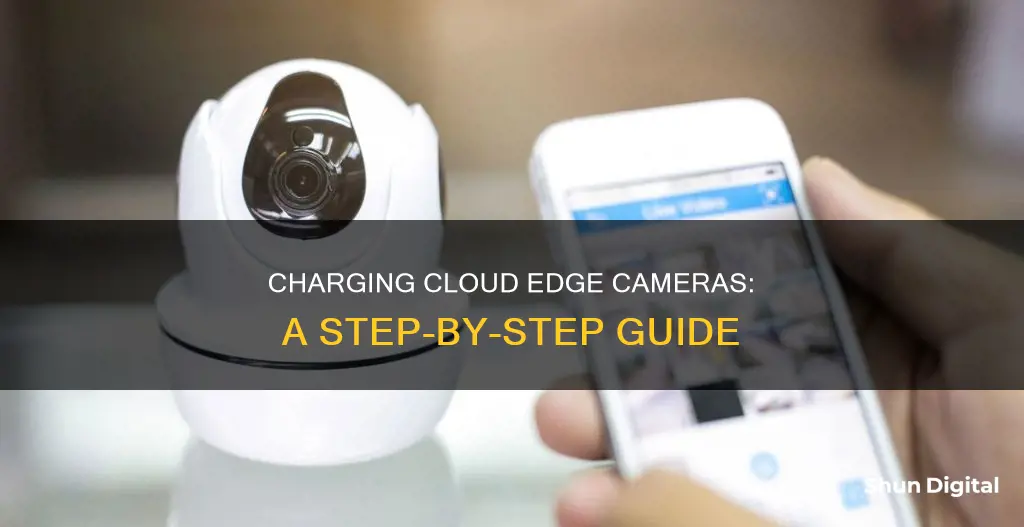
The CloudEdge camera is a smart home security system that offers a range of features such as motion detection, cloud storage, and real-time video monitoring. One of the most important aspects of maintaining the functionality of this device is ensuring that it is properly charged. In this article, we will provide a comprehensive guide on how to charge the CloudEdge camera, including step-by-step instructions and troubleshooting tips for common charging issues. By the end of this article, you should feel confident in your ability to keep your CloudEdge camera charged and operational.
| Characteristics | Values |
|---|---|
| Charging indicator light during charging | Red |
| Charging indicator light when charging is complete | Blue |
| Time to fully charge | Approximately 10 hours or more |
| Charging port | USB |
| Power adapter | 5V/2A power adapter (or other 5V voltage adapters) |
| Charging cable | Included |
| Power button | Hold for three seconds to turn on |
What You'll Learn

Charging indicator lights
The CloudEdge camera has a charging indicator light that will let you know the status of your device's battery. When the charging indicator light is red, this means that your CloudEdge camera is currently charging. A blue charging indicator light means that your CloudEdge camera is fully charged and ready to be used. Charging your CloudEdge camera fully may take 10 hours or more.
If your CloudEdge camera is not charging, there are a few things you can try. Firstly, check that your power adapter is working and try using a different one if possible. Secondly, check that your USB charging cable is working and try using a different one. Thirdly, the charging indicator light on your CloudEdge camera may be defective, so check the charging status in your CloudEdge phone app. Fourthly, check that the charging port of your CloudEdge camera is connected properly to the USB charging cable. Lastly, do not charge your CloudEdge camera in low-temperature environments as the device is equipped with a low-temperature charging protection module.
Charging the Black Magic Camera: A Step-by-Step Guide
You may want to see also

Charging cable and power adapter
To charge your Cloud Edge camera, you will need a charging cable and a power adapter. The charging cable should be included with your camera, but the power adapter is not.
The charging cable is used to connect your camera to the power adapter, which you plug into a power outlet. It is recommended that you use a 5V/2A power adapter, but if you don't have one of these, you can use another 5V voltage adapter.
When charging your Cloud Edge camera, make sure that the charging indicator light is red. This means that your camera is charging. If the light is not on, check that your power adapter, charging cable, and camera charging port are all functioning properly. If the light is still not on, the charging indicator may be defective; check the phone app to see if your camera is charging.
A full charge will take approximately 10 hours or more. Once your camera is fully charged, the charging indicator light will turn blue.
Do not charge your Cloud Edge camera in low temperatures. If you need to charge your camera in cold weather, bring it inside and let it warm up for an hour before charging.
Charging Camera Batteries: Alternative Methods to Try
You may want to see also

Charging port connection
To charge your Cloud Edge camera, you will need a 5V/2A power adapter and the provided charging cable.
Firstly, locate the charging port on your camera device. The charging port is where you will insert the charging cable to begin charging your camera. The charging port is usually located on the side or bottom of the camera, depending on the model. Once you have located the charging port, follow these steps:
- Connect the charging cable to the power adapter: Attach the charging cable that came with your camera to the 5V/2A power adapter. Ensure that the connection is secure and firm.
- Plug the charging cable into the camera: With the power adapter connected, carefully insert the charging cable into the charging port on your camera. Make sure the connection is secure, and the cable is properly seated in the port.
- Connect the power adapter to a power source: Plug the power adapter into a wall outlet or power strip. Once connected, the charging indicator light on your camera should illuminate, indicating that the charging process has started.
- Allow sufficient charging time: The Cloud Edge camera takes approximately 10 hours or more to fully charge. Monitor the charging indicator light. When the light turns from red to blue, your camera is fully charged and ready for use.
Note: It is important to use the recommended power adapter specifications (5V/2A) and the provided charging cable for optimal charging. Using inappropriate chargers or cables may result in slower charging or damage to your camera. Additionally, avoid charging your Cloud Edge camera in low-temperature environments, as it has a low-temperature charging protection module.
Charging Your Coolpix S51: A Step-by-Step Guide
You may want to see also

Charging in cold weather
The CloudEdge camera is a battery-powered device that can be charged using a 5V/2A power adapter and the provided charging cable. The charging indicator light on the device will illuminate red when charging and blue when fully charged, which typically takes about 10 hours or more.
When charging the CloudEdge camera, it is important to note that the device has a low-temperature charging protection module. Therefore, it is recommended not to charge the device in cold temperatures, especially during winter. If you need to charge the camera in cold weather, bring it indoors and let it warm up for about an hour before charging.
- Keep the camera in a warm environment: Move the camera to a warmer area of your house, such as a room that receives ample sunlight, to prevent exposure to extremely low temperatures.
- Warm up the battery before charging: If the camera has been in a cold environment, let it adjust to room temperature before charging. This can help improve battery performance and longevity.
- Use the provided charging cable: Ensure you are using the charging cable that came with your CloudEdge camera, as it is designed specifically for the device.
- Inspect the charging port: Check the charging port on the camera for any signs of damage or abnormality. Ensure that the charging port is clean and free of debris or corrosion.
- Use the correct power adapter: Use a 5V/2A power adapter to charge your CloudEdge camera. If you do not have one with this specification, you can use other 5V voltage adapters. Avoid using power adapters with higher voltages to prevent damaging the device.
- Monitor the charging process: Keep an eye on the charging indicator light during the charging process. If the light does not turn on, it could indicate an issue with the power adapter, charging cable, or charging port.
Partial Charging: Does It Damage Camera Batteries?
You may want to see also

Charging duration
The charging duration for the CloudEdge camera is approximately 10 hours or more. The device's charging indicator will light up in red when it is charging and in blue when it is fully charged.
To charge the camera, use the provided charging cable and a 5V/2A power adapter. If you do not have a power adapter with these specifications, you can use another 5V voltage adapter. Connect the power adapter to the charging cable and plug it into the USB charging port on the camera. You can determine whether the charging is successful by checking the charging indicator on the device. If it lights up in red, it is still charging. If it lights up in blue, it means that the charging is complete.
It is important to note that the CloudEdge camera has a low-temperature charging protection module, so it is recommended not to charge the device at low temperatures. If you need to charge the camera during winter, bring it indoors and let it warm up for an hour before charging.
Charging Your GE Camera: A Quick Guide
You may want to see also
Frequently asked questions
The device's charging indicator will light up in red when charging and blue when fully charged. It takes about 10 hours or more to fully charge.
Check the power adapter and try using a different one. Do the same with the USB charging cable. The charging indicator may be defective, so check the phone app to see if it is charging. Also, check if the device's charging port is poorly disconnected from the USB charging cable. Do not charge the device at low temperatures as it has a low-temperature charging protection module.
Use a 5V/2A power adapter. If you don't have one with this specification, you can use other 5V voltage adapters.
It takes approximately 10 hours or more to fully charge a CloudEdge camera.


