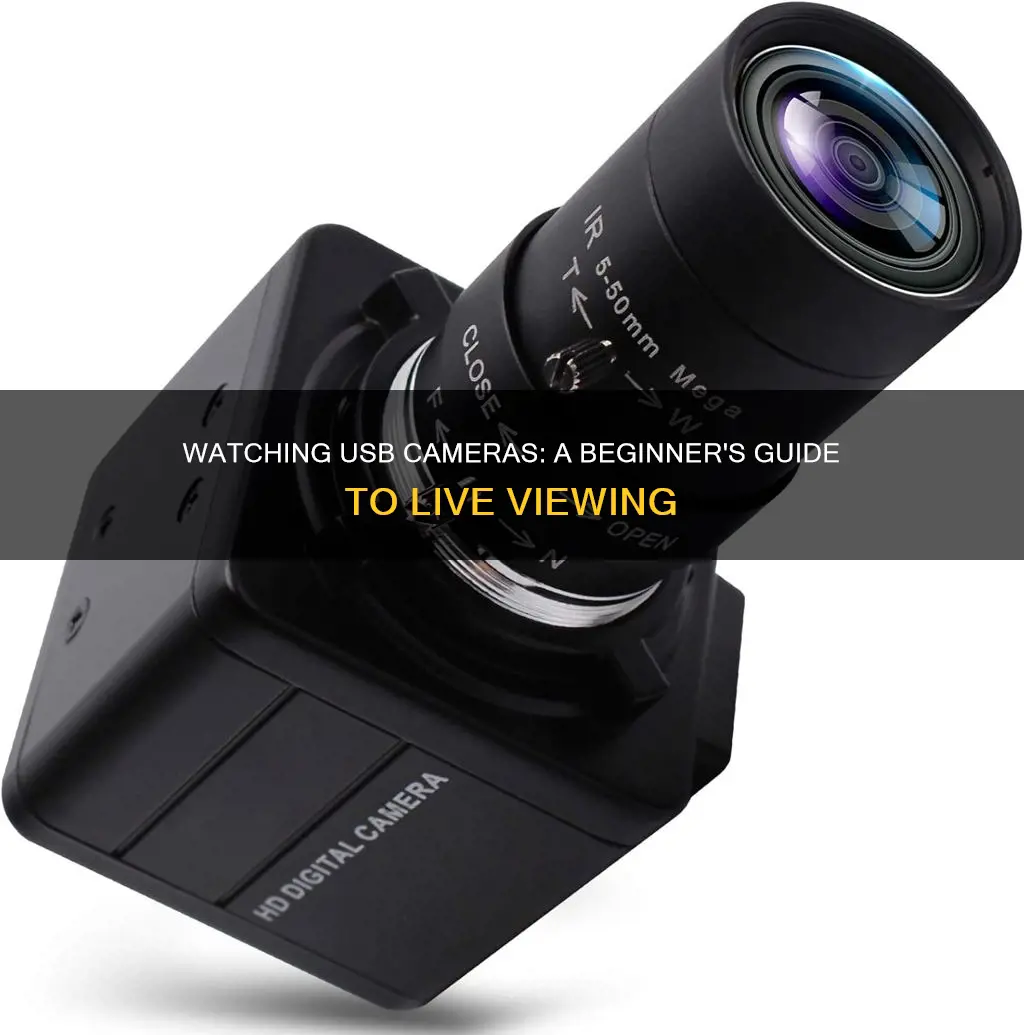
USB cameras are a great alternative to internal webcams, especially if you're looking for higher quality or your built-in camera is broken. They are easy to install and compatible with most devices, including Windows, Mac, and Android. You can connect a USB camera to your device using a USB port and, in some cases, you may need to install additional software or adjust settings to ensure it functions properly. This article will provide a comprehensive guide on how to set up and use a USB camera on your device, covering topics such as software installation, troubleshooting, and tips for getting the best performance out of your external camera.
| Characteristics | Values |
|---|---|
| Connection | USB port |
| Installation | Plug and play, or install drivers |
| Software | Imaging Edge Webcam, Reincubate Camo, Windows Camera app |
| Compatibility | Windows 10, Android, macOS |
| Resolution | 1024 x 576 pixels |
| Use cases | Video chatting, photo booths, live streaming, video conferencing |
What You'll Learn

Install webcam software
To install webcam software, you'll first need to find the right software for your device. This may be provided on a disk, or you can download it from the manufacturer's website.
If your webcam came with a disk, insert it into your computer before plugging in the device. Windows should recognise that you are attempting to install software and will start a wizard to guide you through the process. If the wizard doesn't start automatically, you can go to the Windows taskbar and select File Explorer (Windows 10) or My Computer (older versions). Or, in the Search box, enter 'This PC' and click on the disk drive (usually E:) to install the files.
If your webcam didn't come with a disk, you can try plugging it in and seeing if Windows recognises it as new hardware. If it does, you can use it without installing any additional software. If not, you'll need to search for the drivers either online or on your computer.
To do this manually, go to the Search box and search for Device Manager. Then, go to Cameras or Imaging Devices, right-click on the webcam, and select Update Driver. This will take you through a wizard to see if Windows can find the drivers.
If Windows can't find the drivers, you'll need to consult the instruction manual or the manufacturer's website for help.
Once you've installed the software, you can open it by going to the Start menu and browsing to the webcam program.
Who's Watching? Camera Privacy and Security Concerns
You may want to see also

Connect the camera to a computer
To connect your camera to a computer, you will need a USB cable, a computer with an open USB slot, and your camera.
First, locate the USB slot on your camera. Camera manufacturers sometimes hide the slot behind a panel or door, so check your camera's user guide if you're unsure. Many cameras have a USB logo on them, which may be next to the panel. The USB slot may also be in the same compartment as the battery and memory card.
Once you've located the USB slot, connect the USB cable to the camera. Be careful not to use too much force when inserting the connector. Make sure the connector is aligned correctly with the slot—if inserted upside down, the cable and camera may be damaged. Ensure that any panel or door is completely out of the way so that it doesn't get pinched between the cable and the slot, preventing the connector from being fully inserted.
Next, connect the other end of the USB cable to the computer. The computer should be powered up, and you may also need to turn on your camera. The USB cable should have a standard rectangular connector that fits into a USB slot on the computer. Once connected, you may see a "connecting" message on your camera's LCD screen, or a popup window on your computer screen with options for downloading photos.
If your computer doesn't automatically recognise the camera, you may need to install the necessary software. If you have a CD that came with your camera, insert it into the computer and follow the on-screen installation instructions. Alternatively, you can usually find the required software on the manufacturer's website.
Once the connection is set up, you can transfer photos from your camera to your computer. You can then choose to delete the photos from your camera's memory card or keep them.
Paranoia or Reality: FBI Surveillance via My Camera?
You may want to see also

Set up the camera mode
Setting up the camera mode on a USB camera involves several steps, from connecting the camera to your computer to installing drivers and verifying the camera feed. Here is a detailed guide on how to set up the camera mode:
Connect the USB Camera:
Locate a USB port on your computer, usually on the front or back, and plug in the USB cable of your camera. Ensure the camera is turned on if it has a power switch.
Install Drivers:
Most modern USB cameras are plug-and-play and may not require additional drivers. However, if your camera came with a driver CD or needs specific drivers, follow the manufacturer's instructions to install them.
Set as Default Camera (if needed):
If you have multiple cameras connected and want to use the USB camera, set it as the default. On Windows, go to Settings > Privacy > Camera. Ensure your browser is allowed to access the camera under "Choose which apps can access your camera." Then, go to Settings > System > Sound > Manage Sound Devices and set your USB camera as the default under "Input Devices." On macOS, go to System Preferences > Security & Privacy > Privacy > Camera, and ensure your browser is allowed access. Then, go to System Preferences > Sound > Input and select your USB camera from the list.
Open Your Webcam Software:
Once the camera is connected and set as the default, open the webcam software. You can usually find it in the Start menu or by searching for it in the search bar.
Verify the Camera Feed:
After opening the software, check the video feed from your USB camera to ensure it's working correctly. You may need to manually choose the USB camera from the list of available devices if it isn't automatically selected.
Adjust Camera Settings:
You can adjust various camera settings, such as the photo aspect ratio, video quality, location info, grid lines, video stabilization, and microphone settings. These settings can usually be accessed through the webcam software or your system's camera settings.
By following these steps, you should be able to set up the camera mode on your USB camera and start using it for video chats, photos, or other purposes.
Cromebook Camera: Is Your Privacy at Risk?
You may want to see also

Launch the live distribution/web conferencing service
Launching a live distribution or web conferencing service is a straightforward process. Here are the steps you need to follow:
Step 1: Install the Necessary Software
Before you begin, ensure you have the correct software installed on your computer. For Sony camera users, this could be the Imaging Edge Webcam software. Check your camera's operation manual to see if it has a USB streaming feature and for detailed information on compatibility and setup. If you're using a Canon DSLR, you'll need to install the Canon Webcam Utility.
Step 2: Connect Your Camera
Connect your camera to your computer using the supplied USB cable. If your camera doesn't have a supplied cable, you'll need to purchase a compatible equivalent.
Step 3: Configure Camera Settings
Depending on your camera model, you may need to adjust some settings. For Sony cameras, this could include turning off the computer's sleep mode, ensuring the camera is not connected to a smartphone, and adjusting the camera's network and remote function settings. For other cameras, you may need to set the camera to movie mode and adjust the exposure, focus, resolution, and frame rate to your desired settings.
Step 4: Launch the Live Distribution/Web Conferencing Service
With your camera connected and configured, you can now launch your chosen live distribution or web conferencing service. Examples of such services include mimoLive® broadcasting software and Zoom. You may need to install additional software or register an account, depending on the service.
Step 5: Switch to Your Camera
Once your live distribution/web conferencing service is running, you'll need to switch it to the connected camera. The process for this will vary depending on the service you're using, so refer to the user manual or help page for specific instructions.
Step 6: Set Up Audio
Note that some software, like Imaging Edge Webcam, does not process audio signals from the camera's built-in microphone or an external microphone. In such cases, you'll need to use your computer's built-in microphone or an external microphone connected to your computer.
By following these steps, you should be able to successfully launch a live distribution or web conferencing service and use your USB camera for streaming.
The Camera's Eye: Passive Observer or Active Participant?
You may want to see also

Test the camera
Testing your USB camera is a straightforward process. You can test your camera online, or using a program on your computer.
Online Testing
There are many free online webcam test sites available. These include WebcamMicTest and WebcamTests. To test your camera:
- Open your web browser.
- Type webcammictest.com into your browser's address bar.
- Click "Check My Webcam" or "Test Webcam".
- When the pop-up permission box appears, click "Allow".
- Your webcam's feed should then appear, indicating that the camera is working.
Using a Program
Windows
If you are using Windows 10, you can use the Camera program. This will automatically display the feed from your webcam. To test your webcam:
- Click the "Start" button.
- Type "Camera".
- Click on the Camera app when it appears in the search results.
- The app will display video from your webcam.
Mac
If you are using a Mac, you can use the Photobooth app. To test your webcam:
- Go to Applications.
- Click on Photobooth.
- When the app opens, you should automatically see your webcam feed.
Skype
You can also test your webcam using Skype. To test your webcam:
- Open the desktop app.
- Click the three-dot menu on the left side of the window.
- Click "Settings".
- Click "Audio & Video".
- You should see your video. If you don't, try the drop-down menu above the video window, as the wrong camera may be selected.
Zoom
You can also test your webcam using Zoom. To test your webcam:
- Start Zoom.
- Click your account avatar in the top right corner of the window.
- In the dropdown menu, choose "Settings".
- In the Settings window, click "Video".
- You should see a live view of your camera feed.
Troubleshooting
If your camera is not working, there are several things you can try:
- Check the device connection.
- Make sure the correct device is enabled.
- Update the webcam drivers.
- Check that another app is not using your webcam.
- Try disconnecting and reconnecting the camera.
- Try a different USB port.
- If all else fails, restart your computer.
The Camera's Eye: Watching You, Watching It
You may want to see also
Frequently asked questions
Install the webcam software or use the provided disk. Alternatively, just plug and play as Windows 10 will automatically set up your webcam.
On your Mac, go to Finder > Applications > Photo Booth to bring up your camera feed.
Connect one end of the USB cable to the USB jack on the camera and the other end to the USB jack on the TV. Turn the camera on and if a USB Select screen appears, select USB Connect. Change the TV to select the USB input to receive the signal from the camera.
The Android platform supports the use of plug-and-play USB cameras (webcams) using the standard Android Camera2 API and the camera HIDL interface.
On Linux, the standard Video4Linux (V4L) driver is used to control UVC cameras.


