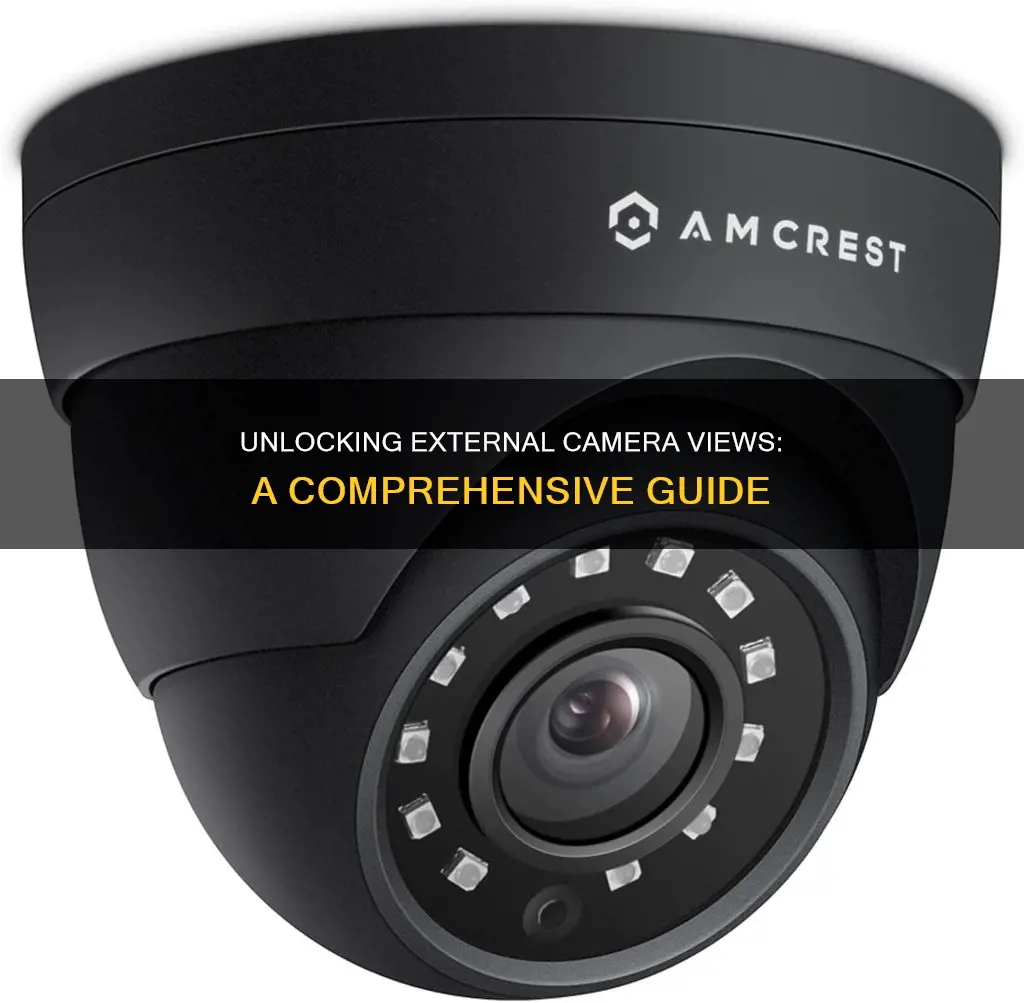
If you want to use an external camera with your computer, you'll first need to connect it using the appropriate cable or by establishing a wireless connection, depending on the camera. Once you've done that, you can open an app that captures video and select your camera of choice. This could be the built-in camera app on your device, or a third-party app like Photo Booth or QuickTime Player. If you're using Windows, you can select the Start button, then choose Camera from your list of apps. If you're using a Mac, you can use the Photo Booth app, which is located in the Applications folder.
| Characteristics | Values |
|---|---|
| Operating System | Windows, macOS, iOS |
| Web Browser | Google Chrome, Safari, Mozilla Firefox |
| Webcam Checker Website | https://webcammictest.com/ |
| Windows Camera App | Camera |
| macOS Camera App | Photo Booth |
| Windows Settings | Camera access, app permissions |
| macOS Settings | Video in the menu bar |
| Connection | Cable, Wireless |
What You'll Learn

Connect an external camera to your Mac
Many Mac computers have a built-in camera located near the top edge of the screen, but you can also use an external camera with your Mac, including the camera on recent iPhone models.
Connect the camera to your Mac
Use the appropriate cable or connect wirelessly, depending on the camera. For a wired connection, check that the USB cable is properly connected to your camera and your Mac. If your Mac has another USB port, try plugging the cable into it. If the camera has a connector that doesn't match the port, you may be able to use an adapter. Wait 10 to 15 seconds for your Mac to recognise the camera.
Check your camera settings
Make sure your camera is turned on and set to the correct mode for importing photos or video. Check your camera's user guide to see if you need to use the menu system to set a USB mode for compatibility with your operating system. Make any necessary adjustments and turn off the camera before you plug it into your Mac.
Open an app that captures video
You can use a variety of apps to capture video from your external camera. These include:
- FaceTime: Click Video in the menu bar, then choose a camera.
- Photo Booth: Click Camera in the menu bar, then choose a camera.
- QuickTime Player: Choose File > New Movie Recording, hold the pointer over the window, click the down arrow, then choose a camera.
- Head pointer accessibility feature: Choose Apple menu > System Settings, then click Accessibility in the sidebar. (You may need to scroll down.) Click Pointer Control, click the info button next to "Head pointer," click Camera Options, then choose a camera.
- Third-party apps: You may be able to use your external camera with third-party apps you downloaded from the App Store. To find out how, read the developer's instructions or explore the app's menus and settings.
Tips
- If you're using a MacBook Pro, the input ports, including USB, appear on the left side.
- To copy images or footage from your camera to your MacBook Pro, remove your camera's memory card and plug it into the SDXC card slot on a 13-inch or 15-inch MacBook Pro. Alternatively, you can use a USB card reader.
- Avoid tension on the USB cable while it connects your camera to your computer.
- Check your camera's battery charge level before attaching it to display a long sequence of images.
- Keep your camera's lens covered while you use it with your Mac to minimise dust accumulation and damage.
Hisense TV Camera: Where is it Located?
You may want to see also

Use an external camera with Windows
If you want to use an external camera with Windows, you can do so by following these steps:
Firstly, connect your external camera to your computer. Most versions of Windows will automatically recognise a USB webcam as soon as you plug it into your computer's USB port. Once connected, a bubble will appear in the system tray, indicating that your new hardware is being installed. Once the drivers have been installed, a message will pop up, saying "Your new hardware is installed and ready to use".
You may want to test the camera to make sure it is working properly and is aimed where you want it for video conferencing. You can do this by using a webcam checker website, such as https://webcammictest.com/. Alternatively, you can use the built-in Camera app on your Windows device. Open the app and, if your webcam is working, you will see the camera feed.
If you have multiple cameras and want to switch between them, open the Camera app and select "Change Camera" in the top right corner of the screen.
If you want to disable your internal camera, perhaps because it is broken or low-resolution, you can do so by going to the Device Manager in Windows. From here, expand the section beside "Imaging Devices" and then right-click on your webcam and choose "Disable".
If you are using an external camera with a specific application, such as Skype or Google Hangouts, you can choose which camera to use from the application's settings.
Accessing Yi Camera Footage on PC: A Step-by-Step Guide
You may want to see also

Use an external camera with third-party apps
If you want to use an external camera with third-party apps on a Mac, you'll first need to connect the camera to your device using the appropriate cable or by connecting wirelessly.
From there, you can use an app that captures video, like FaceTime, Photo Booth, or QuickTime Player. To use your external camera with these apps, simply:
- Open FaceTime, then click "Video" in the menu bar, and select your camera of choice.
- Open Photo Booth, then click "Camera" in the menu bar, and select your camera of choice.
- Open QuickTime Player, then choose "File" > "New Movie Recording", hold the pointer over the window, click, and select your camera of choice.
If you want to use your external camera with third-party apps, you'll need to read the developer's instructions or explore the app's menus and settings.
Hisense TV: Camera and Microphone Features Explored
You may want to see also

Check your camera is enabled in Device Manager
If you're using an external camera, it may be listed under the "Imaging Device" or "USB Devices" category in Device Manager.
To check if your camera is enabled in Device Manager, follow these steps:
- Open Device Manager.
- Find your camera under "Cameras", "Imaging devices", or "Sound, video and game controllers".
- If you can't find your camera, select the "Action" menu, then choose "Scan for hardware changes".
- Wait for the scan to complete and for any updated drivers to be reinstalled.
- Restart your device and open the Camera app again to test it.
If you still can't find your camera in Device Manager, try the following:
- Ensure that your camera is enabled on your device. Some laptops have a shortcut or button that turns the camera on or off. Check your keyboard for any camera-related shortcuts and ensure that the camera is enabled.
- Close any other applications that may be using your camera.
- Update Windows and ensure there are no pending updates.
If your camera is still not appearing in Device Manager, you may need to manually add the camera device in Device Manager. Here's how:
- Open Device Manager and click on the "Action" tab.
- Click on "Add legacy hardware".
- Select "Search for and install the hardware automatically (Recommended)" and click "Next".
- If the camera device is still not found, go back and select the other option: "Install the hardware that I manually select from a list (Advanced)".
- Click "Next" and choose "Camera" from the list of available hardware types.
- Define the make and model of your camera.
After performing these steps, your camera should appear in Device Manager.
Vloggers' Secret: Seeing Themselves on Camera
You may want to see also

Check your camera's cord and USB port
If you're having trouble with your external camera, it's a good idea to check the camera's cord and USB port. This is especially true if you're experiencing issues with your camera feed.
First, check the condition of your camera's cord. If you have an external webcam, check the cord for any signs of damage, such as fraying or wear and tear. A damaged cord may be the reason your camera is not working properly.
Next, check the USB port that your webcam is connected to. Ensure that the USB cable is securely plugged into the port. Try plugging the camera into a different USB port on your computer to see if that resolves the issue. If your computer has multiple USB ports, it's worth trying them all to find one that works reliably.
If you're using a USB hub to connect your camera, try connecting the camera directly to a USB port on your computer, bypassing the hub. This can sometimes help improve the connection and troubleshoot issues.
Additionally, make sure that the USB ports on both your camera and your computer are clean and free of dust or debris. Use a soft, dry cloth to gently wipe the ports and remove any dust or dirt buildup.
It's also important to use the correct USB cable for your camera. If your camera came with a supplied USB cable, use that one. These cables are typically designed specifically for the camera model and will have the camera manufacturer's name printed on them. If you don't have the original cable, you can purchase a compatible, commercially available cable that supports your camera's connection type (e.g., USB Type-C).
By following these steps and checking your camera's cord and USB port, you can help ensure that your external camera is properly connected and functioning as expected.
Cameras: Always Watching, Always Listening?
You may want to see also
Frequently asked questions
Connect the camera to your Mac using the appropriate cable or wirelessly, depending on the camera. Then, open an app that captures video and select your preferred camera from the menu bar.
Open the Camera app. If your webcam is working, you will see the camera feed.
Open the Photo Booth app. If your webcam is working, you will see the camera feed.
Visit https://webcammictest.com/ in a web browser and click "Test Webcam".


