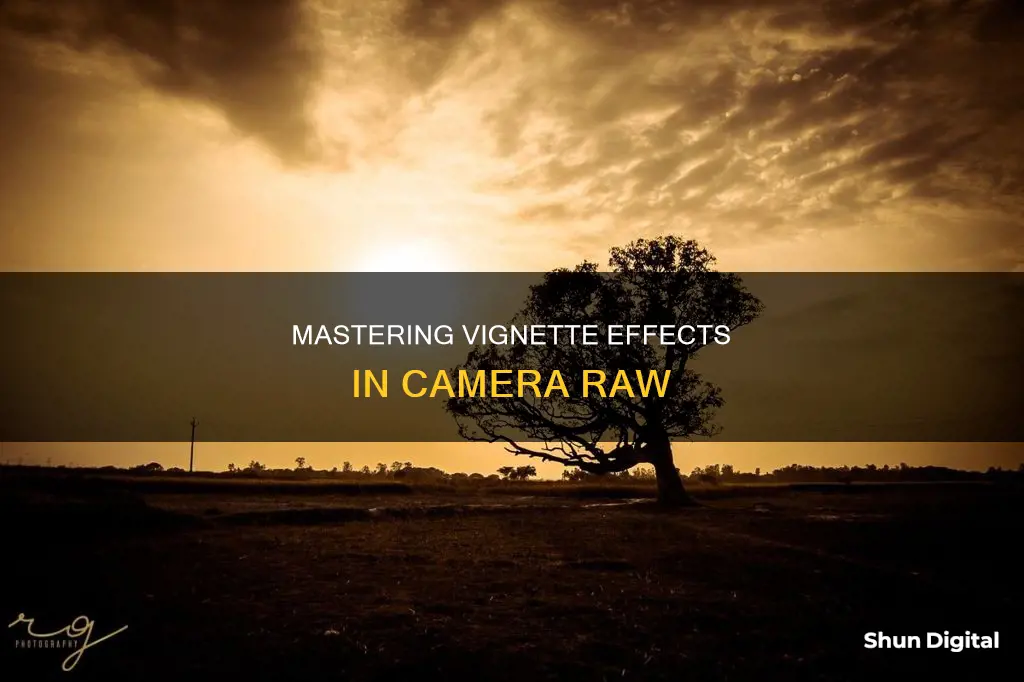
Vignettes are border effects that can be applied to photos to enhance the focus of interest. They can be created in Adobe Camera Raw using the Radial Filter tool or the Post Crop Vignetting feature. The Radial Filter tool allows for more flexibility in the placement of the vignette and the ability to have multiple sources of light, while the Post Crop Vignetting feature offers a more traditional vignette effect. Both tools offer a range of customisation options, such as the size, shape, colour, and softness of the vignette.
| Characteristics | Values |
|---|---|
| Where to find the vignette controls | Effects tab > Post Crop Vignetting section |
| When to apply vignette | Before cropping the image |
| Highlight Priority | Removes parts of the uniform vignette in favor of the highlights involved |
| Color Priority | Takes the photo's color hues into consideration while applying the vignette |
| Paint Overlay | Blends the original colors with either pure black or pure white |
| Amount | Controls the darkness/lightness of the edges and corners of the image |
| Midpoint | Controls the size of the area the vignette will be applied to |
| Roundness | Controls the shape of the vignette |
| Feather | Controls the softness of the border effect |
| Highlights | Controls the strength of the highlights that will show through the vignette |
What You'll Learn
![]()
Using the Radial Filter tool
The Radial Filter tool in Adobe Camera Raw is a powerful feature that allows you to create custom vignettes and enhance your photographs. Here's a step-by-step guide on using the Radial Filter tool to achieve creative vignette effects:
Step 1: Convert the Background Layer into a Smart Object
Before applying the Radial Filter, it's a good practice to convert the layer your photo is on into a Smart Object. This ensures that the filter will be applied as a Smart Filter, keeping your original image untouched and allowing for easy editing. To do this, go to the Layers panel, click on the small menu icon in the top right corner, and select "Convert to Smart Object".
Step 2: Select the Camera Raw Filter
Go to the Filter menu in the Menu Bar and choose Camera Raw Filter. Your image will appear in the Camera Raw dialog box, which offers various tools and options for editing your photo.
Step 3: Select the Radial Filter
In the top left corner of the Camera Raw dialog box, you'll find the Radial Filter tool. Click on it to select it.
Step 4: Adjust the Exposure
With the Radial Filter selected, the right panel will display its options for making adjustments. Start by lowering the Exposure value to around -2.00. This will give you a good initial darkening effect for your vignette.
Step 5: Drag Out the Radial Filter
Click and drag from the center of where you want your vignette effect to appear. You can create a perfect circle by holding the Shift key while dragging. Release the mouse button when you're happy with the shape and position of the filter.
Step 6: Choose the Effect Option
Depending on your desired effect, choose the "Outside" or "Inside" option at the bottom of the Radial Filter options. "Outside" will apply the adjustments outside the selected area, while "Inside" will apply them within the shape.
Step 7: Resize, Move, and Rotate the Shape
You can resize and reshape the filter by clicking and dragging any of the four handles (top, bottom, left, right). Move the shape by clicking inside it and dragging, and rotate it by moving your cursor near the edge and dragging when the cursor changes into a curved, double-pointed arrow.
Step 8: Adjust the Image Using the Sliders
Fine-tune the Exposure slider to darken or lighten the effect. You can also experiment with other sliders like Contrast, Highlights, Shadows, Clarity, and Saturation to create unique looks. All adjustments are non-destructive, and you'll see a live update of your changes.
Step 9: Adjust the Feathering
The Feather slider controls the feathering or transition area between the main image and the darkened vignette area. Increase or decrease it to make the transition softer or harder.
Step 10: Show and Hide the Overlay
You can temporarily hide the Radial Filter overlay by unchecking the "Show Overlay" option or pressing the letter "V" on your keyboard. This will give you a clearer view of your vignette effect.
Step 11: Show and Hide the Preview
By default, the Preview option is turned on, showing a live preview of your changes. You can turn it off at any time by unchecking the option or pressing the letter "P" to compare your edited image with the original.
Step 12: Add Additional Radial Filters
One of the most powerful features of the Radial Filter is the ability to add multiple filters to the same image. Simply select "New" at the top of the Radial Filter panel to create a new filter, and follow the same steps as before to adjust its shape and settings.
Step 13: Switch Between Radial Filters
You can easily switch between different filters by clicking on their corresponding dots. The active filter will have a colored dot, while the others will appear white.
Step 14: Adjust Image Settings for Each Filter
Each Radial Filter can have its own unique image adjustments. Experiment with the various sliders, such as Temperature, Tint, Exposure, Contrast, Highlights, Shadows, Clarity, and Saturation, to create different looks for each filter.
Step 15: Close the Camera Raw Dialog Box
Once you're happy with your vignette effect, click the "OK" button to accept your settings and close the Camera Raw dialog box. Your final image will now appear in Photoshop, with the Camera Raw Filter listed as a Smart Filter below the image.
Replacing Polaroid 600 Camera Battery: Step-by-Step Guide
You may want to see also
![]()
Adjusting the vignette's size, shape and colour
To adjust the vignette's size, shape, and colour in Adobe Camera Raw, you can use the Post Crop Vignetting feature in the Effects tab. Here are the steps to follow:
- Adjusting the Vignette Size: To control how large the vignette effect will be applied, use the "Midpoint" slider. Moving the slider to the left will result in a smaller area affected by the vignette, creating a more prominent and thicker effect. Conversely, pushing it to the right will expand the area inside the vignette, making the edge effect thinner.
- Adjusting the Vignette Shape: The "Roundness" slider controls the shape of the vignette. Moving the slider to the left will create a square vignette with rounded edges, while pushing it to the right will result in a circular vignette.
- Adjusting the Vignette Colour: The "Colour Priority" option in the drop-down menu takes into account the photo's colour hues when applying the vignette. This option can introduce more transparency around the edges, allowing some of the bolder colours to show through. However, be cautious, as it may lead to a reduction in photo detail around the highlights.
Additionally, the "Paint Overlay" option blends the original colours in the image with pure black or white. While this option may reduce contrast, it can be effective if you're aiming for a softer effect.
Alone Contestants' Camera Battery Charging Strategies
You may want to see also
![]()
Using the Lens Corrections tab
The Lens Corrections tab in Adobe Camera Raw is used to correct for lens distortions and aberrations. In the Lens Vignetting section of the Lens Corrections tab, you can adjust the vignetting effect, which causes the edges and corners of an image to be darker than the centre. To compensate for this, you can adjust the Amount slider to the right to lighten corners, or to the left to darken them. The Midpoint slider controls the size of the area affected by the vignetting adjustment.
The Lens Corrections tab also allows you to correct for barrel and pincushion distortion, as well as chromatic aberration. Barrel distortion causes straight lines to appear to bow outward, while pincushion distortion causes them to bend inward. Chromatic aberration is caused by the lens failing to focus different colours to the same spot, resulting in colour fringing.
To correct chromatic aberration, you can use the defringing controls in the Manual tab of the Lens Corrections panel. The Purple Amount/Green Amount slider controls the amount of defringing applied, while the Purple Hue/Green Hue slider applies defringing to the selected hue range.
It's important to note that the Lens Corrections options are only available when accessing Camera Raw by using File > Open in Photoshop or by right-clicking on an image thumbnail in Bridge and selecting Open in Camera Raw.
Replacing Sanyo Camera Battery: Step-by-Step Guide
You may want to see also
![]()
Applying a post-crop vignette
To apply a post-crop vignette in Adobe Camera Raw, you must first crop your image. Then, in the Effects tab, you will find the controls that reside in the Post Crop Vignetting section. Here are the steps you can follow to apply a post-crop vignette:
- Choose a Style: In the Post Crop Vignetting area of the Effects tab, you can choose from three different styles: Highlight Priority, Color Priority, and Paint Overlay. Highlight Priority preserves highlight contrast but may cause colour shifts in darkened areas. Color Priority preserves colour hues but may result in a loss of detail in bright highlights. Paint Overlay blends the original image colours with black or white, creating a softer effect but potentially reducing highlight contrast.
- Adjust the Sliders: After choosing your style, you can refine the effect by adjusting the following sliders:
- Amount: Controls the darkness or lightness of the corners. Moving the slider to the left makes the corners darker, while moving it to the right makes them lighter.
- Midpoint: Determines the size of the area affected by the vignette. Moving the slider to the left creates a smaller, more prominent vignette, while moving it to the right expands the area and makes the vignette edge thinner.
- Roundness: Adjusts the shape of the vignette. Moving the slider to the left makes the vignette more square-shaped, while moving it to the right makes it more circular.
- Feather: Controls the softness of the vignette edge. Moving the slider to the left creates a harder, more defined edge, while moving it to the right softens the edge for a smoother blend with the photo.
- Highlights: Only available for Highlight Priority or Color Priority styles. This slider controls the strength of the highlights showing through the vignette. Moving it to the left hides the highlights, while moving it to the right makes them more visible.
Examples: Here are some examples of different post-crop vignette settings:
- Dark, Oval Vignette: Highlight Priority, Amount: -100, Midpoint: 0, Roundness: 0, Feather: 50, Highlights: 0
- Light, Round Vignette: Color Priority, Amount: +100, Midpoint: 75, Roundness: +50, Feather: 20, Highlights: N/A
- Darker, Semi-Transparent, Rounded Square Vignette: Paint Overlay, Amount: -50, Midpoint: 25, Roundness: -50, Feather: 0, Highlights: N/A
Considerations: When applying a post-crop vignette, keep in mind the following:
- It is generally recommended to crop your image before applying a vignette to save time in case you need to readjust the vignette to fit the cropped image.
- The vignette will shrink or expand with the image, regardless of how it is cropped.
- Experiment with different styles and slider settings to achieve the desired effect.
By following these steps and adjusting the sliders, you can create a variety of vignette effects to enhance the look of your photographs in Adobe Camera Raw.
Applying Camera Raw Presets: A Step-by-Step Guide
You may want to see also
![]()
Using the vignette's Highlight Priority setting
Vignettes are border effects that can be applied to photos to enhance the focus of interest. They can be applied to portraits, landscape shots, and photos that need something special accentuated.
The Highlight Priority setting ensures that the bright areas of the image blend more smoothly with the darker areas. This setting is recommended for photos where the highlighted areas are critical to the presentation of the photo. However, it can make areas of the image with a lot of colours appear strange and there may be some unexpected changes in colours towards the darker areas of the photo's edges.
When using the Highlight Priority setting, the vignette will be removed from around bright areas of the image, such as a bright street light, creating a more interesting effect. This can be adjusted using the 'Highlights' slider, which controls the strength of the highlights that will show through the vignette.
The Highlight Priority setting is best used when you want to maintain the integrity of colours while darkening them slightly. This setting also lets you use the 'Highlights' slider to recover some of the brighter portions of the image that are darkened with a vignette.
- Highlight Priority
- Amount: -100
- Midpoint: 0
- Roundness: 0
- Feather: 50
- Highlights: 0
Overall, the Highlight Priority setting is a great option for creating vignettes that enhance the look of your photos and draw the viewer's attention to the centre of the image.
Charging Your 808 Camera: How Long is Too Long?
You may want to see also
Frequently asked questions
Launch a photo into Camera Raw, click the Effects tab, and you will see the controls in the Post Crop Vignetting section.
Highlight Priority removes parts of the vignette in favour of the highlights in the image. Colour Priority takes the photo's colour hues into consideration while applying the vignette.
Paint Overlay blends the original colours in the image with either pure black or pure white. This option can reduce contrast.
You can use the Radial Filter tool to create and customise vignettes. Press 'J' on your keyboard to activate the Radial Filter tool, then click the Reset Local Correction Settings option. Move the Exposure slider to the left to darken the edges of the photo.