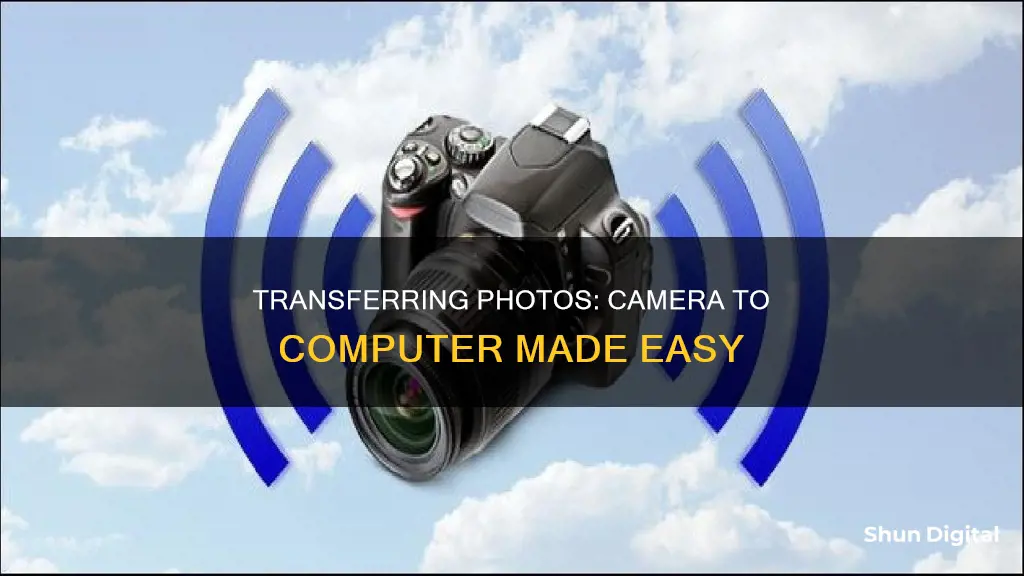
There are several ways to transfer photos from a camera to a computer, including using a USB cable, an SD card, or direct wireless transfer. The specific steps will depend on the type of camera and computer you have, but here is a general overview of the process. One common method is to use a USB cable to connect the camera directly to the computer. Once the camera is connected, you can typically use a photo management application on your computer to import the photos. Another option is to remove the SD card from the camera and insert it directly into the computer's SD card slot or use an external SD card reader. From there, you can use the computer's file explorer or finder to locate the photos and transfer them to a desired location.
| Characteristics | Values |
|---|---|
| Connection type | USB cable, SD card |
| Computer type | Windows, Mac |
| Camera type | Canon, Sony, Nikon, Fujifilm |
| Software | Microsoft Photos app, Preview, Finder, PlayMemories Home |
| File location | Pictures folder, DCIM folder, subfolder named with date |
| Transfer method | Drag and drop, import, copy and paste |
What You'll Learn
- Transferring photos from a camera to a Windows computer using a USB connection
- Transferring photos from a camera to a Mac using a USB connection
- Transferring photos from a camera to a Windows computer using an SD card
- Transferring photos from a camera to a Mac using an SD card
- Transferring photos from a camera to a computer without software
![]()
Transferring photos from a camera to a Windows computer using a USB connection
Transferring photos from your camera to your Windows computer is simple and can be done in a few steps.
Firstly, turn on your computer and camera. If your photos are stored on a memory card, insert it into your camera. If your photos are stored on the internal memory of your camera, you can skip this step.
Next, you'll need to set the USB connection or transfer mode setting in your camera menu. You can choose from Mass Storage, Media Transfer Protocol (MTP), or Auto. Mass Storage establishes the camera memory as a USB flash drive and is the fastest transfer method. MTP is designed to transfer specific file types, such as images and videos, but has a slower transfer speed. Auto will automatically establish a Mass Storage or MTP connection depending on the connected device.
Now, connect your camera to your computer using a USB cable. Some cameras come with a supplied USB cable, but if yours doesn't, you'll need to purchase a compatible one. Once your computer recognizes the camera, the next steps will depend on the USB connection type you chose.
If you selected Mass Storage, an Autoplay dialog box will appear. From here, select File Explorer, then the DCIM folder, and then the 100MSDCF folder. Finally, drag and drop the images to the folder of your choice on your computer.
If you selected Auto or MTP, a window will appear displaying your camera model and memory card information. Select Storage Media, then choose the memory card folder you want to view. You can now select the images you want and drag them to your computer's desktop or a folder of your choice.
And that's it! Your photos have now been successfully transferred from your camera to your Windows computer using a USB connection.
Correcting Warping: Camera Raw's Superpower
You may want to see also
![]()
Transferring photos from a camera to a Mac using a USB connection
Connect Your Camera to the Mac:
Firstly, you will need to physically connect your camera to your Mac using a USB cable. This cable usually comes with your digital camera. Ensure that you have the correct USB cable compatible with your Mac's USB ports. Some older Mac models may require adapters to connect to the USB cable from the camera. Refer to your Mac's documentation or online resources to identify the correct adapter if needed.
Turn on Your Camera:
Once the camera is connected, turn it on. If an image capture program or app automatically starts on your Mac, close it. You may need to refer to your camera's manual to set it to the correct mode for importing photos.
Open Finder:
On your Mac, open the Finder application. You can do this by clicking on the Finder icon in the Dock or using the Command+N keyboard shortcut. In the Finder menu bar, select "Go" and then select your camera from the options. Your camera may appear as "NO NAME" or "UNTITLED" if it doesn't have a specific name assigned.
Access the DCIM Folder:
Within the "NO NAME" or "UNTITLED" folder, you will find the DCIM (Digital Camera Images) folder. Click on this folder to access your stored pictures. The DCIM folder contains still picture files. If you are transferring videos, there may be additional folders, such as the MP_ROOT folder for standard-definition videos or the AVCHD folder for high-definition videos.
Select the Photos to Transfer:
In the DCIM folder, select the photos you want to transfer to your Mac. To select multiple photos, hold down the Shift key and click on each desired photo. Once you have selected all the photos, release the Shift key.
Copy the Selected Photos:
After selecting the photos, copy them by pressing Command+C on your keyboard. Alternatively, you can right-click on the selected photos and choose "Copy" from the context menu.
Paste Photos to a Folder on Your Mac:
Now, open the folder on your Mac where you want to store the copied photos. This could be a specific folder on your desktop or within the Pictures folder. Once you have selected the destination folder, press Command+V to paste the photos into that folder.
Disconnect Your Camera:
After confirming that all the photos have been successfully transferred, you can safely disconnect your camera from your Mac.
By following these steps, you will be able to transfer photos from your camera to your Mac using a USB connection. Remember to refer to your camera's manual if you need specific instructions related to your camera model.
Focus Camera LLC: Legit or Scam?
You may want to see also
![]()
Transferring photos from a camera to a Windows computer using an SD card
Transferring photos from a camera to a Windows PC using an SD card is a straightforward process. Here's a detailed guide on how to do it:
Step 1: Remove the SD Card from Your Camera
Locate the internal storage panel on your camera and press the SD card to unlock it. Then, carefully take out the SD card from the camera.
Step 2: Insert the SD Card into Your Computer
If your computer has a built-in SD card reader, insert the SD card into the dedicated slot. If your computer lacks an SD card reader, you'll need to purchase an external SD card reader that connects to your computer via USB.
Step 3: Access the SD Card on Your Computer
On your Windows PC, open the File Explorer by right-clicking the Start menu and selecting "File Explorer." In the left panel of the File Explorer window, locate and click on your SD card. It will typically be labelled with a drive letter, such as "E:" or "F:".
If you don't see your SD card listed, click the arrow on the left of "This PC" to expand the options. If you still don't see the photos, double-click on the "DCIM" folder, which is the standard folder for digital camera images.
Step 4: Select the Photos You Want to Transfer
In the SD card folder, select the photos you want to transfer to your computer. You can select multiple photos by holding the "Ctrl" key and clicking on each photo. If you want to select all photos, press "Ctrl + A".
Step 5: Transfer the Photos to Your Computer
Once you've selected the photos, you can transfer them to your computer by dragging and dropping them into the desired location on your PC, such as the "Pictures" folder or a new folder you create. Alternatively, you can use the copy and paste shortcuts. Simply right-click on the selected photos, choose "Copy," and then right-click in the destination folder and select "Paste."
Step 6: Eject the SD Card (Optional)
After the photos have been transferred, you can eject the SD card from your computer if you intend to remove it. Click the arrow in the bottom-right corner of the taskbar, then click the flash drive icon and select "Eject." Now you can safely remove the SD card from your computer and insert it back into your camera.
By following these steps, you'll be able to easily transfer photos from your camera to your Windows computer using an SD card.
Charging Camera Batteries: Alone Contestants' Strategies
You may want to see also
![]()
Transferring photos from a camera to a Mac using an SD card
Step 1: Check your Mac for an SD card slot
Before you begin the transfer process, it is essential to determine whether your Mac has an SD card slot. The SD card slot is usually located on the side of the Mac. The MacBook Pro models from 2011 to 2015, Mac mini, 13-inch MacBook Air, 27-inch iMac, and 21.5-inch iMac are among the Mac models that feature an SD card slot.
Step 2: Insert the SD card into the Mac or a card reader
If your Mac has an SD card slot, simply insert the SD card from your camera into the designated slot. If your Mac does not have an SD card slot, you will need to use an external card reader. Connect the card reader to your Mac using a USB cable, and then insert the SD card into the card reader.
Step 3: Open the Photos app on your Mac
Once your SD card is connected, open the Photos app on your Mac. This app is built-in and should be available on your Mac.
Step 4: Locate the "Import" section in the Photos app
In the Photos app, look for the sidebar on the left side of the screen. At the top of the sidebar, you will find the "Import" heading. Under this heading, you will see the name of your SD card. Click on the name of your SD card.
Step 5: Select the photos you want to import
After clicking on your SD card's name, all the photos stored on it will appear in the centre of the Photos app window. Here, you can select the photos you want to import. You can choose to import all new items or select specific photos for import.
Step 6: Choose the import options
At the upper right-hand corner of the screen, you will see three buttons: "Import All New Items", "Import Selected", and "Delete After Import". If you want to import only the selected photos, click on "Import Selected". If you want to delete the photos from your SD card after importing them, select the "Delete After Import" option.
Step 7: Start the import process
Once you have made your selections, click on the "Import" button to begin the transfer process. Depending on the number of photos you are importing, this process may take a few minutes.
Step 8: Eject the SD card
After the photos have been successfully imported, remember to safely eject the SD card from your Mac or card reader. This ensures that the SD card is properly dismounted and helps prevent data corruption.
By following these steps, you will be able to efficiently transfer photos from your camera's SD card to your Mac. This process allows you to easily access and edit your photos on your Mac, freeing up space on your camera's SD card for future captures.
Surveillance Cameras in Schools: Are Students Being Watched?
You may want to see also
![]()
Transferring photos from a camera to a computer without software
There are several ways to transfer photos from a camera to a computer without using software. Here is a step-by-step guide:
Using a USB Cable (for Windows):
- Turn on your computer.
- Use the USB cable that came with your camera to connect it to a USB port on your computer. If you don't have the cable, you will need to purchase a replacement.
- Turn on your camera. Your computer should recognize it immediately. You may need to switch your camera to "Review" mode for it to connect fully.
- Click on the "AutoPlay" box that pops up in the bottom-right corner.
- Select "Open folder to view files." This will open the File Explorer, where you can locate your photos.
- Click on the "DCIM" folder, which typically contains your photos.
- Select the photos you want to transfer. You can select multiple photos by holding the "Ctrl" key and clicking on each photo.
- Drag and drop the selected photos to a new location on your computer, such as the "Pictures" folder or a new folder.
- Once the transfer is complete, eject your camera before unplugging it from the computer.
Using a USB Cable (for Mac):
- Turn on your computer.
- Use the USB cable that came with your camera to connect it to a USB port on your computer. If you don't have the cable, purchase a replacement.
- Turn on your camera. Your computer should recognize it. You may need to switch your camera to "Review" mode.
- Open the "Photos" app on your Mac.
- Select the photos you want to transfer.
- Click "Import Selected" or "Import All New Photos" to begin the transfer.
- Eject your camera before disconnecting it from the computer.
Using an SD Card (for Windows):
- Remove the SD card from your camera.
- Insert the SD card into your computer's built-in card reader or an external card reader connected to your computer.
- Open the File Explorer on your computer.
- Click on your SD card in the left panel of the File Explorer.
- Select the photos you want to transfer from the SD card.
- Drag and drop the selected photos to a new location on your computer.
- Eject the SD card before removing it from the card reader.
Using an SD Card (for Mac):
- Remove the SD card from your camera.
- Insert the SD card into your computer's built-in card reader or an external card reader connected to your Mac.
- Open the "Finder" on your Mac.
- Click on your SD card in the left panel of the "Finder" window.
- Select the photos you want to transfer.
- Drag and drop the selected photos to a new location on your computer.
- Eject the SD card before removing it from the card reader.
Argus Cameras: Where Are They Manufactured?
You may want to see also
Frequently asked questions
First, remove the SD card from your camera and insert it into your computer's card reader. If your computer doesn't have a card reader, you can purchase an external SD card reader that connects via USB. Open the File Explorer, click on your SD card, select the pictures you want to transfer, and drag them to a new location on your computer.
Take out the SD card from your camera and insert it into your Mac's built-in slot or an SD card reader. Open the Photos app, click "File", choose "Import" from the menu, and select the photos/videos you want to import. Click "Import All New Photos" or "Import Selected", then decide whether to keep the originals on the SD card.
Connect your camera to your PC using a USB cable. Turn on your camera and, if necessary, switch it to Review mode. Open the AutoPlay window, select "Open folder to view files", click on the DCIM folder, select the photos you want to transfer, and drag them to a new location on your PC.
Connect your camera to your Mac using a USB cable and turn it on. Open the Photos app, find your camera under "Devices" in the sidebar, click the camera icon to display all photos, and then click "Import All New Photos" or select specific photos to import. Decide whether to delete or keep the photos on your camera after importing, then disconnect your camera from your Mac.